And whose birthday is today you ask? Well, it happens to be the birthday of my very special daughter in law, D'Ann. She's the cute young lady who married my son last April. Remember?
So, I made her a card and we will all be meeting up for dinner tonight.
I used papers by Alison Kreft (Echo Park) called Everyday Eclectic. I thought the double sided papers worked perfectly. The cardstock base is from Stampin' Up. The card was cut with a design by Lori Whitlock with my Silhouette Cameo. Simple, easy and fun!
It has more dimension than showing in the above photo so here is another view of the side:
It was so easy that as I was cutting it I made extras for a duplicate card.
The sentiment was done with stamps from Penny Black.
And that's it for today...time to get ready for our feast tonight!
Happy Crafting and Happy Birthday!
Showing posts with label Echo Park. Show all posts
Friday, October 17, 2014
Saturday, October 4, 2014
Wade is One!
It's hard to believe but our little Wadie-Boy is ONE today!
Here is what he looked like a year ago although if you want to get technical this was taken the day before he was born.
Below is what he looked like before going to the hospital. This was taken at my house at about 5pm. My daughter dropped off David and Taylor for me to watch them and get them to their other grandparents so I, too, could get to the hospital to take photos.
Amanda and the rest of her crew were supposed to meet us for dinner but at some point she texted me and said they were going to come over for a while but would probably not do dinner. I thought...well, ok. And then she texted me "Wash your hair" which was code for "I'm probably in labor"! LOL...I had told her that as soon as she thought she might be in labor to tell me to wash my hair so that I'd have good looking hair for those first important pictures. I like to think ahead! LOL!
She planned to hang here for a while but when they got here she felt like she probably needed to get closer to the hospital. So they left here shortly after the above photo was taken.
At at 10:22 pm Wade was here!
Here he is a few minutes after he came into the world.
Here I am holding him...so sweet!
And now we are a year later... *sniff*. It's gone by way too fast...
Such a sweet boy. I sure love those babies!
So we will celebrate this day today with cake and a candle. I will see them a bit later and we will open presents and enjoy our little guy.
I made him a card on my Silhouette with card by Snapdragon Snippets from the Silhouette store.
It was a lot of fun to make...
The ladder has two brads hinging it together so you can raise and lower it.
I made a huge mess with Glitter but did manage to get more than just myself covered. I did get the 1 covered which I cut out several times to give a bit more dimension to it.
I used Stampin' Up Heat and Stick Embossing powder and some Stampin' Up gold glitter.
I also made a card with a sheet of Echo Park paper and my We R Memory Keepers Envelope Punch Board. As you can see I die cut Wade's name.
And that's it for today. Happy 1st Birthday, WADE!
And best wishes for a wonderfully crafty day to the rest of you!
Here is what he looked like a year ago although if you want to get technical this was taken the day before he was born.
Below is what he looked like before going to the hospital. This was taken at my house at about 5pm. My daughter dropped off David and Taylor for me to watch them and get them to their other grandparents so I, too, could get to the hospital to take photos.
Amanda and the rest of her crew were supposed to meet us for dinner but at some point she texted me and said they were going to come over for a while but would probably not do dinner. I thought...well, ok. And then she texted me "Wash your hair" which was code for "I'm probably in labor"! LOL...I had told her that as soon as she thought she might be in labor to tell me to wash my hair so that I'd have good looking hair for those first important pictures. I like to think ahead! LOL!
She planned to hang here for a while but when they got here she felt like she probably needed to get closer to the hospital. So they left here shortly after the above photo was taken.
At at 10:22 pm Wade was here!
Here he is a few minutes after he came into the world.
Here I am holding him...so sweet!
And now we are a year later... *sniff*. It's gone by way too fast...
Such a sweet boy. I sure love those babies!
So we will celebrate this day today with cake and a candle. I will see them a bit later and we will open presents and enjoy our little guy.
I made him a card on my Silhouette with card by Snapdragon Snippets from the Silhouette store.
It was a lot of fun to make...
The ladder has two brads hinging it together so you can raise and lower it.
I made a huge mess with Glitter but did manage to get more than just myself covered. I did get the 1 covered which I cut out several times to give a bit more dimension to it.
I used Stampin' Up Heat and Stick Embossing powder and some Stampin' Up gold glitter.
I also made a card with a sheet of Echo Park paper and my We R Memory Keepers Envelope Punch Board. As you can see I die cut Wade's name.
And that's it for today. Happy 1st Birthday, WADE!
And best wishes for a wonderfully crafty day to the rest of you!
Sunday, September 21, 2014
Happy Birthday, David!
Five years ago today my life changed forever with the birth of my grandson, David.
I just adore that little guy. We have a great bond and I know as he grows up he'll have less time for his "Omie" (that's me) but I hope he will remember some good and special times we've had together.
Today he is having his birthday party atthat awful place that kids love and parents don't Chuck E. Cheese. LOL! Actually I don't really mind it as much now as when my own kids were small. It seems a little cleaner and more secure and it is fun watching the kids have a great time.
I decided to make a total Silhouette card for him and I found this cute card file at the Silhouette Online Store. It's by Snapdragon Snippets and is Design ID #63814 for the Silhouette users out there.
It's a bifold card.
You can see what I mean a bit better here:
and here:
I used some Paper Trey Ink and Echo Park papers as well as some American Crafts Cardstock I had on hand.
The Silhouette did a wonderful job with the many layers of cuts. I kept a little cup nearby to put all the pieces in as I cut them so as not to lose any little pieceslike I usually do.
I added some sequin stars adhered with Glossy Accents.
The "5" was cut out five times (it's a metal die from My Favorite Things Die-Namics) I cut it out 5 times and adhered them together to give a bit more dimension.
I was amazed at how well the sentiment cut out. The Silhouette rarely disappoints me.
It was a fun break from stamping for me. Something a bit different for me, as well.
I hope you like it, too!
Happy Crafting and HAPPY BIRTHDAY, DAVID!
I just adore that little guy. We have a great bond and I know as he grows up he'll have less time for his "Omie" (that's me) but I hope he will remember some good and special times we've had together.
Today he is having his birthday party at
I decided to make a total Silhouette card for him and I found this cute card file at the Silhouette Online Store. It's by Snapdragon Snippets and is Design ID #63814 for the Silhouette users out there.
It's a bifold card.
You can see what I mean a bit better here:
and here:
I used some Paper Trey Ink and Echo Park papers as well as some American Crafts Cardstock I had on hand.
The Silhouette did a wonderful job with the many layers of cuts. I kept a little cup nearby to put all the pieces in as I cut them so as not to lose any little pieces
I added some sequin stars adhered with Glossy Accents.
The "5" was cut out five times (it's a metal die from My Favorite Things Die-Namics) I cut it out 5 times and adhered them together to give a bit more dimension.
I was amazed at how well the sentiment cut out. The Silhouette rarely disappoints me.
It was a fun break from stamping for me. Something a bit different for me, as well.
I hope you like it, too!
Happy Crafting and HAPPY BIRTHDAY, DAVID!
Wednesday, September 10, 2014
Project Life, 2014: Week 12
We now venture into the time period of Week 12 in Project Life, 2014 which for me was March
and included the first day of my favorite season of the year, SPRING! I love SPRING! I love when everything turns green again and all the flowers bloom. I can even put up with the 3 inches of yellow pine pollen that covers everything!
So here is my week 12 of my Project Life...done digitally, of course. You can tell digital from paper because digital is perfectly aligned...paper not so much! We digital scrapbookers want it to look like paper...maybe we should put things slightly askew to make it look even more like paper! LOL!
Here is the 2 page layout:
I used the Echo Park Springtime kit for this week. It's not your typical project life kit but it worked for my photos this week. We went to the Atlanta Botanical Gardens this week when all the lovely tulips and daffodils were in bloom. BEAUTIFUL! My week card was done with an Ali Edwards week stamp as well as a Katie Pertiet vertical stamp for the dates.
Here is a closer view of the left side:
Here is the right side which includes other photos of our life. I even got a photo of the kids with me...
Yay for that as I'm usually behind the camera or a lot of the photos I use are those my daughter takes for me!
The little 2 dollar kit worked well for me, I think. I also used photo collage templates from some various sources like Lori Whitlock and Tracy Larsen.
And that's it for today....
Happy Crafting!!!
and included the first day of my favorite season of the year, SPRING! I love SPRING! I love when everything turns green again and all the flowers bloom. I can even put up with the 3 inches of yellow pine pollen that covers everything!
So here is my week 12 of my Project Life...done digitally, of course. You can tell digital from paper because digital is perfectly aligned...paper not so much! We digital scrapbookers want it to look like paper...maybe we should put things slightly askew to make it look even more like paper! LOL!
Here is the 2 page layout:
Here is a closer view of the left side:
Here is the right side which includes other photos of our life. I even got a photo of the kids with me...
Yay for that as I'm usually behind the camera or a lot of the photos I use are those my daughter takes for me!
The little 2 dollar kit worked well for me, I think. I also used photo collage templates from some various sources like Lori Whitlock and Tracy Larsen.
And that's it for today....
Happy Crafting!!!
Thursday, June 20, 2013
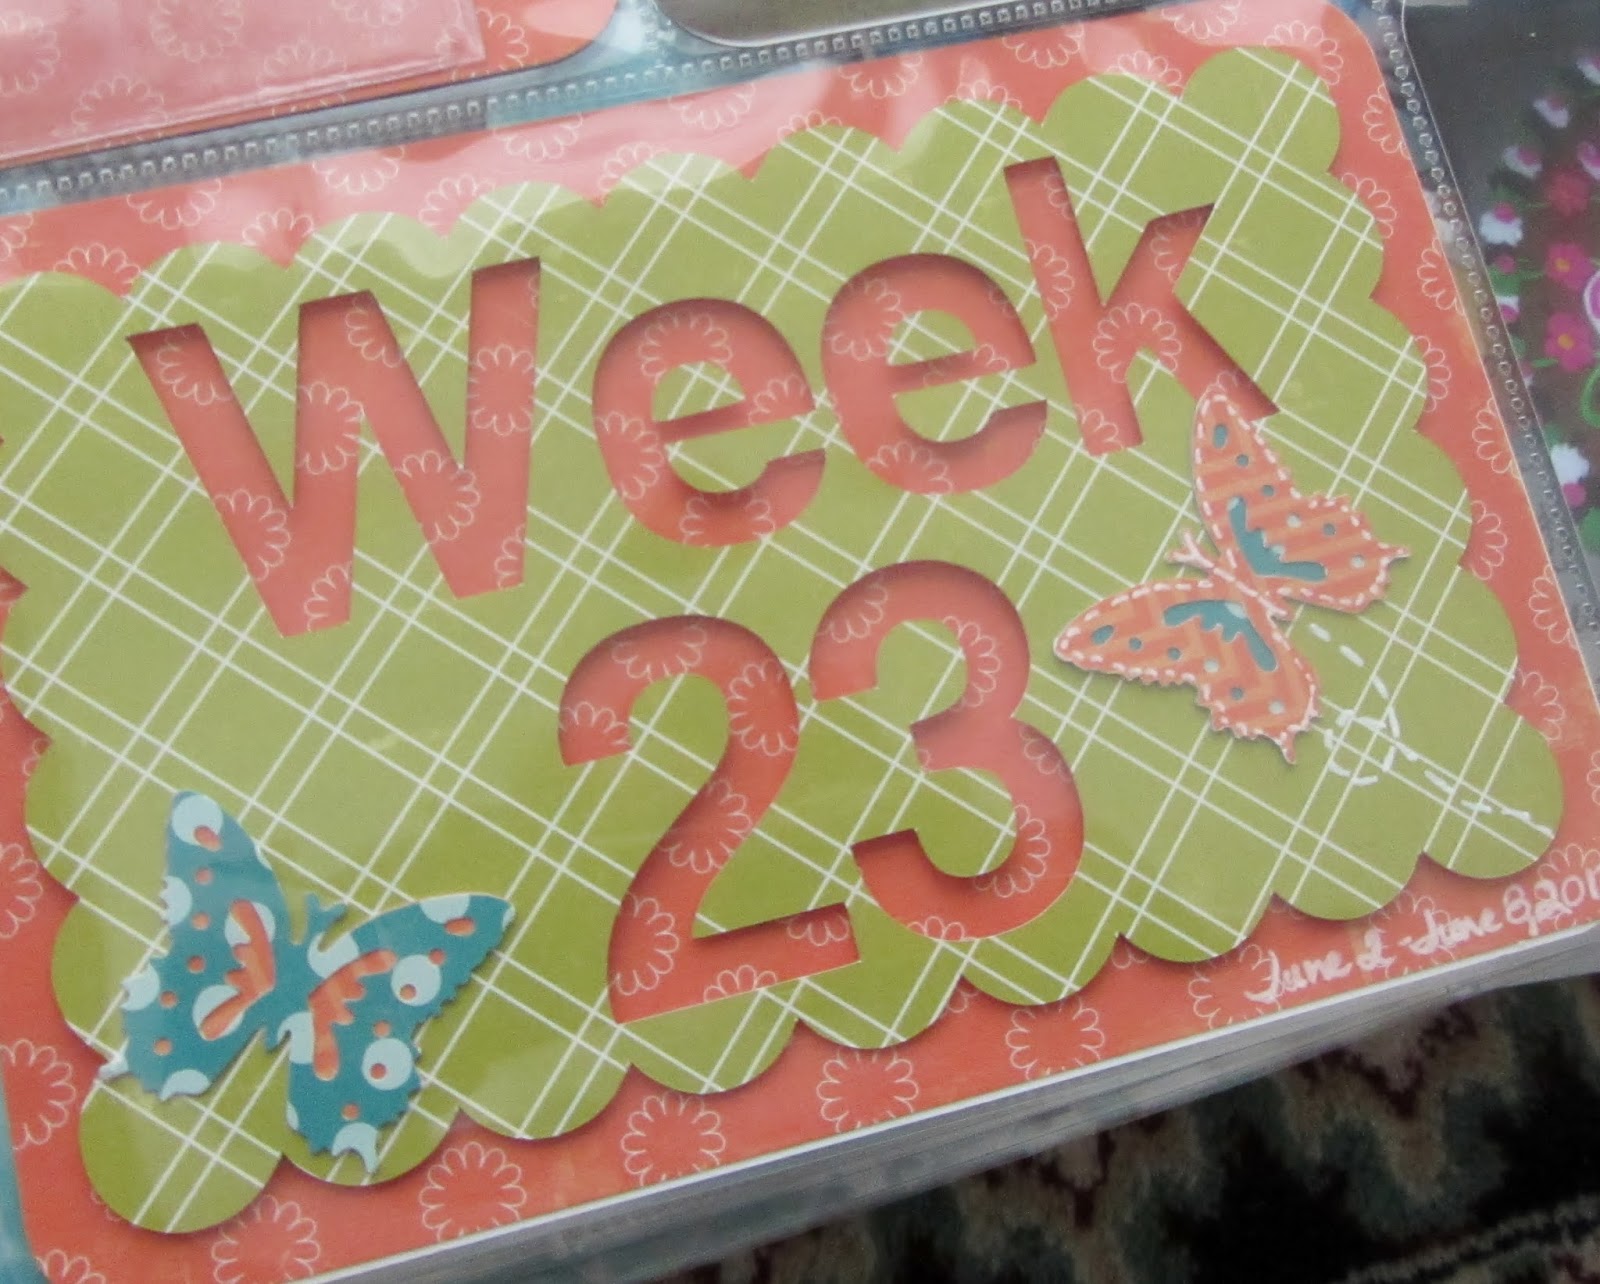
Project Life: Week 23
I am caught up! After I went to the beach for a week I got a bit behind. I was only 2 weeks behind but that became almost overwhelming. I feel for people who are 6 or more weeks behind! But if that's you.....just keep on plugging away!
This is a simple week layout....
It's a little bowed in the center because of all the zillions of pages below it! LOL! My book is fat!
I made the "week" card with my Silhouette and punched some layered butterflies with an EK Success punch.
I just made a couple of little cards with paper and embellishments I had....all scraps from A Walk in the Park by Echo Park.
I found a four leaf clover on a walk recently and stuck it in a laminating pouch and added it to my Project Life. You can't have too much good luck, can you?
Here is the right side:
I used several templates from the Lily Pad to make the photo collages. They can be a bit time consuming but certainly a great way to add more photos to your layouts!
...and it IS about the photos!
And just another little filler card done from some cardstock embellishments that came with the kit.
Check out that photo on the very top right....my grandkids both got Hand, Foot, Mouth Virus (not to be confused with Hoof and Mouth Disease that animals get)....and passed it on to their uncle (my son) who was quite sick with it. Those darned childhood diseases are so much worse on adults! I got chicken pox at 23 years of age and was never so sick in all my life! A five year old gave it to me and he was out for a day....I was out of work for 2 weeks! LOL!
That's it for today...
Happy Crafting!
This is a simple week layout....
It's a little bowed in the center because of all the zillions of pages below it! LOL! My book is fat!
I made the "week" card with my Silhouette and punched some layered butterflies with an EK Success punch.
I just made a couple of little cards with paper and embellishments I had....all scraps from A Walk in the Park by Echo Park.
Here is the right side:
I used several templates from the Lily Pad to make the photo collages. They can be a bit time consuming but certainly a great way to add more photos to your layouts!
...and it IS about the photos!
And just another little filler card done from some cardstock embellishments that came with the kit.
Check out that photo on the very top right....my grandkids both got Hand, Foot, Mouth Virus (not to be confused with Hoof and Mouth Disease that animals get)....and passed it on to their uncle (my son) who was quite sick with it. Those darned childhood diseases are so much worse on adults! I got chicken pox at 23 years of age and was never so sick in all my life! A five year old gave it to me and he was out for a day....I was out of work for 2 weeks! LOL!
That's it for today...
Happy Crafting!
Thursday, June 13, 2013
Project Life: Week 22
Well, I'm sort of officially caught up with Project Life. Now....if you want to be specific I am one week behind but that doesn't even really count, does it? I will get those photos tomorrow and whip those pages out so really....in my book I am caught up. :)
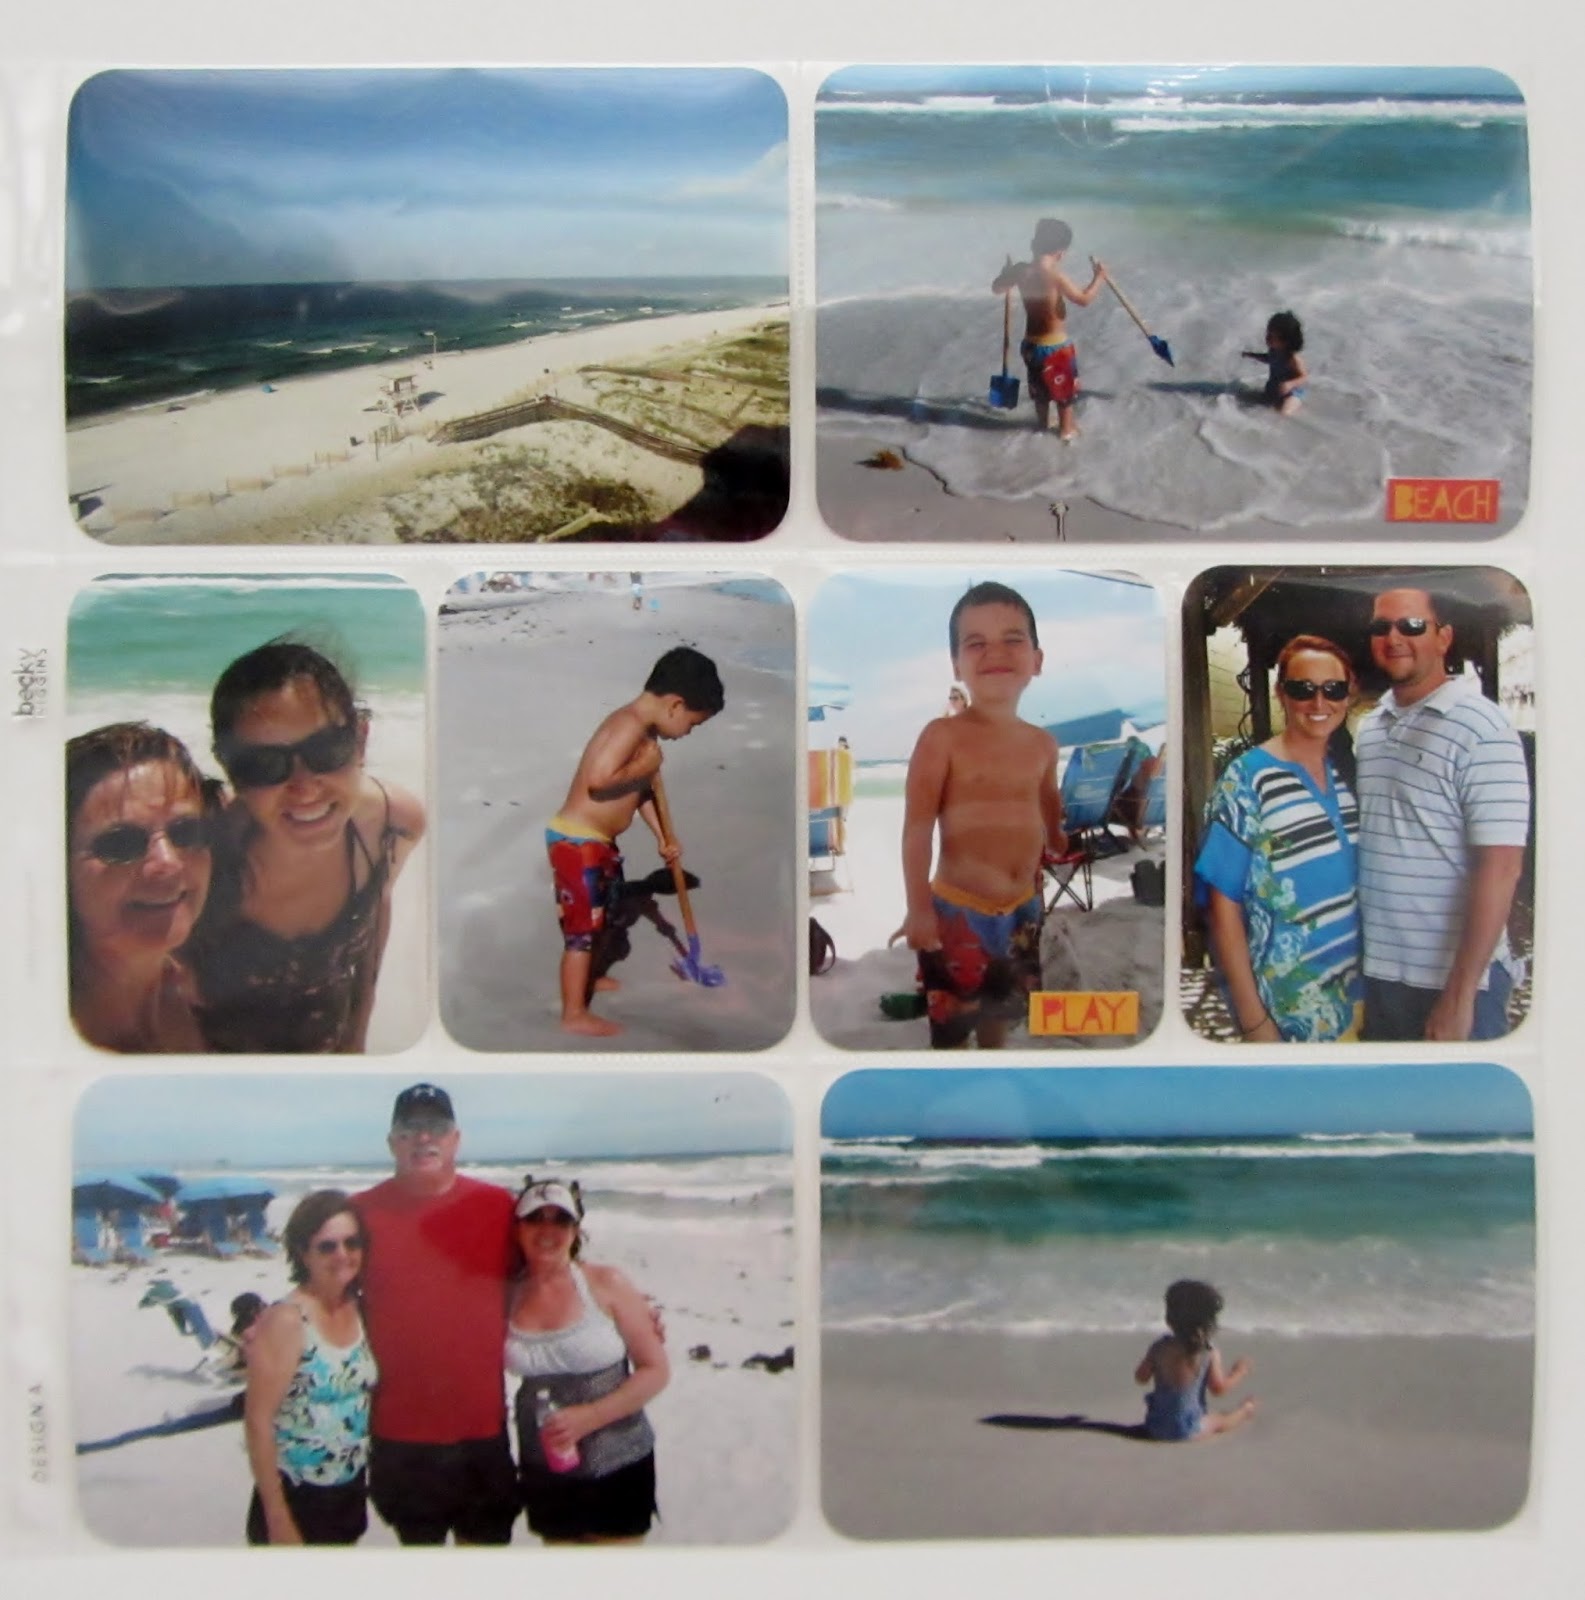
Week 22 was very easy for me because we were all at the beach for a week. After my son popped the question to his girlfriend we tended to just stay on the beach. We went from the condo to the beach...with an occasional trip to the grocery store. I usually go to the Outlets or try to hit AC Moore but nope....didn't go anywhere....just hung at the beach and gazed at the water...played with the kids...
I didn't even walk as much as I usually do! I just sat and vegged. It was great and I am not complaining at all! It was a fabulous week.
So...Week 22 was easy because I just printed a ton of pictures and slapped them in my book. Yep, that's it....just one big slapping event!
Here's the left side:
My week and journaling cards were done with "Splash" by Echo Park....and yes, this was also leftover stuff from last summer's layouts I'd done. Too much to toss and those scraps work perfectly for Project Life. I even had a few stickers left that I put on a few of the photos....
Here is the Week Card....simple, simple, simple!
And here is the journaling card:
I made the little banner with some EK success punches I have.
And here is the right side:
Not a word of journaling. They say a picture is worth a thousand words so I am letting my pictures speak for themselves! :) I just didn't want to cover these up with words....I decided you can tell we are on the beach and all the who, what and where info is on the journaling box on the facing page.
And that's my story and I'm sticking to it! :)
Happy Crafting!
Week 22 was very easy for me because we were all at the beach for a week. After my son popped the question to his girlfriend we tended to just stay on the beach. We went from the condo to the beach...with an occasional trip to the grocery store. I usually go to the Outlets or try to hit AC Moore but nope....didn't go anywhere....just hung at the beach and gazed at the water...played with the kids...
I didn't even walk as much as I usually do! I just sat and vegged. It was great and I am not complaining at all! It was a fabulous week.
So...Week 22 was easy because I just printed a ton of pictures and slapped them in my book. Yep, that's it....just one big slapping event!
Here's the left side:
My week and journaling cards were done with "Splash" by Echo Park....and yes, this was also leftover stuff from last summer's layouts I'd done. Too much to toss and those scraps work perfectly for Project Life. I even had a few stickers left that I put on a few of the photos....
Here is the Week Card....simple, simple, simple!
And here is the journaling card:
I made the little banner with some EK success punches I have.
And here is the right side:
Not a word of journaling. They say a picture is worth a thousand words so I am letting my pictures speak for themselves! :) I just didn't want to cover these up with words....I decided you can tell we are on the beach and all the who, what and where info is on the journaling box on the facing page.
And that's my story and I'm sticking to it! :)
Happy Crafting!
Friday, April 26, 2013
Project Life: Week 15
I got a tad behind on my Project Life during the Great Scrapbook Room Clean Out but I'm catching back up. I'm just a week behind now and that feels good!
Here is Week 15. So easy...so fast...again, the longest part of the process is planning which pictures to have printed. Once I figure out sizes and what goes where the pages come together pretty quickly.
This is probably record fast because I didn't do a whole lot extra....these cards are from an Echo Park Photo Freedom kit I had...I added some washi tape here and there and some journaling and that was about it. So simple and so easy....and best of all...so fast! I'm good with that. Some weeks I may want to play a bit more and make some cuter embellishments and journaling and filler cards but some weeks I want to just get it done. I don't think this is any less cute...I'm good with these Project Life type journaling cards and embellishments. It makes life so easy!
Anyway...oh yes, where was I? Getting ready to show my pages. Here they are with the left side first:
I added a little stamping on the left journaling card with the arrow. So cute. The "You're the best" thought bubble came with the Photo Freedom kit.
Here is the right side:
I did put some sticker letters on the bottom left photo...also from the Echo Park Photo Freedom Kit.
I added a few letter stickers from some very, very old letters stickers I came across in my room redo. The were perfect for this page, I thought!
And that's it for today, my friends!
Happy Crafting!
Here is Week 15. So easy...so fast...again, the longest part of the process is planning which pictures to have printed. Once I figure out sizes and what goes where the pages come together pretty quickly.
This is probably record fast because I didn't do a whole lot extra....these cards are from an Echo Park Photo Freedom kit I had...I added some washi tape here and there and some journaling and that was about it. So simple and so easy....and best of all...so fast! I'm good with that. Some weeks I may want to play a bit more and make some cuter embellishments and journaling and filler cards but some weeks I want to just get it done. I don't think this is any less cute...I'm good with these Project Life type journaling cards and embellishments. It makes life so easy!
Anyway...oh yes, where was I? Getting ready to show my pages. Here they are with the left side first:
I added a little stamping on the left journaling card with the arrow. So cute. The "You're the best" thought bubble came with the Photo Freedom kit.
Here is the right side:
I did put some sticker letters on the bottom left photo...also from the Echo Park Photo Freedom Kit.
I added a few letter stickers from some very, very old letters stickers I came across in my room redo. The were perfect for this page, I thought!
And that's it for today, my friends!
Happy Crafting!
Wednesday, March 6, 2013
Vintage Football
We don't have many pictures of my husband as a child. So I was happy when he gave me a couple of pictures of him in football uniform when he played the Pop Warner league in Hawaii many, many moons ago. The original photo was badly damaged but was repaired and these are the result. I just think they are great...he's so young and although he's never been heavy he is certainly very skinny here! I also love the old car behind him...what is that...a Corvair? I'll have to remember to ask him.
Lucky guy...he grew up on Maui.
I used Echo Park's This and That by Lori Whitlock...I thought these colors were just perfect. This layout was QAS...Quick and Simple. I haven't journaled yet and I may still add some buttons but this isn't the kind of layout where you'd add bling or lots of ribbon. A football player just wouldn't have that!
Here it is:
Tomorrow I head back to Atlanta after my month vacation at the beach. It's been a great month but I'm looking forward to getting back home and seeing the kids and grandkids!
Happy Crafting!
Lucky guy...he grew up on Maui.
I used Echo Park's This and That by Lori Whitlock...I thought these colors were just perfect. This layout was QAS...Quick and Simple. I haven't journaled yet and I may still add some buttons but this isn't the kind of layout where you'd add bling or lots of ribbon. A football player just wouldn't have that!
Here it is:
Tomorrow I head back to Atlanta after my month vacation at the beach. It's been a great month but I'm looking forward to getting back home and seeing the kids and grandkids!
Happy Crafting!
Saturday, February 16, 2013
Such a Cute Boy!
My grandson attends a mother's morning out program (we call it "school") a couple of mornings a week. He just loves it. The first 2 weeks were tough a year or so ago but then he got into the routine and loves going and being with his "fwiends". :)
Of course they have "school" pictures done a time or two each year....and we loved the photos taken of him at the end of 2012 that we paid a fortune and bought the CD with the images on them so we could duplicate them at will!
I had them printed as 8x12s as that is what they seemed to be sized as and I didn't want to crop one pixel off! :)
So then you have these huge pictures to scrapbook....and that can be sort of challenging because you don't have a whole lot of extra space to deal with. But here is what I came up with and I'm happy with the results. I used the Echo Park This and That kit which I've used before so yay me....I used something I already had!
Here are the 3 layouts....all similar but hopefully enough different! :)
and my favorite pose:
I know I'm biased....but is he not the cutest little boy? And yes....he is all trucks and trains and loud things...yep, he's ALL BOY!
Of course they have "school" pictures done a time or two each year....and we loved the photos taken of him at the end of 2012 that we paid a fortune and bought the CD with the images on them so we could duplicate them at will!
I had them printed as 8x12s as that is what they seemed to be sized as and I didn't want to crop one pixel off! :)
So then you have these huge pictures to scrapbook....and that can be sort of challenging because you don't have a whole lot of extra space to deal with. But here is what I came up with and I'm happy with the results. I used the Echo Park This and That kit which I've used before so yay me....I used something I already had!
Here are the 3 layouts....all similar but hopefully enough different! :)
and my favorite pose:
I know I'm biased....but is he not the cutest little boy? And yes....he is all trucks and trains and loud things...yep, he's ALL BOY!
Monday, February 11, 2013
Project Life: Week 6
I know many of you are just NOT INTO Project Life. I was there. Last year I said....no way. Even in November, 2012 I said....no way. December, 2012 I say, yes way... LOL! It's all because my friend, Donna...who is on the Creative Team for the one and only Becky Higgins said it was a good thing. I love what she's doing so much I decided to do it, too! And I said....I will not buy anything new....this will be a great way to use up things I have.
I have met that goal, dear husband, if you are reading this. (sorta....)
Seriously...I did buy some page protectors which of course you cannot Project (your) Life without...and also a few little journal blocks and a stamp set or two....but I am also using LOTS of stuff I already have. It really is a great way to use up scraps of paper and those odd buttons or embellishments.
This week's two page spread was very quick because I had so many pictures I wanted to use. There just wasn't much room for extra stuff! I'm ok with that....some weeks I probably will have fewer pictures and more journaling.
It is what it is....
Here are my layouts for Week 6:
(First the left side layout)
I used Today's Story by Allison Kreft (Echo Park's Photo Freedom) for my little filler cards, journaling cards and embellishments. Sorry this photo is so poor....maybe I'll try again!
A cute little journaling card with the route I took last week.
My cute grandkids with a cute little He Said/She Said filler card.
Here is the right side (my pictures look so much prettier in real life!):
That's it for today....I can't believe I am already into Week 7!
Happy Crafting!
I have met that goal, dear husband, if you are reading this. (sorta....)
Seriously...I did buy some page protectors which of course you cannot Project (your) Life without...and also a few little journal blocks and a stamp set or two....but I am also using LOTS of stuff I already have. It really is a great way to use up scraps of paper and those odd buttons or embellishments.
This week's two page spread was very quick because I had so many pictures I wanted to use. There just wasn't much room for extra stuff! I'm ok with that....some weeks I probably will have fewer pictures and more journaling.
It is what it is....
Here are my layouts for Week 6:
(First the left side layout)
Here is the right side (my pictures look so much prettier in real life!):
That's it for today....I can't believe I am already into Week 7!
Happy Crafting!
Wednesday, February 6, 2013
Project Life: Insert Page
We had a big event last week....with an announcement of a sort. My daughter called me to tell me she was sending Valentine's out this year and that she wanted me to go to her Costco photo site to look at it and then tell her what I thought about it.
I did as told.
and I saw this:
That is a picture of my grandson, David, with a 1 on his shirt....a photo of Taylor with a 2 on her shirt and a photo of my daughter's middle with a 3 on it! Yep....she's expecting my 3rd grandchild! I loved the way she decided to announce this. She mailed them out and pretty much everyone "got" it right away although her own brother did not and it had to be explained to him. Men! LOL!
Anyway, since it was such a big event and I wanted to incorporate the actual Valentine and use it as an insert page for my Project Life.
So I used some Echo Park papers and did a very simple treatment of the Valentine. A Martha Stewart border punch and a Hero Arts stamp and die for the arrow.
I love that arrow.
On the reverse side I journaled how I found out about this big news:
I designed the Wonderful News frame in my Silhouette Studio software and cut it out with my Cameo. The frame is one from the Silhouette Online store. I used the hearts from the punched border from the reverse side and used a little Glossy Accents to give them a little more shine. And I journaled. Yay, me!
Happy Crafting!
I did as told.
and I saw this:
That is a picture of my grandson, David, with a 1 on his shirt....a photo of Taylor with a 2 on her shirt and a photo of my daughter's middle with a 3 on it! Yep....she's expecting my 3rd grandchild! I loved the way she decided to announce this. She mailed them out and pretty much everyone "got" it right away although her own brother did not and it had to be explained to him. Men! LOL!
Anyway, since it was such a big event and I wanted to incorporate the actual Valentine and use it as an insert page for my Project Life.
So I used some Echo Park papers and did a very simple treatment of the Valentine. A Martha Stewart border punch and a Hero Arts stamp and die for the arrow.
I love that arrow.
On the reverse side I journaled how I found out about this big news:
I designed the Wonderful News frame in my Silhouette Studio software and cut it out with my Cameo. The frame is one from the Silhouette Online store. I used the hearts from the punched border from the reverse side and used a little Glossy Accents to give them a little more shine. And I journaled. Yay, me!
Happy Crafting!
Monday, October 1, 2012
It's All About the Silhouette, Baby!
I struggled with my decision to buy a Silhouette Cameo. I mean...I had the competitor's machine and lots and lots of cartridges....in fact, I have 2 of the competitor's machines sitting in my craft room downstairs. I still use them on occasion and am not ready to give them up but...I am totally sold on the Cameo. I love all the designs and things that the little green machine does but the Cameo cuts are just better. OK, I said it. Maybe it's user error...I see some really great projects out there with the green machine. But I often ended up with bad cuts. I wasted a lot of paper getting it to do right. I think the competitor's engineers need to work on their green machine to bring it up to snuff. With the Silhouette machines WYSIWYG....what you see is what you get. Love that.
I really bought the Silhouette so that I could cut titles more easily with True Type Fonts that I have "collected". I just didn't realize I'd used it for so much more. My friend, Kim, the Basement Stamper, was also struggling with the decision to get a Silhouette because she does mostly cards and thought the Silhouette would be mostly for scrapbooking type projects. I'm betting she finds that there are tons of card related things she can do with her Cameo! Plus she is doing Project Life and there are a bazillion little card cuts in the Silhouette store. She's going to love it.
So here's an all Silhouette card done with some Die Cuts with a View Autumn Leaves papers. The sentiment is Paper Smooches. The background....cut on Kraft paper....is a Hero Arts design/cut from the Silhouette Store. The little bird and branch are from Echo Park...also in the Silhouette store. And the label is one cut and resized that I also got in the Silhouette store. Like I said...it's all Silhouette.
Here is the information on the specific cuts:
Hero Arts Fun Stripe Background: Design id #32661
Echo Park Bird on Branch: Design id #27060
Label by Echo Park: Design id #24933 I only used one layer of the label.
I hope you all have a great crafting day....it's rainy here today...perfect weather for crafting!
I really bought the Silhouette so that I could cut titles more easily with True Type Fonts that I have "collected". I just didn't realize I'd used it for so much more. My friend, Kim, the Basement Stamper, was also struggling with the decision to get a Silhouette because she does mostly cards and thought the Silhouette would be mostly for scrapbooking type projects. I'm betting she finds that there are tons of card related things she can do with her Cameo! Plus she is doing Project Life and there are a bazillion little card cuts in the Silhouette store. She's going to love it.
So here's an all Silhouette card done with some Die Cuts with a View Autumn Leaves papers. The sentiment is Paper Smooches. The background....cut on Kraft paper....is a Hero Arts design/cut from the Silhouette Store. The little bird and branch are from Echo Park...also in the Silhouette store. And the label is one cut and resized that I also got in the Silhouette store. Like I said...it's all Silhouette.
Here is the information on the specific cuts:
Hero Arts Fun Stripe Background: Design id #32661
Echo Park Bird on Branch: Design id #27060
Label by Echo Park: Design id #24933 I only used one layer of the label.
I hope you all have a great crafting day....it's rainy here today...perfect weather for crafting!
Subscribe to:
Posts (Atom)