I wrote about my phobia with my sewing machine. I'd rather bungee jump than use my machine and I also don't like heights! (Ok that may be a stretch but you get the idea!) I truly am deathly afraid of spiders...I can handle a snake but a spider reduces me to screaming mush (does mush scream?)! My fear of sewing machines is not far behind. I mean, I don't get a visceral reaction to my sewing machine like I do when I see an eight legged creepy crawly thing (*shudder*) but it's not far behind.
But what do you do when you fall off a horse...you get back on...so I decided to do yet another card with some machine stitching.
See?
Can you see the zig-zag stitching? No? Well, here's a better view...
Are you impressed? Huh? Huh? Huh?
I think there is some irony that this is also a sympathy card...
Anyway, I used DCWV papers, the Mat Stack 3 from Paper Trey Ink, a little sentiment I had from another set called Woodlawn (that I bought at a craft show once and have never seen again), some ribbon from Hobby Lobby, the blue/green paper is from Paper Trey Ink and the butterfly stamp is from Unity Stamps Bevy of Butterflies (a great set for the butterfly lover). I also used a little glitter ink on the butterfly.
And that was it...a nice elegant and classic card WITH STITCHING!!!
Next goal...do it again on a scrapbook page! I did it years ago but I'm loving the look and want to try that, too!
Happy Crafting!
Friday, January 13, 2012
Wednesday, January 11, 2012
Sewing Machine-a-Phobia
I love the look of stitching on paper crafts. I enjoy hand stitching but I love when I see cards and scrapbook layouts done with machine stitching.
I, however, am DEATHLY AFRAID OF MY SEWING MACHINE! We have a love-hate relationship...mostly hate on my end and I think the machine's love part is probably that it loves seeing me so frustrated with it. My mom was a great seamstress. She could do anything with a machine. She made clothes, coats, drapes, tablecloths, all kinds of crafts. I just knew when I grew up I would be like her. Didn't happen. I have had my sewing machine about 25 years...I got it shortly after my son was born and I was home on maternity leave. I just knew I would learn how to sew all kinds of stuff while I was home with him. I never did learn to sew from a pattern well...but I did make some curtains and some crafts...but mostly I was just plain scared of the machine. It always seems to be possessed...had a mind of it's own and our minds were never on the same page.
But every now and then I pull out said machine and see if I can tame the monster. Nope....I still haven't tamed it but I did do a little sewing tonight on a few cards. I'll post one tonight and the other tomorrow:
This card was made with papers from the Sidewalks line of the October Afternoon stash I've been using lately. I used another new Hero Arts set which came with the Sizzix dies (just LOVE those sets). It was fun and worked up pretty fast. And yes...I sewed all 4 sides AND an extra part on the bottom just for the heck of it!
Probably need to increase the tension a little but I'm afraid to do anything like that because the monster will certainly retaliate!
Happy Crafting!
I, however, am DEATHLY AFRAID OF MY SEWING MACHINE! We have a love-hate relationship...mostly hate on my end and I think the machine's love part is probably that it loves seeing me so frustrated with it. My mom was a great seamstress. She could do anything with a machine. She made clothes, coats, drapes, tablecloths, all kinds of crafts. I just knew when I grew up I would be like her. Didn't happen. I have had my sewing machine about 25 years...I got it shortly after my son was born and I was home on maternity leave. I just knew I would learn how to sew all kinds of stuff while I was home with him. I never did learn to sew from a pattern well...but I did make some curtains and some crafts...but mostly I was just plain scared of the machine. It always seems to be possessed...had a mind of it's own and our minds were never on the same page.
But every now and then I pull out said machine and see if I can tame the monster. Nope....I still haven't tamed it but I did do a little sewing tonight on a few cards. I'll post one tonight and the other tomorrow:
This card was made with papers from the Sidewalks line of the October Afternoon stash I've been using lately. I used another new Hero Arts set which came with the Sizzix dies (just LOVE those sets). It was fun and worked up pretty fast. And yes...I sewed all 4 sides AND an extra part on the bottom just for the heck of it!
Probably need to increase the tension a little but I'm afraid to do anything like that because the monster will certainly retaliate!
Happy Crafting!
Tuesday, January 10, 2012
Thank You Card
I bought some new toys recently including this set of stamps and coordinating dies from Hero Arts and Sizzix which is an awesome little set! It's simply called "Bicycle" and you can see what the set looks like here:
And here is the card I made with the same October Afternoon papers I used in the layout I posted yesterday. I just love the vintage feel of this line...just brings back my childhood! I swear I will see Sally, Dick, Jane and Spot (Run, Spot, Run!) running across these papers!
Other than the papers and twine from October Afternoon, I used some Close to My Heart Ink, a couple of silver brads on the tires and my Martha Stewart fringe scissors to make the "grass". I love mixing up prints and using them unconventionally in my cards and layouts...for example, using the yellow floral print for the grass. I just pat myself on the back when I do this and go..."you go, you artist girl, you!" HAHA! I did pop the bicycle up on some foam tape to give it a little more dimension. I love the banner, too...they are so trendy right now, aren't they?
I think it turned out really cute and these dies and stamp sets work up into wonderful looking stuff very quickly!
Happy Crafting!
And here is the card I made with the same October Afternoon papers I used in the layout I posted yesterday. I just love the vintage feel of this line...just brings back my childhood! I swear I will see Sally, Dick, Jane and Spot (Run, Spot, Run!) running across these papers!
Other than the papers and twine from October Afternoon, I used some Close to My Heart Ink, a couple of silver brads on the tires and my Martha Stewart fringe scissors to make the "grass". I love mixing up prints and using them unconventionally in my cards and layouts...for example, using the yellow floral print for the grass. I just pat myself on the back when I do this and go..."you go, you artist girl, you!" HAHA! I did pop the bicycle up on some foam tape to give it a little more dimension. I love the banner, too...they are so trendy right now, aren't they?
I think it turned out really cute and these dies and stamp sets work up into wonderful looking stuff very quickly!
Happy Crafting!
Monday, January 9, 2012
Cricut Challenge 27: Wrap It Up/ Our Budding Artist and Sculptor
David goes to a Mother's Morning Out program twice a week. Good for him to go and be with some other children and good for his mother to get a breather. He wasn't too sure about it the first week and we had lots of tears but now he goes happily and seems to enjoy himself.
Just before the break for the holidays the class had a Christmas party. One of the activities was for each child to decorate a sugar cookie. They were given the sugar cookie complete with icing and sprinkles and then were handed some gumdrops to "decorate" their cookie with.
All of the other children just plopped the gumdrops on the cookies except for the few who ate them...David took his job very seriously and very, very carefully placed the gumdrops on his cookie and then looked up at me and declared, "Castle!". He had sculpted his very first castle! After he was finished he looked at his work and proceeded to remove the gumdrops and then ate his cookie! Such a smart and creative little two year old. :)
So, I created this one page 12x12 layout to commemorate this event. Here it is before I finished it up on my brand new Scrap 'n Easel that I received as a Christmas Gift from my daughter. Did I say I love it? It's so wonderful to see your layout at an angle that does not cause neck strain! Here the castle and circle are not adhered but are being held down by the super strong magnets. I love this thing!
I used this page from the February, 2012 Scrapbooks, Etc. as inspiration...what caught my eye were the pictures...all done at about wallet size. I just liked the way they were clustered together and I liked the white edges to them. Ooops...I confess...I tear up my magazines. Yep, it's true...as I read them (and I usually just go through them once, now)...I tear out the ideas and pages I like and then I throw the magazine away. If I use a page as inspiration once I done with it out in the trash it goes! I love my system but I am reckless when I rip magazine pages....!
I used October Afternoon Sidewalks papers and baker's twine (LOVE THIS LINE...it reminds me of the Sally, Dick and Jane primers I learned to read from). Stickers were from the Lunchbox line (also October Afternoon). I cut the circle out with my EK Success Circle Scissor (haven't used that must have tool in years! LOL!), and the castle at 4" from the Wrap it Up Cricut Cartridge. I inked edges with the new We R Memory Makers Sweetheart Inkers (brown). I also used the new Creative Memories border punch tool. I don't own it but I was cropping with my friend, Cyndi, who has one of everything known to man (or at least to scrapbookers) and she let me borrow it.
And here's the final page with some journaling strips:
Here is a better photo of it:
Well, sort of better....but I'm still loving my Easel.
And here is a closeup of the castle. I love the mixes of prints.
I love the way it turned out.
I love my little guy and artist/sculptor and castle builder.
Happy Crafting!
Just before the break for the holidays the class had a Christmas party. One of the activities was for each child to decorate a sugar cookie. They were given the sugar cookie complete with icing and sprinkles and then were handed some gumdrops to "decorate" their cookie with.
All of the other children just plopped the gumdrops on the cookies except for the few who ate them...David took his job very seriously and very, very carefully placed the gumdrops on his cookie and then looked up at me and declared, "Castle!". He had sculpted his very first castle! After he was finished he looked at his work and proceeded to remove the gumdrops and then ate his cookie! Such a smart and creative little two year old. :)
So, I created this one page 12x12 layout to commemorate this event. Here it is before I finished it up on my brand new Scrap 'n Easel that I received as a Christmas Gift from my daughter. Did I say I love it? It's so wonderful to see your layout at an angle that does not cause neck strain! Here the castle and circle are not adhered but are being held down by the super strong magnets. I love this thing!
I used this page from the February, 2012 Scrapbooks, Etc. as inspiration...what caught my eye were the pictures...all done at about wallet size. I just liked the way they were clustered together and I liked the white edges to them. Ooops...I confess...I tear up my magazines. Yep, it's true...as I read them (and I usually just go through them once, now)...I tear out the ideas and pages I like and then I throw the magazine away. If I use a page as inspiration once I done with it out in the trash it goes! I love my system but I am reckless when I rip magazine pages....!
I used October Afternoon Sidewalks papers and baker's twine (LOVE THIS LINE...it reminds me of the Sally, Dick and Jane primers I learned to read from). Stickers were from the Lunchbox line (also October Afternoon). I cut the circle out with my EK Success Circle Scissor (haven't used that must have tool in years! LOL!), and the castle at 4" from the Wrap it Up Cricut Cartridge. I inked edges with the new We R Memory Makers Sweetheart Inkers (brown). I also used the new Creative Memories border punch tool. I don't own it but I was cropping with my friend, Cyndi, who has one of everything known to man (or at least to scrapbookers) and she let me borrow it.
And here's the final page with some journaling strips:
Here is a better photo of it:
Well, sort of better....but I'm still loving my Easel.
And here is a closeup of the castle. I love the mixes of prints.
I love the way it turned out.
I love my little guy and artist/sculptor and castle builder.
Happy Crafting!
Sunday, January 8, 2012
Cricut Challenge 27: Kate's ABC's, Calendar Book Part 2 and WHO DID IT?
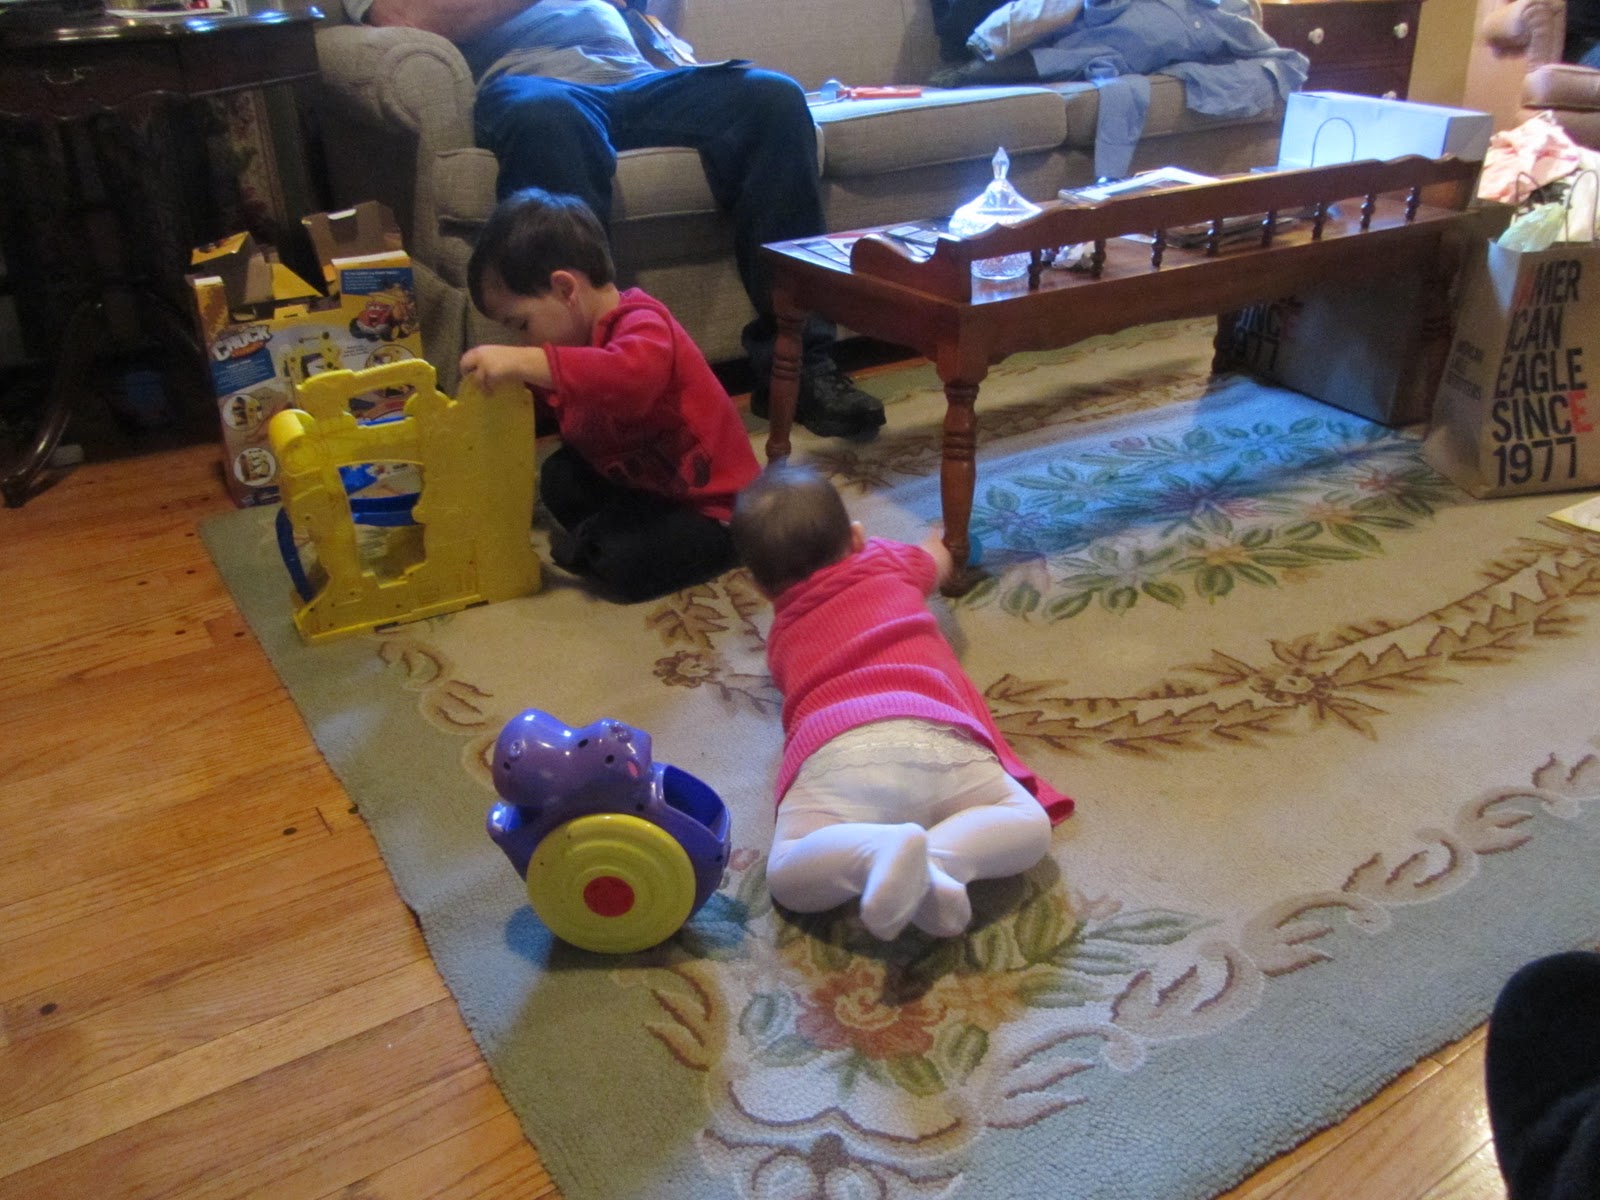
OK....first of all...who is responsible? I had the mother of all head colds this week and I want to know who is responsible for giving it to me???
Actually I know exactly who the responsible parties are...here they are...let's call this Exhibit A:
I painted the Grungeboard numbers with a Pearl Paint Dabber...I used a Hero Arts background stamp for the left side of the book...also inked with the Pearl paint. Added a little ribbon and that was it. I really didn't want a bunch of stuff on the cover as this book will be used daily during the year and I didn't want a lot of embellishments that would be knocked off easily.
Actually I know exactly who the responsible parties are...here they are...let's call this Exhibit A:
Yes, both kids have been sick with upper respiratory stuff. I had been bragging about how I had not had a cold in yadda, yadda, yadda years even though I had been around the kids a bunch...but my mouth must have been open during the bragging because one or both surely must have coughed or sneezed in my mouth...and yep...the New Year rolled in for me with a massive head cold.
So I've been under the weather so to speak this week...couldn't hear, couldn't talk in a way others could understand me, couldn't taste...and couldn't breathe!
But I found a wonder drug so if you get to where you cannot breathe I highly recommend this:
I hate nasal spray...there is something about sticking something up your nose and spraying stuff in it....just very unappealing to me but this stuff is a wonder drug. I sprayed that stuff and within 3-5 minutes I could breathe! It was just amazing. I was demonstrating to my husband how I could breathe. It was like I had finally learned a new SKILL! HAHA!
So, this hasn't been the most creative week...it's been a mostly nose in a kleenex kind of week....but I will survive.
I did finally get the cover of my calendar book done and TA DAHHHHH.....drum roll, please....I used Kate's ABCs cartridge for the first time (so this counts towards my personal goal of using all my Cricut cartridges...wooohooo!) to cut the year numbers out of Tim Holtz Grungeboard. I used the deep blade housing and did 2 cuts....probably needed a little more depth or a 3rd cut but it cut out pretty well.
I painted the Grungeboard numbers with a Pearl Paint Dabber...I used a Hero Arts background stamp for the left side of the book...also inked with the Pearl paint. Added a little ribbon and that was it. I really didn't want a bunch of stuff on the cover as this book will be used daily during the year and I didn't want a lot of embellishments that would be knocked off easily.
So I'm happy with it...and I will say I've written on each page and have a picture for the first week in mind that I will get printed and adhere...I think I'm liking my new little calendar and journaling book.
Happy Crafting!
Monday, January 2, 2012
Calendar Project Part 1
I don't often make new resolutions...or maybe I should rephrase that. I don't usually stick to my New Year's Resolutions but nearly every year I resolve to keep a journal. I never make it past the first week. I admire those people who keep those wonderful artsy journals but I just can't seem to make myself want to sit down and write on a daily basis. I've even tried online daily journals...I thought typing it in would help. Nope...gave up on that after about 2 weeks. The only time I do adequate journaling is when I travel and it's mainly so I can remember what all I've seen and visited.
So what was my New Year's Resolution for 2012....why, "Keep a Journal", of course. But this year I decided to do something differently. I decided to make a little journal/calendar book. It's not quite completed but I want to share with you how it's coming along.
The first thing I did was get 2 sheets of medium weight chipboard and cut them both at 9 3/4 inches by 7 1/2 inches:
I bought this chipboard from JoAnn.com a while back. It comes in 12x12 sheets and in a pack of about 50 (or maybe it's 25...not sure about that). It's a nice weight chipboard and perfect for mini book covers. And that's what my two pieces were for...a front cover and a back cover.
Next I created a calendar page in Photoshop Elements. My friend, Paula, helped me do this...I tweaked it a little and was happy with the result. The large rectangle on the left is 4 inches wide by 6 inches long so will be the perfect size for a photo.
I printed them out on 8 1/2 x 11 sheets...this is how they looked trimmed down. I wanted the left margin to be a bit wider than the right for the binding. Some were printed out front and back and some were just printed out on one side only. I planned how my months would be laid out.
Here they are as I was trimming them:
I made sure that the fronts and backs were aligned perfectly so that there would be uniformity.
I used DCWV papers to cover the chipboard covers:
And some papers for the inside covers:
Then I covered slightly smaller sheets of cardstock with paper and put tabs on each. The tabs were cut out with Spellbinders dies and the months were stamped with Close to My Heart stamps.
Then I stamped little monthly calendars and attached those to the corresponding tab page:
I haven't added much other embellishments yet....I really don't want the pages to get really thick so I'm not sure if I'll add more or not.
I bound the book using my Cinch...you can see the binding here, too and I also put a little pocket page on the inside cover in case there is something I want to stash in there (!):
And yes, I have done 2 days of "journaling". That's better than I usually do! HAHA!
I still need to finish frou frouing up the cover.
That will have to wait...today was the big ol" TAKE DOWN THE DECORATIONS DAY so have spent a good part of my day putting things away. And that part is almost done!
Happy Crafting!
So what was my New Year's Resolution for 2012....why, "Keep a Journal", of course. But this year I decided to do something differently. I decided to make a little journal/calendar book. It's not quite completed but I want to share with you how it's coming along.
The first thing I did was get 2 sheets of medium weight chipboard and cut them both at 9 3/4 inches by 7 1/2 inches:
I bought this chipboard from JoAnn.com a while back. It comes in 12x12 sheets and in a pack of about 50 (or maybe it's 25...not sure about that). It's a nice weight chipboard and perfect for mini book covers. And that's what my two pieces were for...a front cover and a back cover.
Next I created a calendar page in Photoshop Elements. My friend, Paula, helped me do this...I tweaked it a little and was happy with the result. The large rectangle on the left is 4 inches wide by 6 inches long so will be the perfect size for a photo.
I printed them out on 8 1/2 x 11 sheets...this is how they looked trimmed down. I wanted the left margin to be a bit wider than the right for the binding. Some were printed out front and back and some were just printed out on one side only. I planned how my months would be laid out.
Here they are as I was trimming them:
I made sure that the fronts and backs were aligned perfectly so that there would be uniformity.
I used DCWV papers to cover the chipboard covers:
And some papers for the inside covers:
Then I covered slightly smaller sheets of cardstock with paper and put tabs on each. The tabs were cut out with Spellbinders dies and the months were stamped with Close to My Heart stamps.
Then I stamped little monthly calendars and attached those to the corresponding tab page:
I haven't added much other embellishments yet....I really don't want the pages to get really thick so I'm not sure if I'll add more or not.
I bound the book using my Cinch...you can see the binding here, too and I also put a little pocket page on the inside cover in case there is something I want to stash in there (!):
And yes, I have done 2 days of "journaling". That's better than I usually do! HAHA!
I still need to finish frou frouing up the cover.
That will have to wait...today was the big ol" TAKE DOWN THE DECORATIONS DAY so have spent a good part of my day putting things away. And that part is almost done!
Happy Crafting!
Sunday, January 1, 2012
Cricut Challenge 26: Winter Lace and Happy New Year to You!
Wow...2012. Wow....It just seems like we were all dealing with that Y2K stuff not long ago. Do you remember that?
I have been able to get back into my craft room the last couple of days for an hour here and have been working on a project which I hope to share in the next couple of days. It's not quite finished...had hoped to finish it up today but we had the whole family here (my son, daughter, son in law and 2 grandkids) for our traditional southern New Year's dinner. Black eyed peas, greens (we prefer turnips to collards), mashed potatoes, corn bread and ham. We eat black eyed peas, greens and corn bread at New Years in the south for good luck. The black eyed peas represent coins, the greens represent paper money and the corn bread represents gold. I love old traditions. Anyway, dinner was yummy and now we all have full tummies with good luck foods!
Anyway since the family was here I couldn't finish my little project so it will have to wait a day or so before I can share it with you.
Here are a couple of cards (bad angle, bad photos) of two cards I made with all Paper Trey Ink products.
I love the little penguin die and shared a card I made with him the other day. He was so worth the price I paid for him...which I think was just $5. He's just as cute as can be....the little coordinating stamp set is also inexpensive.
I made these cards for my kids as New Year's wishes. I thought the cards turned out cute...I think they liked what was inside better! HAHA!
I did cut the snowflake with the Winter Lace Cricut Cartridge and WOOO HOOO...I haven't done a project with that cartridge here so I get to add this to my personal Cricut challenge of making a project with each Cricut Cartridge I own! I am up to #26...that means I'm about 1/5 of the way there...and I keep acquiring more cartridges!
Life is good...
Well, tomorrow will be the day to take down the decorations and pack them up for another 11 months. Haha...before you know it we will be dragging it out again!
Happy Crafting and Happy New Year!
I have been able to get back into my craft room the last couple of days for an hour here and have been working on a project which I hope to share in the next couple of days. It's not quite finished...had hoped to finish it up today but we had the whole family here (my son, daughter, son in law and 2 grandkids) for our traditional southern New Year's dinner. Black eyed peas, greens (we prefer turnips to collards), mashed potatoes, corn bread and ham. We eat black eyed peas, greens and corn bread at New Years in the south for good luck. The black eyed peas represent coins, the greens represent paper money and the corn bread represents gold. I love old traditions. Anyway, dinner was yummy and now we all have full tummies with good luck foods!
Anyway since the family was here I couldn't finish my little project so it will have to wait a day or so before I can share it with you.
Here are a couple of cards (bad angle, bad photos) of two cards I made with all Paper Trey Ink products.
I love the little penguin die and shared a card I made with him the other day. He was so worth the price I paid for him...which I think was just $5. He's just as cute as can be....the little coordinating stamp set is also inexpensive.
I made these cards for my kids as New Year's wishes. I thought the cards turned out cute...I think they liked what was inside better! HAHA!
I did cut the snowflake with the Winter Lace Cricut Cartridge and WOOO HOOO...I haven't done a project with that cartridge here so I get to add this to my personal Cricut challenge of making a project with each Cricut Cartridge I own! I am up to #26...that means I'm about 1/5 of the way there...and I keep acquiring more cartridges!
Life is good...
Well, tomorrow will be the day to take down the decorations and pack them up for another 11 months. Haha...before you know it we will be dragging it out again!
Happy Crafting and Happy New Year!
Subscribe to:
Posts (Atom)