Saturday, March 31, 2012

The 5 Minute Layout!

Any of you who read my blog know how I am obsessed by trying to scrapbook or card craft faster!  I talk a big talk about how I love the process and every minute of the 8 hours it usually takes me to complete a layout but I am always really pleased when something works out and gets done quickly!
You may have seen this photo before....It was taken just a few days after Taylor's birth.  We used this shot on her birth announcement (with some other photos I also took).  My daughter loved the photo so much she had one printed on wrap around canvas and has it on display in Taylor's room.  I decided to also print it out as an 8x12...you know how I have a love for large prints in my scrapbooking.
Well, here it is:

I was in Hobby Lobby yesterday and found this lovely pearl and gem border with a touch of lace by Prima.  It was on clearance for $2.49 and I thought would be the perfect embellishments for this photo.  It turned out so pretty and really looks better in real life than it does here in the photo.

I am going to use this as the back page for her birth scrapbook....I decided against any journaling....I think the picture speaks volumes...what is it they say?  "A picture speaks a thousand words."

Here is a  closeup of the pretty lace, gems and pearls border.  Look at the cute little resin rose....so lovely!


Happy Crafting!!!

Thursday, March 29, 2012

And Yet Another Embossed Card!

I made another card with the same stamp and embossing folder I used  for yesterday's post.


I just embossed on black paper with various Adirondack embossing powders (Lettuce, Red Pepper and Buttescotch) to get the multicolor look.  The paper I used was a Bazzill paper...I did use the smooth side and my Embossing Buddy (antistatic thingy) but still some of the powders stuck where they weren't supposed to.  I need to most likely use a different type paper...still it turned out nice and I like the look.  I wrapped a little tulle around it and attached a tiny vellum tag I cut out and stamped with Tiny Tags die and Tiny Tags II from Paper Trey Ink.  (That is an awesome little tag set to have on hand...so cute!).

And an aside....I swore I would not get into buying Copic markers.  I have a few colors but they are just so darned expensive!  I generally color with watercolors or with pencils with Gamsol...but the other day when I was in the NEW Hobby Lobby I couldn't resist buying a pack of 6 markers (Skin Tones 1).  They were $40 but I got 40% off so paid $24 or $4 a pen.  Not too bad, I guess....  anyway, now I need to Youtube search some videos on skin coloring! :)


Happy Crafting!!!

Wednesday, March 28, 2012

Heat and Dry Embossing

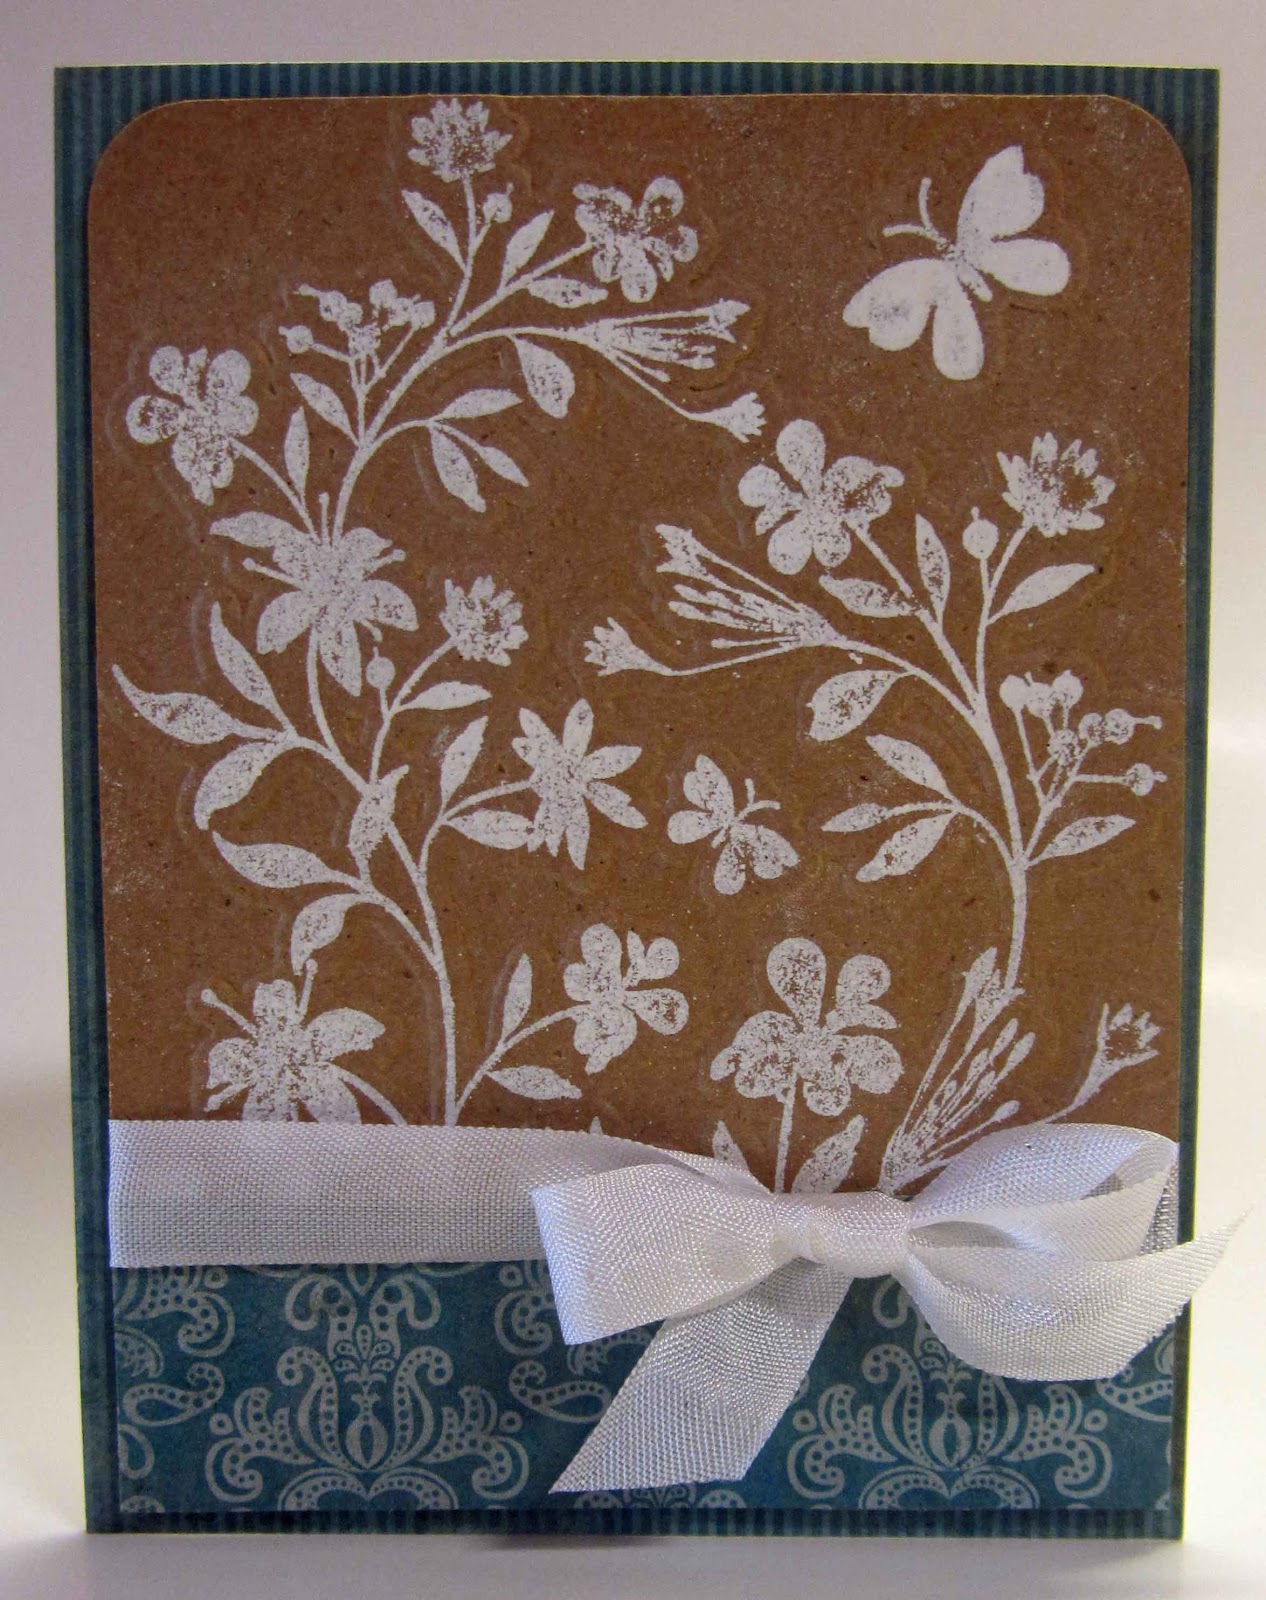
Hero Arts and Sizzix have joined to come out with stamps that also have an embossing folder.  I purchased one of these sets at Archiver's yesterday and made this card:
I embossed on Kraft cardstock with white Zing embossing powder and then ran it through my Cuttlebug with the folder. 
You can see how it embosses the image here.  Very cool, huh?
I used My Mind's Eye Stella Rose papers which I love and added a little white seam binding in a bow.  Simple but elegant...don't you think?

Oh...we got a brand new Hobby Lobby which opened on Monday.  It is 66,000 square feet of space is is reportedly the largest Hobby Lobby in the southeast.  No big grand opening specials yet but I'm hoping....
Nice store though....


Happy Crafting!

Monday, March 26, 2012

Embossed Butterfly Card

I seem to be into butterflies these days.  LOL!!!  Every time I turn around I'm using butterflies on another scrapbook page or card!  Oh well...butterflies are great.  I've been seeing a few more this year at the park so I think that is a good thing.

I got the inspiration for this card from a video I saw on Pinterest from Darlene Designs.  I love her videos...she speeds them up and does audio over them.  Anyway, her technique which I wanted to try was embossing with different colors on black cardstock.  I've done different colors on white cardstock but thought it looked so striking on black.

Here is my card:
I used Bazzil Cardstock (the black), a piece of Pink Paislee Bayberry Cottage printed paper, some white cardstock, Crushed Olive Distress Ink, Adirondack Lettuce and Zig White embossing powders.  I used a deckle edge frame from a Spellbinders set and then traced around and cut it out on white cardstock to give a little mat to it.  I also used the "Hey There" sentiment from Paper Trey Inks Fillable Frames #6.  The butterfly stamp is from the Hero Arts Antique Engravings set.  I tied some seam binding around it for a nice little bow.  And that's about it.  Pretty fast (for me!)

Happy Crafting!

Sunday, March 25, 2012

Little Baby Layout

I completed another 2 page layout for Taylor's baby book yesterday.   These photos are her getting on the first scale of her life and weighing in at 6lbs 8.8 ozs which is much smaller than her own mother weighed when she was born which was 9lbs 7.5 ozs!  LOL!!!  I am about a foot shorter than my daughter....yet I had the big baby and she had the nice teensy one.  Anyway, here they are... Left side first:
I did some stitching with the Beast on K & Company Sparkly Sweet papers.  I cut out a couple of butterflies for a little embellishement.  They are glittered papers so add a nice bit of sparkle! 
"Little Baby" was cut on my Cricut Expression with the Nursery Rhymes cartridge.  I was so hoping this would fit into my personal challenge of using all of my cartridges but unfortunately for me, I've already completed projects with it!  Oh well....
Here is a close up of the cut:
And I added a little bling because baby girls can always start off with a little bling, right?
Here is the right side...of her feet getting stamped and then just a cute photo of her teensy foot with her identification band on it.
The little feet die cuts were done on the Silhouette Cameo (which was a KI Design I purchased from the Silhouette store) as was the journaling spot.  I was able to cut the teensy printed frame on the inside of the purple frame with no difficulty at all. 
Isn't that a cute little teensy foot?

Happy Crafting!

Saturday, March 24, 2012

Easter Card

I was scrapbooking and playing around with my computer last night (both things are not exclusive, you know!) looking at ideas and tips when I got an email from SheryK Designs which included the link for a cute Easter basket cut file.  Shery does a wonderful job with her designs.  I've only started "collecting" them and this may be the first project I've actually done but it's a cutie!
What is it you ask?
A cute little shaped Easter basket card.  See?
Shery K includes various cut file formats in her dowloads including SVG and the Silhouette Studio file which makes it easy peasy for us Silhouette users.
This all cut out beautifully and was really fun to assemble. I used some K and Company papers I had that actually are printed on the reverse side...I used the solid sides because they were nice pastels.  I must not be much of a pastel person, though, because I certainly don't have much in the way of pastel in my stash! LOL!
I used Kraft cardstock as the base.  I also added a Tiny Tag cut with the corresponding die and sentiment from Paper Trey Ink. Added a couple of buttons and a little white cotton crochet thread and that was it!
I'd like to show a little closeup just because it's fun to check things out under a microscope!  LOL!

And that's it for today...it's a beautiful day here...I'll get outside and take a walk...other then that I hear my scrapbook stuff calling me!

Happy Crafting!

Friday, March 23, 2012

Uncle Jeremy

Here is a layout I did as a companion page to THIS layout I did the other day of newborn Taylor with her other grandparents. 

(Little bit of a glare there...oh well...such it is!)

This is Taylor being held by her Uncle Jeremy who also happens to be my 25 year old baby boy.  EEEK!  It wasn't so long ago I was holding him like this!
I used Coral Couture papers from DCWV, the same EK success butterfly punch I used on the other layout (so glad I got that punch...I've already used it several times!  It is the coolest because it punches 3 layers of butterflies for stacking.  Love it!  I also used a Gelly roll pen for a little glitzy accenting and that was about it.

I also used my Silhouette Cameo and the true type font Segoe Script to weld and cut out "Uncle".  Here is a close up....I'm always amazed how smoothly the Cameo cuts:


The capital "u" is less than an inch in height.  ....what a great cut!

And that's it for today!

Happy Crafting!