Showing posts with label Spellbinders. Show all posts

Saturday, August 16, 2014

You're So Cool-Take Two!

Oh my....a second post for today!  I don't usually post twice in one day!  If you are here to see Project Life...scroll on down!

I posted a card the other day with the Ice Cream Dream stamp set from Simon Says Stamp.  It's such a cute set...filled with all kinds of frozen novelties.  I love frozen novelties...my favorite?  The Outshine Pineapple Bars.  80 calories of goodness.  Chunks of pineapple.  Yum.  I eat them. All. The. Time.  Like.Two.A.Day....  HAHA!
Here's a card I made which I colored in with Copics....cut out and mounted on some foam tape.  I love the "you're so cool" sentiment...love that hand drawn look.  Anyway, I cut the white mat and the burlap mat with a Spellbinder die.  The burlap is the paper back burlap from DCWV which I picked up on sale (yay!) at Joann.  It cuts so well....burlap side up or burlap side down.  And I thought it gave a fun look to my card.  Something different, you know?

The background paper is BoBunny Lemonade Stand papers...so cute!
Here is another view!
And I added some Wink of Stella Glitter to the cone which apparently isn't showing up in my photo!  But maybe that's why the cone colors look sort of streaky...they don't look that way in real life.  At least not to my eye.

:)

Happy Saturday and Happy Creating!

Tuesday, February 25, 2014

Coffee, Chocolate and Wine!

I just love a great stamp set!  I love Hero Arts.  I've said that before.  Before Archiver's closed their doors forever (*sob*), my wallet and I found ourselves shopping one last time.  I bought a couple of stamp sets for old times sake and because I "needed" them.  I feel like I did my civic duty to help Archiver's resolve any outstanding debt it may have.  My friend, Cyndi, also did her duty as well.  Many times.... In fact, we are surprised that we, alone, did not keep Archiver's solvent.  *sigh*....

Anyway, onto new things and now that my favorite store is closed I will just have to order online to get the latest and greatest Hero Arts items!  heheh...

Here is a stamp set I bought and at first glimpse it looks cute and ok....but I only bought it because it had the words "chocolate", "coffee" AND "wine" included.  Three of my great loves.  I thought to myself "This is the perfect stamp set! It covers everything!".  Here is the set:
So, I got busy and basically made 3 versions of the same card.  Here they are:


I just used white Zing embossing powder, some basic colored cardstock and some printed papers from Lily Bee which came from a previous Simon Says Stamp Card Kit of the Month.  On two of the cards I used a spell binders scalloped die to cut out the mats.

Here are the 3 together....
What a fun set.  I love it!

Happy Crafting!

Saturday, July 27, 2013

More Simon Says Stamp Fun!

Here is another card I made with the Simon Says Stamp Card Kit for May.  Have I told you how much I love these card kits?

Haha....I'm boring you, I know that.

I just love a good value and I think these kits give that.  Plus I have an obsession with stamps and so I get a new stamp set each month.  And I sometimes like when some one else does the shopping and selecting for me. Not always...but sometimes. And whoever it is who is picking out the stuff at SSS...well, they do a pretty good job!

Here is my card:
Actually when I looked in the box to use up the supplies I found some frames I'd cut out with Spellbinder dies and apparently never used.  I wonder why I didn't use them....they were so pretty! LOL!  I just stamped the roses on some of the paper included with the kit and cut them out and pieced them onto the frames.  Easy peasy.


I have another card or two to share from that kit but I am officially done with it.  I've used up pretty much all the stuff!

I think the August kit is on its way to my door right now.  In fact, I was surprised it didn't show up today.  Maybe Monday. 

I think I will go play right now. 

Wanna join me?

Happy Crafting!

Monday, July 22, 2013

Cards, Cards, Cards!

I've been on a card making roll!  It's getting ridiculous!  Stacks and stacks of cards everywhere.  I think I need a 12 step program for "card hoarders"!  I wonder if there would be interest in a reality series on card hoarders?  I mean...Honey Boo Boo seems to be doing all right!

So here is a card I made with the Simon Says Stamp May card kit.  I am just about caught up to July with my card kits....I love challenging myself to use up the items in the kits.  I go on and on about how wonderful those kits are...well, August's is just about ready for shipment! Yay!


I had cut the frames out with a Spellbinders set and they were in my stash in my box so when I went to make some cards I decided it was time to use them!  The roses were made with stamps from the kit and I just paper pieced them with some of the papers included.

Lots of paper prints on this card but I think they all worked nicely together.

Happy Crafting!
Thursday, May 16, 2013

More with Simon Says Stamp's January Card Kit

I have still been working with the January card kit from Simon Says Stamp.    I ended up making about 6 cards, I think, with this kit and still have a few sheets of paper left.  Fun!  Great value and I love the stamps that were included. 

Here is another card I made with it:

Oh, uh, yeah....it is a cut out card...something I don't do often enough!  I used a Spellbinder scallop circle and a regular circle to cut out the shapes and a Fiskars scallop punch for the smallest scallop.  The Kraft sticker came with the card kit and I just inked it with some black VersaFine ink.
This is how it looks closed:
And when you open the card this is what you see:

I love the way it turned out and just might have to CASE myself on this. HAHA!

It was fun to do!  I like fun!  I like value and I think the SSS kits are a tremendous value! 


Lots of ! in that last line! 

!!!!

Happy Crafting....

Saturday, April 27, 2013

Congrats!

We are heading to a wedding tonight.  My dear friend's son is getting married to, literally, the girl next door.  OK, she doesn't really live next door but she does live in their neighborhood!

I made this card for the bride and groom.  I used papers from the May Simon Says Stamp May kit and Hero Arts stamps as well as a couple of Spellbinders dies.  The edger is from Papertrey Ink.

I love the vellum window and the hearts with the Glossy Accents on them.
I lined the inside with a printed paper and you can see it through the vellum.  So soft and pretty, I think!

That's it for today....need to go get ready for the wedding!

I'm entering this in the Simon Says Stamp Challenge: Anything Goes.

Happy Crafting!

Sunday, March 24, 2013

Good Friend

Busy day today....off to play tennis...or more likely sit in the car in the rain until they call the match (!) and then to friends for a visit tonight.  A full day! ;)

I have the Tim Holtz mini blueprint stamps of a camera, typewriter and telephone...so vintage!  I really love his blueprint stamps....they work so well for paper piecing and being cling...the quality of the stamped image is always so good!

Archiver's has bundled the stamps with the BoBunny Mamarazzi papers which I just love.  They are so cute....and how can you not love the word "Mama-razzi"?!

Here is a simple card I made with one of the stamps....I actually stamped the background with the same typewriter stamps and some pumice Distress Ink:


I used a Spellbinder die for the main mat and just traced and hand cut the lighter colored mat behind it.  The notched strip was attached with the Tim Holtz mini attacher.  The typerwriter was cut out...and then I "OH MY GOD" cut my stamps so that I could use "good" and "friend"....the set comes with a stamp that says "life is good" and "hello friend".  I see my idols, Jennifer M and Vickie P do this all the time but the idea of cutting my stamps up gives me the heebie jeebies.  I did it though and it worked perfectly and they ARE easy to put back together! ;)
I did ink the edges of the little paper with the sentiment on it and distressed the edges a bit.

That's it, my friends....
I hope your day is not as wet as mine is looking to be!

Happy Crafting!

Friday, March 22, 2013

I Like Your Style

When I got back from my month at the beach I was greeted with a Simon Says Stamp Kit of the Month.  I decided to join this club because I just love their products and knew I would not be disappointed.  And it's a great value, I think...lots of products to challenge you with and get your mojo going!
This was February's kit:
Wonderfully colored papers, cute embellishments and a stamp set that has the cutest stamps on it!
I found some great inspiration on line for this kit including a very cute card from the incredibly talented Vicky P. at Clips-n-Cuts HERE, some really adorable cards done with the kit by my new blogging friend, Lenny, HERE and a fabulous one by another new blogging friend, Grisel, HERE.  I knew when I saw all those wonderful cards that I needed to get going!  Such inspiration! ;)
Here is what I came up with....


I loved the softness of these papers and colors....very girly of course with the dresses and pearls and hearts.  All of the papers and embellishments are from the wonderful kit.
I can't wait to use it again!....still lots of stuff in that box! :)

Happy Crafting!


Tuesday, February 26, 2013

I Have You in My Heart

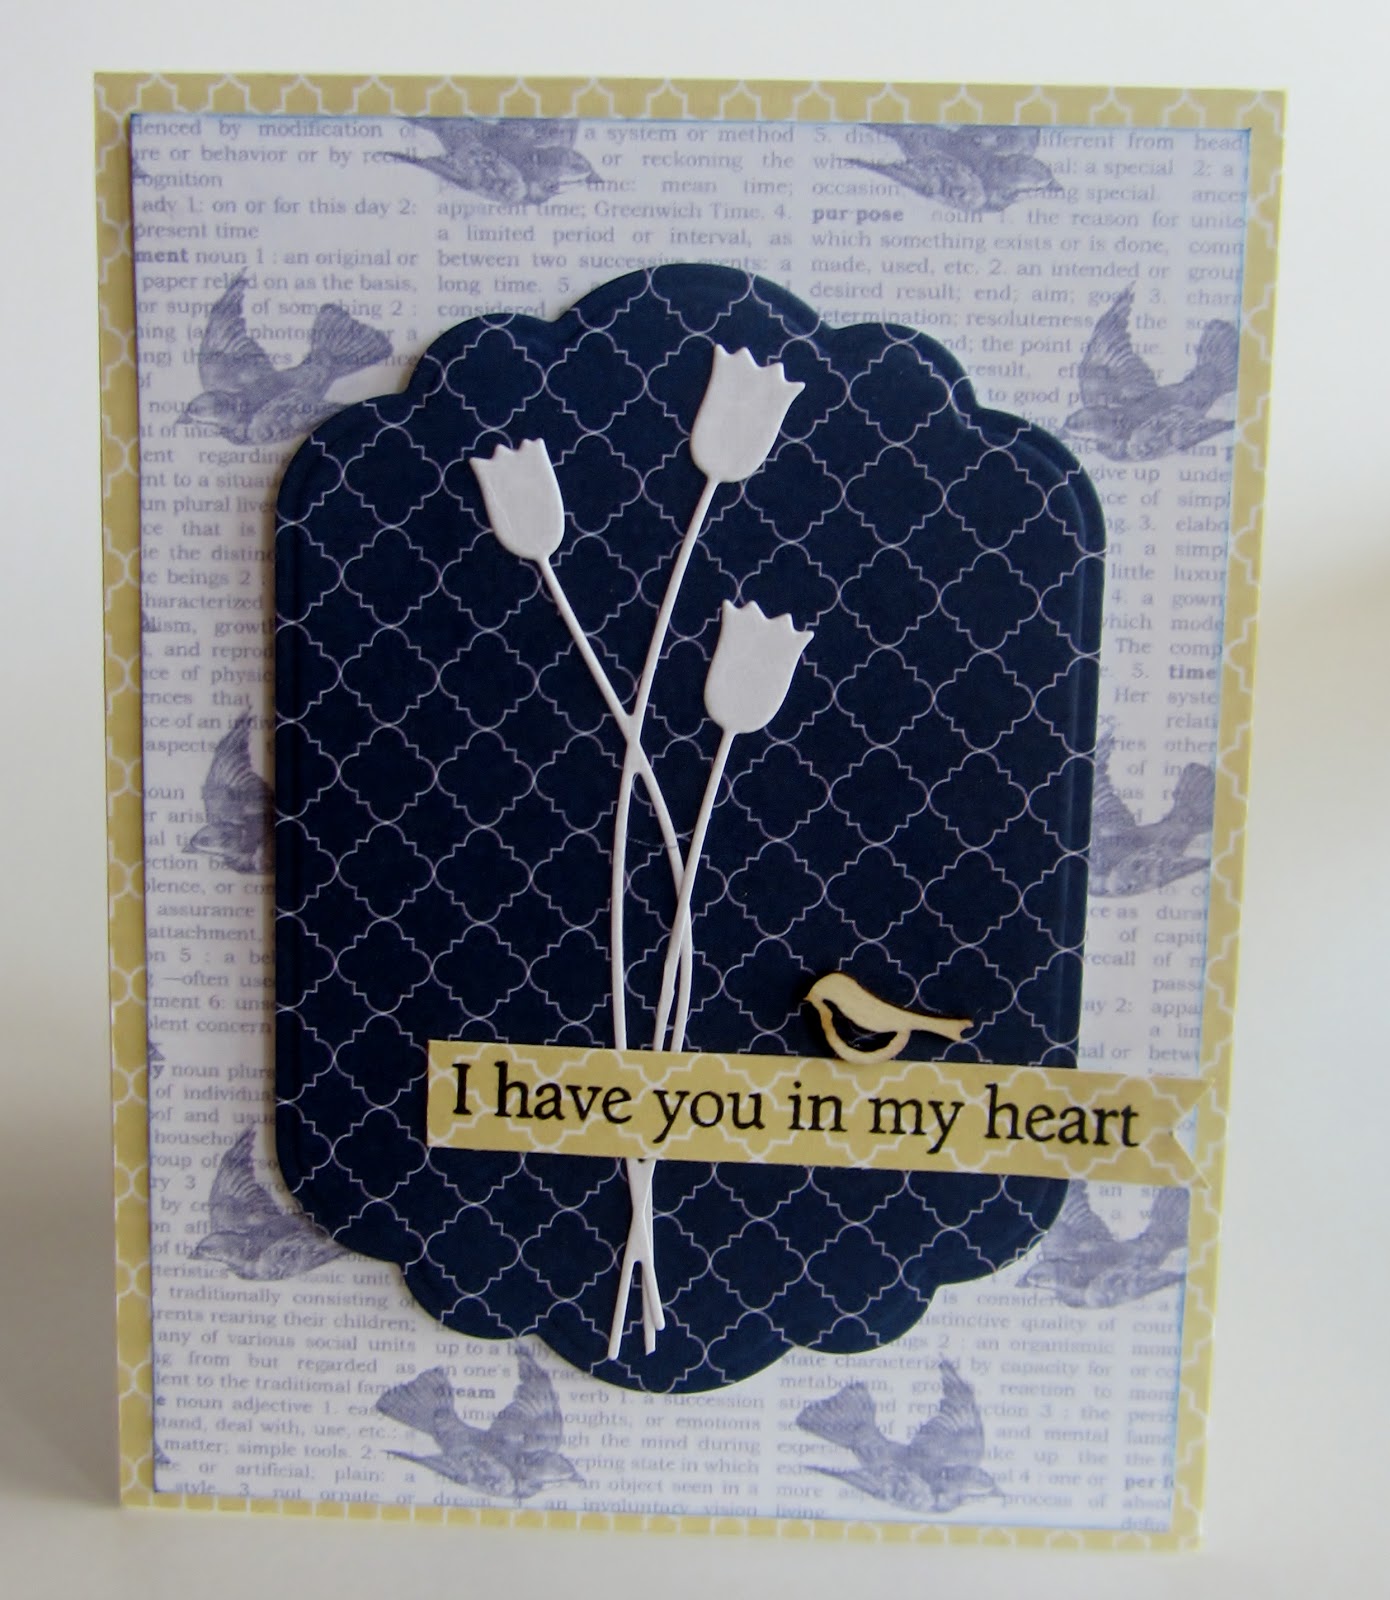
Sadly I had need of another sympathy card so made this one today with some We R Memory Keeper papers, a Memory Box tulip die cut, a spellbinder die and a little wood veneer bird by Recollections.  The sentiment is from a Hero Arts clear stamp set.

I hope it brings the recipient some comfort knowing I'm thinking of her.


On a brighter note I was in Michael's yesterday and they now have, packaged under their brand Recollections, little wooden veneer pieces that are exactly like Studio Calico but a little less expensive.

And always...Happy Crafting!


Tuesday, November 13, 2012

Fun with Gelatos

I have been watching a few "how to use Gelatos" videos out there in cyberspace and I thought they looked like fun.  Gelatos, if you aren't familiar with them, are made by Faber-Castell, they are pigment sticks of bright, vivid color.  They can be used for making your own backgrounds and for stamping....I guess there are lots of ways they can be used....and I'm having a great time learning and playing around with them!
Here is my first attempt (well, my only attempt!).  I used the blue set of Gelatos (Joann's and Michael's both carry them in sets for about $9.99 a set....of course I would NEVER pay full price and picked up a couple of sets with some heavily discounted coupons! :)) and SCHMEARED (my word) on some white cardstock after running it through the Big Shot with a Quikutz embossing folder (used the debossed side) and then used my finger to blend them.  I sprayed with some Pearl Glimmer Mist for a little sheen.
Unfortunately you can't see the effects of the Glimmer Mist but it sure is pretty in real life! the wonderful die is one of the new Spellbinder dies....look at how intricate it is....and it has little windows you can open! Too pretty!  I also used a Memory Box die for the tulips and put a little Glossy Accents on them.

A tip I learned with intricate dies is to use wax paper between your paper and the die....it helps to get good cuts and to remove the little pieces from the die without tearing.

I'm entering this in the Simon Says Stamp Challenge: Simon Says....Thinking of You/Sympathy.

Happy Crafting!!!

Tuesday, October 23, 2012

Fall Festival

My daughter, her husband and their little kiddos live in a great family oriented community.  They have lots of family events each year and one they have annually is the Fall Festival.  The kids love it...this year there were jump houses, games, food, animals to pet and see, classic cars and more.
I took my camera and got a few shots although those children move so quickly I seem to never get a good one anymore! HAHA!
I used DCWV papers and my Silhouette to cut the title:


I printed the pumpkin from a free digital stamp but can't recall where I got it right now.  
I colored it in with Copics and then used Spellbinder dies to cut the flag pole and rectangle to use for journaling.

Off to see the little ones today...
Hope you all have a wonderful day with some time for some crafting!


Thursday, October 4, 2012

Thank You, Thank You, Thank You!

I am blessed with wonderful friends.  We are together through thick and thin and that is for sure. We have all had some very "thin" days but are still always there for each other regardless of what is going on in our own lives.  Like I said...I'm very lucky and I cherish my friends.  Enough said.

I needed a few thank you cards for a few of my besties and made this one with the same background I used the other day.  It's a Hero Arts cut from the Silhouette Store and is called Fun Stripe.  I just love this cut and it looks great against solid cardstock.

The stamped image was done with Spellbinders Labels 20 and the coordinating stamps from Justrite Stampers.  I used Papertrey Ink Blueberry Sky paper and ink.


I added a few pearls to glam it up a bit and that was it.

Happy Crafting!

Friday, August 31, 2012

A Teensy Bit of Mojo....

....ok, so I wrote earlier how my Mojo had up and disappeared!  Once it's gone it sure is hard to locate!  :)
So, I went in my craft room today to play with a few of my toys and to see if I could locate some creativity.  I'm not sure I was all that successful except I did get a card made!
This is a new Spellbinders and Hampton Arts set....clear stamps with coordinating Spellbinder dies.


 I embossed some plain white cardstock with a Cuttlebug embossing folder.  I stamped the cupcakes image with some Memento ink and then colored it with Copics and adhered it to the card base with some foam tape.  FUN! I also added a little rickrack that I made with a Papertrey Ink die.
I finished with some Glossy Accent and that was it!
4 hours later.....

Not really....this didn't take all that long....and I also stamped and cut out a whole bunch of images to keep on hand for the next birthday card in need of making!

Happy Crafting!


Monday, August 13, 2012

Oooo la la!

I spent a little (well, a lot) of time yesterday playing with my Copics.  It was a lot of fun and without further ado here is the card I made using Penny Black's Mimi in Paris set.

I used some My Mind's Eye printed paper for the mat.  I cut the frame out with a Spellbinder's die and inked it with some Distress Ink and cut the little banner with a Die-Namics die.  The little butterflies were done with a Martha Stewart punch.
I added a little glossy accents here and there.  And my favorite thing other than my very impressive coloring (LOL!) is that I used some Liquid Applique for the little poodle's fur!  I've had that bottle for probably 7 or 8 years and it still worked and flowed!
 I pieced little Mimi together and just glued her flat to the frame but then decided to cut another frame and mount use some foam tape to lift it off the page a bit.

And that is it.  I think Mimi turned out so cute and I love this cheerful card.  But my blending has a long way to go! :)  Off to buy more markers!!!

I'm entering this in the following challenges:
Simon Says Stamp and Show: Challenge: Favorite Technique (my new favorite technique for the moment is coloring and shading with Copics)  


Happy Crafting!

Saturday, August 4, 2012

And the Winner IS....

....well, the Olympics won last night.  No paper crafting in my tv-less room.  I sat by the tv last night and watched Missy Franklin, Katie Ledecky, Michael Phelps and many others compete in their events!  So much fun and so interesting to me!


But today after watching Team USA's Serena Williams totally annihilate Maria Sharapova for the gold medal I decided to do a little crafting.


Here's a card I made with the Stamps of Life Thanks2You set.  I stamped it on some purple cardstock and embossed it with white Zing embossing powder.  I love the look of white embossing powder against dark colors.
I cut it out with a Spellbinders die and then cut 2 additional layers with Spellbinder dies.  I added a little white cotton thread which I tied into a bow.  The sentiment which is from the Thanks2You set was also heat embossed and then punched out with a Stampin' Up punch.  All other papers came from the Lavender Stack by DCWV and were inked with Concord Grape Distress Ink.
Some of the layers were placed on foam tape to lift them up a bit.


I love this set .... so many possibilities with it and Stephanie Barnard does a great job in giving you lots of stamps with the sets she creates.  And the stamp wonderfully!


So what did I do hour after hour while I was watching tv?


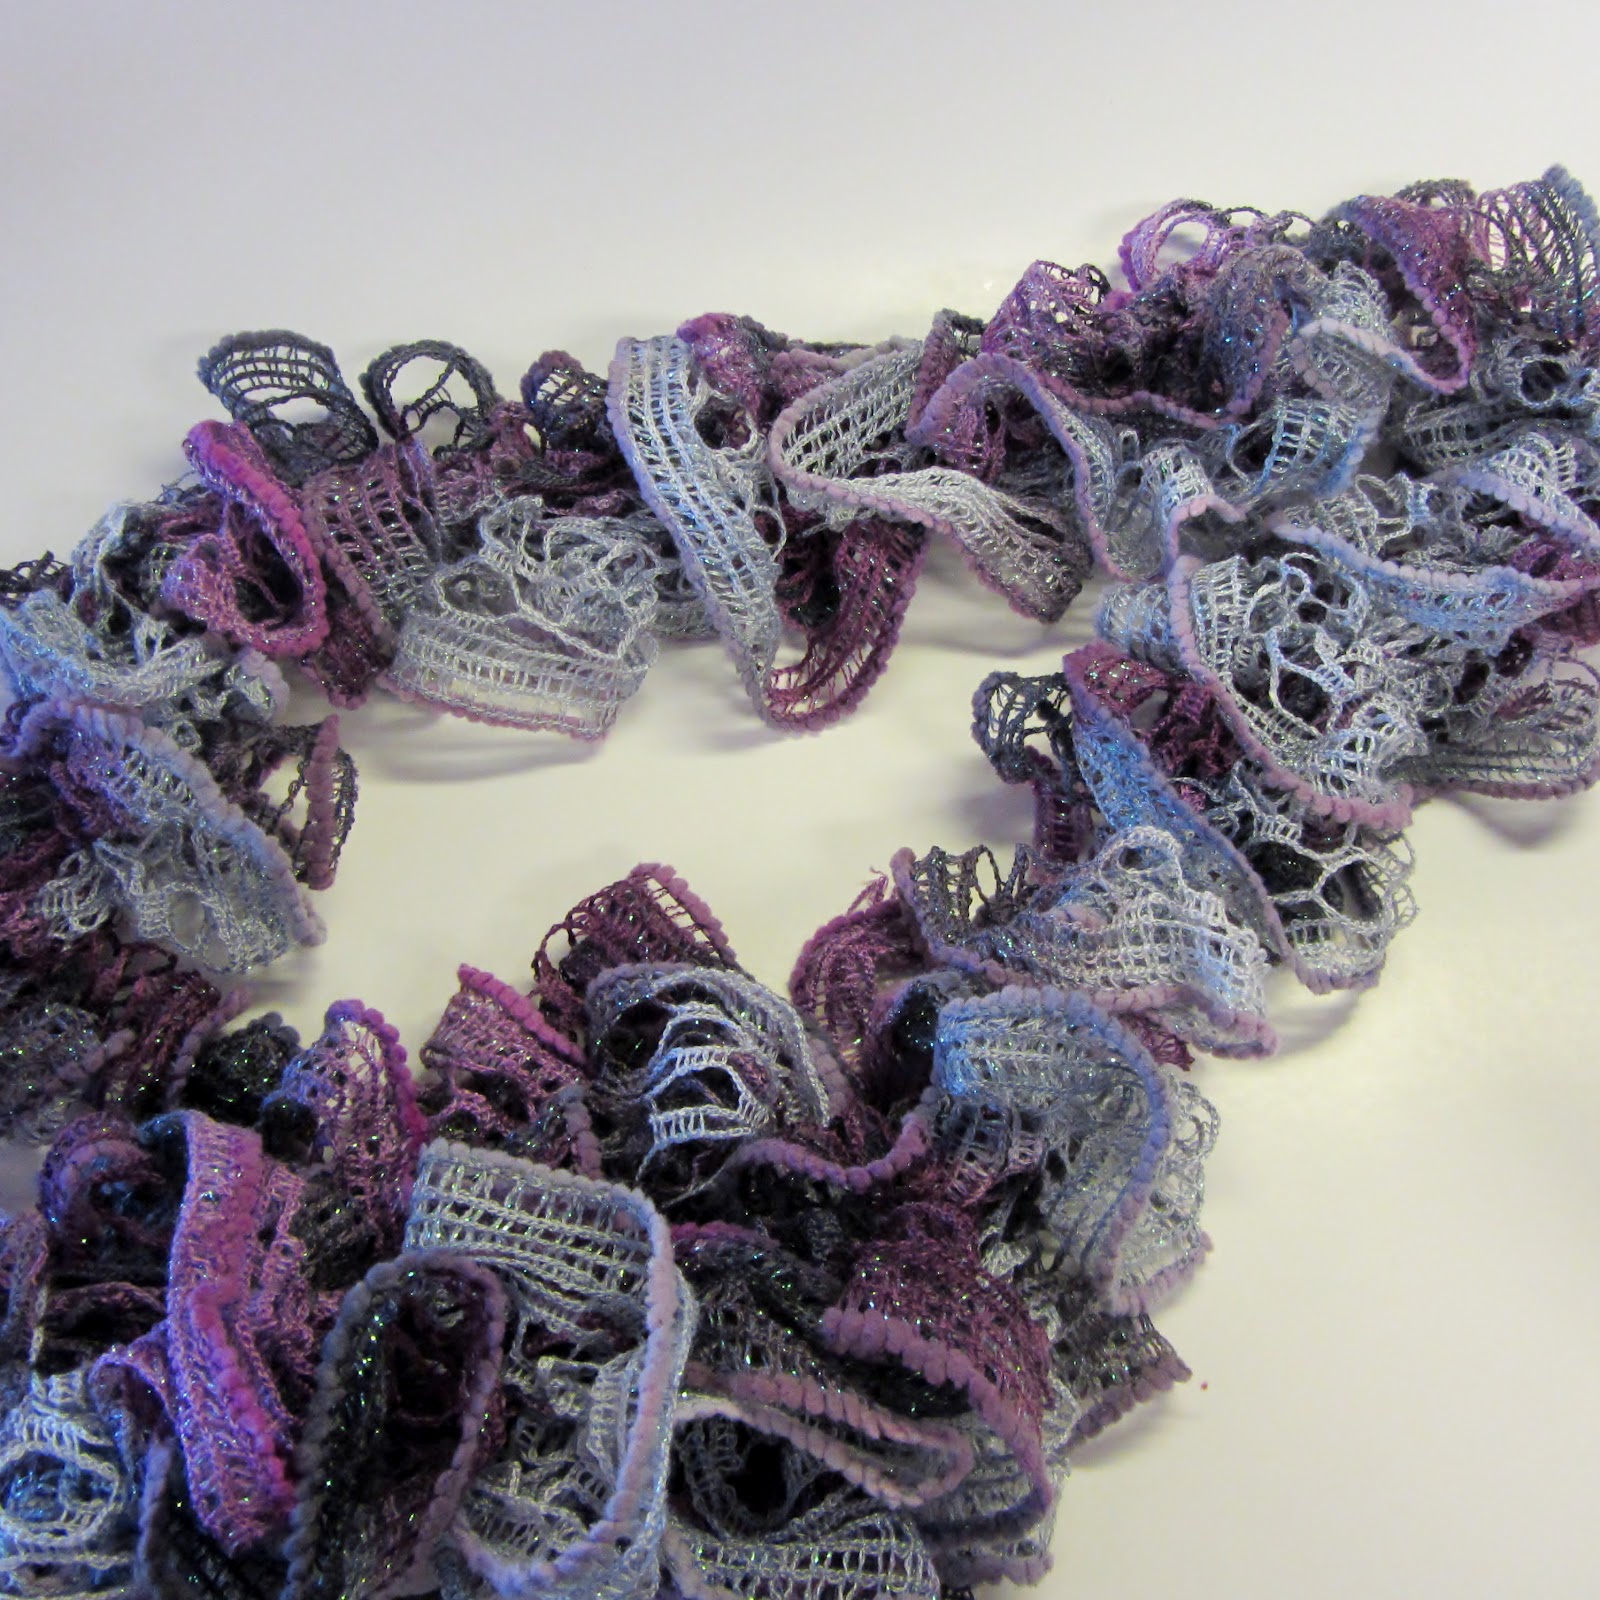
I made a scarf with Paton Pirouette fibers/yarn.  I don't know if you call it a yarn or not.  It's more like a crocheted fiber that you can use to knit.
This one is purple and gray and has some shimmer to it.  It just is all ruffly and pretty.  I love it!

One skein makes one scarf and they work up so quickly!  Way cool!  My friend Cyndi made one for me with a black and white fiber that I just love and I thought that I might try my hand at it, as well.  It was a lot of fun!


I know the Olympics will win again tonight!  More swimming...track and field, beach volleyball.  It's going to be a great night!


Back to the Serena/Maria match.  Serena won 6-0, 6-1.  That is a huge beating.  I don't know of anyone who could have played better against Serena...especially when she is in the ZONE!  I mentioned that to my friend and she mentioned the only opponent she could think of might be Roger Federer! LOL!  Way to go, Serena!


A funny thing happened at the gold medal ceremony.  It was very, very windy.  The Stars Spangled Banner was playing and the flag as it was being waved was flapping around. Right about the time it got to "that our flag was still there.  Oh say does that star spangled banner yet wave..."....well, our flag just flew right off the thing it was hoisted on and disappeared.  LOL!


Here is a video I found on youtube which isn't so great because it's a video of someone's tv but the whole thing is still kind of funny!


Happy Crafting and GO TEAM USA!!!

Tuesday, July 17, 2012

The Impossible to Mail Card!

I love big fat things....like big fat chocolate chip cookies....or big fat pieces of chocolate....but big fat cards just do not mail well, do they?  But sometimes I just can't resist!

Here is an example of an impossible to mail card:
Actually, I could put it in a padded envelope and it would be fine....but I don't know that it would do well in a regular paper envie.  You know?
When I was at the new to me stamp store the other day I picked up this wonderful little scalloped edge Dienamics die which made the center flower on my card.  It's one of those where you roll it up to make a 3 dimensional flower...and it is so cute.  I couldn't resist cutting some Papertrey Ink wool felt out with it....and then the smaller flowers were cut with one of the Paper Trey Ink's Flower Fusion sets.  The sentiment is Papertrey Ink...stamped on a piece of cardstock with some Close to My Heart ink and then the ends were punched with a large scallop.  *Cute idea, if I say so myself! The frame is a Spellbinder.  I added a few Hero Arts pearls, tied a little cotton floss into a bow and secured it and that was it!  The card base is Papertrey Ink cardstock (LOVE THAT STUFF!...it's so wonderfully sturdy!)


Simple and "relatively" fast! :)

Monday, May 28, 2012

Quick and Easy Birthday Card

I love watching the videos at Lily Pad Cards.  I saw one a few days ago and thought I'd like to scraplift it.  You can see the original version HERE.  I put my own spin on it....added a butterfly and inked my mat but I loved the inspiration I got from the video.  I also stamped my images and then die cut them...I think that was an easier route...at least for me.  The card base and mat were cut out with Spellbinder dies.

I used Broken China Distress Ink to give the mat a little color.  The butterflies were colored and shaded a bit with Copics.  The mat is mounted on foam tape and then the little butterflies are glued into the die cut openings and folded a bit for a lift.


The whole thing took me less than 30 minutes.  I think I will make a few more to keep on hand!

Susan

Monday, April 23, 2012

No Favorites for Me/CFC Challenge0422

I don't really have many favorites.  Ask me my favorite color and I'll name at least three...blue, red...and black (black is slimming you know)....I might even throw in green on some days!  Ask me my favorite thing to do and I'll name paper crafting, tennis and reading.  Ask me my favorite food and I'll say "It depends...".  I don't have a favorite animal (like 'em all)...don't have a favorite cartoon character although I do seem to be watching a lot of Thomas and Friends these days and if you ask my grandson what my favorite train is he will say "Skarlooey".  I always tell him Skarlooey is Omie's favorite.
In case you are not up on your Thomas...here is Omie's favorite Skarlooey:


I certainly don't have a favorite bug.  Mostly I don't like bugs. Bugs give me the heebie jeebies.  I'd rather touch a snake than a bug any day!  I do like butterflies, though...and I can put up with a dragonfly.  Dragonflies are pretty neat to watch....I just don't think they need to land on me.

Anyway, I am participating in my first challenge at the very cool site The Outlaws.  This is the Creative Freebie Challenge CFC Challenge0422 where you are given 2 digital images to use in a project...and if you complete the project you get two more.  The image I selected to use was Sandi Huggett's dragonfly.  And it did not give me the heebie jeebies, thankfully.

Here is the card I made:
I colored with Copics (yay)...and just had a fun time making a sort of op art dragonfly....I made a card base with some Spellbinder dies and used a Hero Arts sentiment stamped with some SU ink.  I also versamarked the entire dragonfly and embossed it with some SU sparkly embossing powder.  Added a little pearl gem to the flower, some pearl cotton around the mat and that was it!
And a closeup:
Not bad for a bug, huh?

And by the way, the cookies I made yesterday that I named the "Have It All" cookie were a big hit.  Scrumptious, wonderful, delicious...and perhaps a FAVORITE!

Happy Crafting!

Sunday, April 1, 2012

Coloring with Copics

As I mentioned in a previous post I had bought some Copic markers recently.  I swore I wouldn't get into buying them because of their price but then I just saw such cute things done with them on all of your blogs so they became a "have to have".  I bought a few...not many...I really wanted some do do faces with so I bought a set of skin colored markers...then I bought some others...and then a few others...and...and...
LOL!
Here is my first attempt at some blending. 


I watched a few tutorials (well, really only 1) and thought...well, what can be so tough about coloring?  I've been coloring as long as I can remember!  I've taken a few art classes so get the idea of highlights and shading so figured it would be about the same.  Well, it's not as easy as it looks!  HAHA...so now I will be watching more videos and tutorials!  
I used the cute little digital image from Whimsie Doodles and just colored away.
Since I had some "bleed" above her head I just ended up cutting the cute little girl out and mounting her on a frame cut out with a Spellbinder die which was inked with some Stampin' Up ink (can we say run on sentence?).  I used some pretty paper from K and Company for the card base and added a bit of seam binding for a bow which I tied with my great little handmade BOW MAKER seen HERE. I put a couple of little pearls on her hair bows and used a little white Signo pen work.

She's cute...I can live with her but will be trying to improve those coloring skills! :)

Happy Sunday and Happy Crafting!


Monday, March 26, 2012

Embossed Butterfly Card

I seem to be into butterflies these days.  LOL!!!  Every time I turn around I'm using butterflies on another scrapbook page or card!  Oh well...butterflies are great.  I've been seeing a few more this year at the park so I think that is a good thing.

I got the inspiration for this card from a video I saw on Pinterest from Darlene Designs.  I love her videos...she speeds them up and does audio over them.  Anyway, her technique which I wanted to try was embossing with different colors on black cardstock.  I've done different colors on white cardstock but thought it looked so striking on black.

Here is my card:
I used Bazzil Cardstock (the black), a piece of Pink Paislee Bayberry Cottage printed paper, some white cardstock, Crushed Olive Distress Ink, Adirondack Lettuce and Zig White embossing powders.  I used a deckle edge frame from a Spellbinders set and then traced around and cut it out on white cardstock to give a little mat to it.  I also used the "Hey There" sentiment from Paper Trey Inks Fillable Frames #6.  The butterfly stamp is from the Hero Arts Antique Engravings set.  I tied some seam binding around it for a nice little bow.  And that's about it.  Pretty fast (for me!)

Happy Crafting!