Wednesday, March 7, 2012

Big Brother/Little Sister

Wow, I've just been cranking the layouts out!  Practically mass production for me!  I completed these layouts in...say...3 days!  LOL!!!  Just rocking!  Actually in my defense I completed one side one day and then worked on something else another day and then did the second side last night.  So, I'd say about 6 hours! LOL!  I would never win the award for fast scrapping.  As a side note it used to irk me at crops where they would give awards away for the most pages scrapped.  I think there should have been an equal award for the least pages scrapped.  I would have been in the running for that!  I am just such a fiddler.....I love to fiddle.  Anyway, I'm thrilled when I complete something and like I said...I love the process so there you have it!
These photos were taken just after Taylor was born and David was being introduced to her.  I just love his little face here....just total "what the heck is this thing?"  I wish he could have articulated what he was thinking!  It probably was "What the heck is this thing???". 
Here we go...left side first:
And the right side:
And a couple of closeups:

I have pretty much used up all my Echo Park Little Girl papers and just have a few stickers left.  I love when I get a pack and find a use for all of it.  I still love these papers....so bright and cheerful.
I used some bakers twine from the Twinery, some buttons from Paper Trey Ink and some of that jute twine type stuff from PTI as well.  I did some of the border edgings with Fiskars punches and also cut two with my Silhouette (those on the second page).  The green cardstock was from Core'dinations.
OH...AND THE BEAST WAS USED FOR SOME STITCHING ON THE PAGES!
I am really happy with the way these turned out...I love the mixes of the pattern papers and embellishments and sometimes it really is fun to just gaze at your own accomplishments, isn't it?  Sometimes we can look at something and just say...Hey, that's good!  (Well, to me anyway!)

Happy Crafting!

Tuesday, March 6, 2012

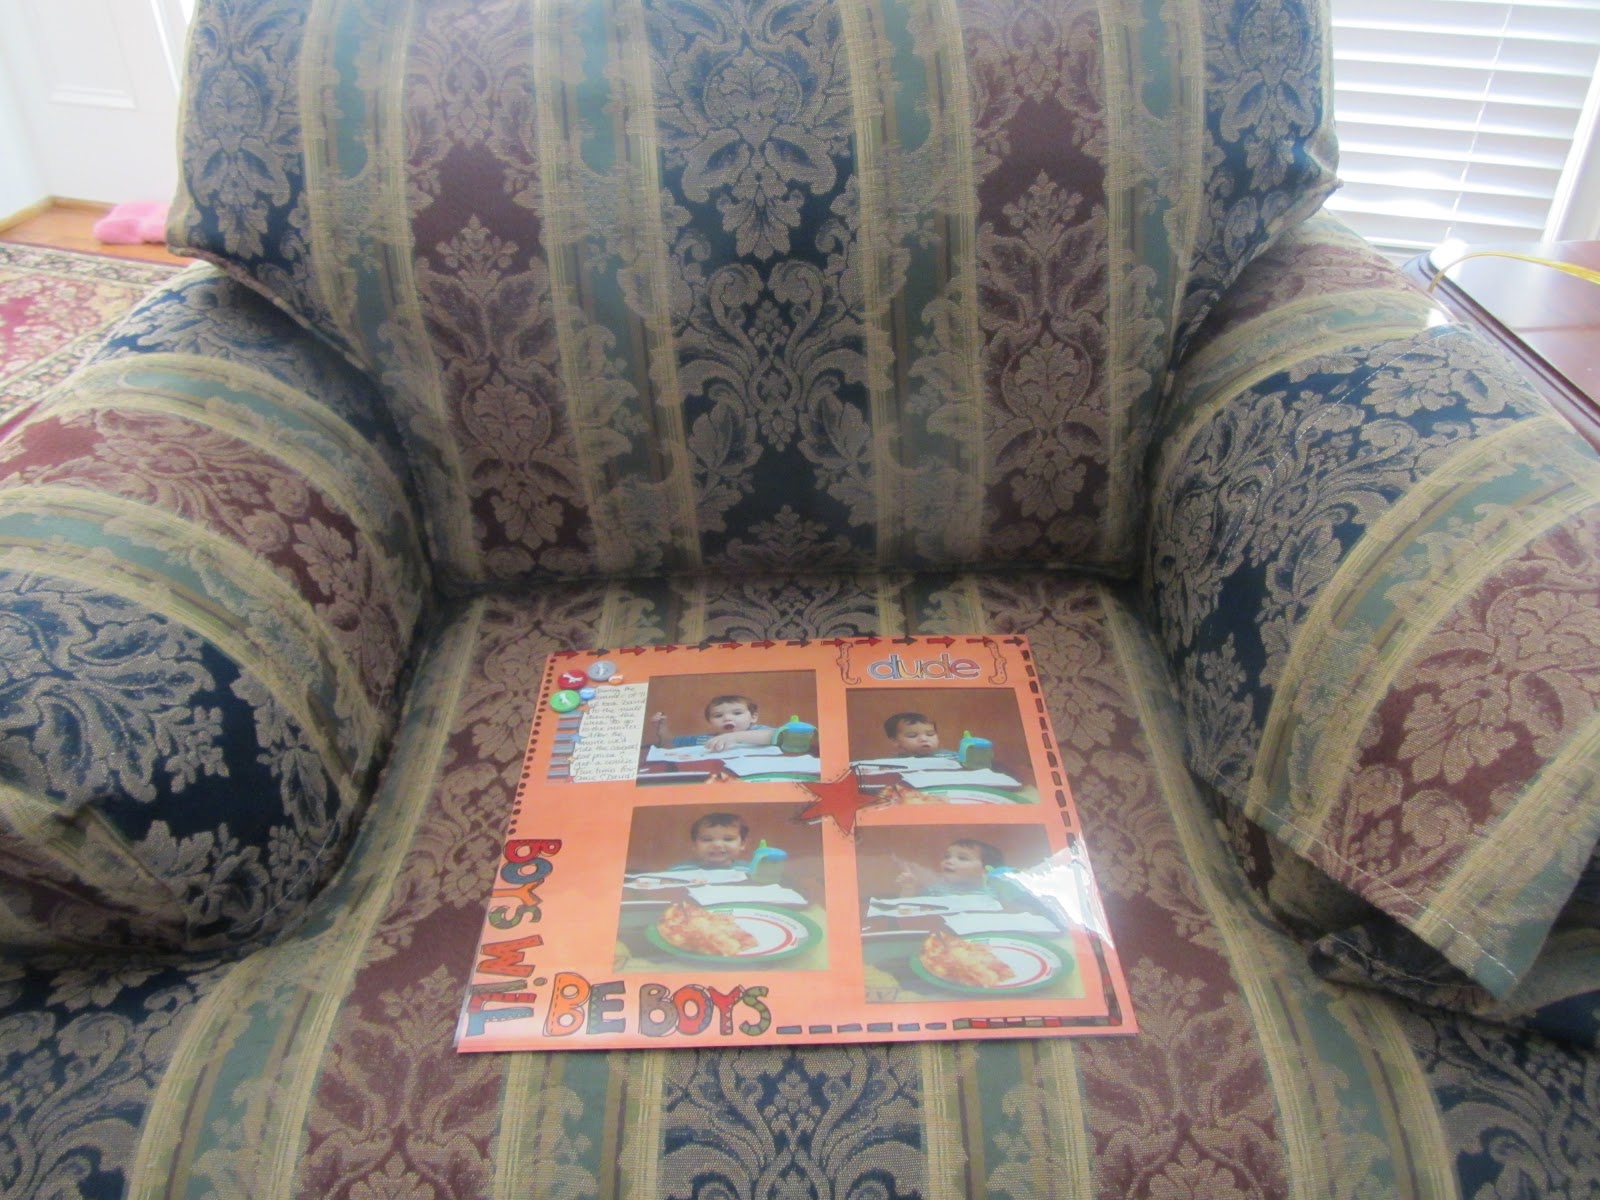
Sometimes You Get a Shot...Or How NOT TO TAKE A PICTURE!

...and sometimes you just don't!
I am sitting here all by myself (well, the dog is here) laughing out loud at how bad these photos are.  The problem is that my layout has a clear overlay and despite all attempts I kept getting a reflection.  The layout is so way cute in real life but looks just plain awful here!  Oh well...what can ya do?!
OK, this first one was done after I tried taking it the usual way...which was standing over it on the floor.  That didn't work because all you got was a photo of me taking a picture of the layout.  It looked like I was looking in a mirror! LOL!
So then I propped it in a chair.  and the flash accidentally wen off so huge light throwback!...
So then I took the flash off and got another great picture of me taking a picture of the layout! LOL! Great job, Susan!
Then I decided to try holding it in my hand and moving it so there would be no reflection.  Uh...obviously didn't work!
I put it back in the chair and tried from a different angle:
 Well, that's a great picture...LOL!  You can see everything so clearly! ;)
So then I just took the overlay off and put it back in the chair but now it looks nekkid (as we say in the south!) because the overlay is what makes the layout!
Oh well...maybe  you can use your imagination and dream up what it really looks like in person...or better yet, come over for a cup of coffee and I'll show you!

Anyway, this layout has to do with this past summer where every Tuesday David and I had a date to the $1 movie.  We would go to the mall, go to the movie which he would watch anywhere from 10 minutes to 45 minutes but when he was done he was done!  Then we'd ride the carousel, eat pizza (which is what he's doing here) and get a cookie and then head home.  It was so much fun for both of us and I look forward to date Tuesday again this summer!
I used products from Fancy Pants to complete this way cuter in real life than on your computer layout.

Happy Crafting!

Monday, March 5, 2012

And We Have MORE Baby Girl Layouts!

A quick post today...the week begins and so do my weekly activities beginning with some tennis this morning.  Typical of March we will be playing in hurricane force winds! LOL!

Here is another 2 page layout I did of Taylor's birth.  These photos were taken when I was trying to wiggle my way in between the DADDY and the DOCTOR who were preparing to cut the cord.  I remember Daddy David kept asking "Here?", "Here?", "Here?".  It was kind of funny....I think he was worried about snipping!

And here...without further ado...are the layouts:

 I used the Lavender Chateau paper stacks from DCWV (same line I used in the sketch challenge layout from yesterday).  The flourishes and the frames or labels were cut with my Silhouette.  I loved that journaling frame...nice room for writing...and sometimes my journaling is rather spotty!  I put some Swarovski crystals on the flourishes for a little extra something.  Again...I love the balance the 8x10 gives the 2 page layout with the smaller 5x7s.   Photos of a birth need to be dramatic, don't they?  I wouldn't want small photos swallowed up on my pages.  

Well, that's it for today, girlies!

Happy Crafting!

Sunday, March 4, 2012

Family

I just love these pictures.  They aren't great portraits but they were the first pictures of this little family...my son in law, daughter, grandson David and New Baby Girl who was less than a day old.  What I love about these pictures is the "WHAT THE HECK IS HAPPENING TO MY WORLD??!!" look on David's face!
Grainy picture, I know...it's a picture of a picture but I just love the look on this sweet little boy's face!
Here is my layout:
And I used the sketch from Sketch Savvy and posted by Erin Madsen at her Die Cuts with a View blog.  She runs a sketch challenge every month for us DCWV stacks fans!
Here is the sketch:
I used the very pretty Chateau Lavender stack from DCWV which I love!  I know it's probably not typically used for baby pictures but I love all the purple colors in it and think it's perfect for some of my favorite photos! I did another layout with those papers and will post it within the next week so check back if you like purples! :)
I used 2 different Fiskars punches for the borders, Fillable Frames #5 and #6 for the frame and "Happy Day" sentiment and those are from Paper Trey Ink and stamped with Jenni Bowlin Brown Sugar ink. The large FAMILY circle was from an image in the Silhouette store and cut with my Cameo.  The heart border along the bottom was a freebie from Kerri Bradford Studio.  Both cut so beautifully, don't you think?  Buttons were from PTI and Memory Makers and the twine was from PTI. Oh and I inked edges of the borders with some Distress Inks from Ranger.
I had a great time doing this layout...the photos just bring a smile to my face each time I look at them.  My journaling reads "A first family photo...Here we have a very happy father, a happy but exhausted mother, a sleepy and a little annoyed new baby girl and a big brother who is not at all sure what is going on!"
I just love that David is looking at his new little baby sister so intently.  :)
Here are a couple of closeups:

I love the "glittery" look to the papers without the mess of glitter!

Saturday, March 3, 2012

Sweetness

Another NBG layout....New Baby Girl turned 9 months yesterday....I guess I will not be calling her NBG much longer!  How the time flies.  She is as cute as a button, happy, smiling, content...and she's pulling up!  I was looking at my beautiful glass topped coffee table yesterday and it is just loaded with little fingerprints.  I love it and don't even want to wipe them away!  She'll be walking soon...off to school before we know it....ahhhh...how the time passes!

I took these photos of Tayter (my new name for her) exactly one week after her birth.  I love this little blue cornflower looking dress...and thought she looked so cute in it.

This is the left side:

And here is the right:
Or here is how they will look side by side:

Again, I love using enlargements in my layouts especially of my best photos.  Costco is so reasonably priced when it comes to enlargements that I think it is very much worth it.

This 2 page layout took me a while to do...just wasn't coming together.  I tried doing it on black cardstock but it was just too "heavy" so went with trimmed yellow that I adhered to white cardstock.  I used a Martha Stewart corner punch to do the fancy corners.  I really wanted to use one of my new favorite things the Hero Arts Sizzlits which are stamps and dies that coordinate.  I love these sets.... I love dies that coordinate with stamps and the Hero Arts ones are so wonderful because with these you stamp first and then place your cut out die over the top of the stamped image and run it through your die cutter.
This is the set I used:

I colored in the stamped die cuts with Prismacolor pencils and used Gamsol (odorless mineral spirits) to blend a bit.  I used a little Stickles for the bees wings and some Glossy Accents for the flowers and bug's bodies.  I love the way they turned out!

I used my Silhouette Cameo to cut the "Sweetness" title with Black Jack which is a TTF I downloaded a long time ago from DAFONT.  I have always loved that font and it cut perfectly with the Silhouette.  I was able to weld the letters together AND I was so proud because I figured out all by my little self HOW TO MAKE A SHADOW!  It was so very fast and easy and I was so excited and just had to share with you my AHA moment! I have also been using the tip to flip my designs and place my textured paper upside down on my mat.  I think the Silhouette cuts well without doing that but I just figured I'd do it and I've gotten great cuts each time.

Here are a couple of closeups:


Isn't that ladybug the "CUTESIEST"?

It's going to be a rainy day here in Georgia today...a great day to stay inside and complete some layouts!

But first I need to run to Michael's.  Sunshine Honeybee alerted me that there is a coupon for 50% off one scrapbooking adhesive.  It's just like anything scrapbooking related...you cannot have too much adhesive!

Here is the Michael's coupon but run(!)...it's only good through today:


Happy Crafting!

Friday, March 2, 2012

The Mailboxes and Cricut Challenge 30: Once Upon a Princess

My very good friend Christine told another friend of mine (Cyndi) and me a story about mailboxes that her father, Larry,  had for all his grandchildren.  Many years ago when the oldest grandchild was quite small he had a decorative mailbox in his house.  The grandchild would come in and look at it. One day he put a quarter in it and when the child opened it she was very surprised and excited!  This started the GREAT MAILBOX IDEA!  He began to put money in the mailbox for when the child visited.  As he had more grandchildren he got more mailboxes so that all the grandchildren now have their own mailboxes.  He even has extra boxes for when the children's friends visit.

Cyndi and I thought this was a great idea and decided to incorporate this for our own grandchildren.  I bought a couple of little mailboxes at Joann's and cut some simple shapes out on the Cricut with vinyl.  
When David arrives at my house he makes a beeline for his mailbox!  I love it.  I think I'm training him well.  When he gets to be a teenager and Omie  is not the most important person in his life I will put big bucks in which will keep him coming back! (I hope!)  

Here are the mailboxes...I just finally did one for Taylor yesterday:

I didn't spend a tremendous amount of time on these...they need to withstand little hands and hopefully will for a long time.  OH...and I used the Cricut cartridge Once Upon a Princess which is the first time I've used this cartridge so this counts towards my personal challenge of using every one of my Cricut cartridges!  Although I'm loving my Silhouette Cameo...I still have a soft spot for my Cricut and have no plans to break up with him anytime soon!

So what do I put in the mailboxes?  Stickers, Matchbox cars, candy....that sort of thing.  I am saving the money for when they get older!

And here's a video of David from the other day heading straight for his mailbox when he visited Omie's house on Monday:

Vinyl...I have not worked with it much but boy oh boy did I do it the hard way the first time!  I didn't know about transfer tape and just peeled and stuck with my fingers! LOL!  What a mess!  And I would think...how on earth do people get those wonderful sayings onto walls?!  And then I learned about transfer tape!  I did Taylor's mailbox yesterday in about half an hour and that included finding the designs on the Gypsy and setting that up!  Yay for transfer tape!  
I'm working on a two page layout that just is not coming together.  Does that happen to you?  The idea in the head does not compute to the paper! LOL!  Hopefully I'll get it done today.

But for now...I need to fill the mailboxes as my little kiddos will be here shortly!

Thank you, LARRY BARRY,  for the fabulous idea!

Happy Crafting!

Thursday, March 1, 2012

Taylor and Mommy

Here is a layout I did of my daughter holding her baby (Taylor) for the very first time.  She was just a minute or two old...how fortunate I was to be in the delivery room so that I could snap this photo and preserve this memory. 
And you may not be able to tell from this photo of the layout but I just love that my daughter's mouth is pursed into a "shhhhhh" as she is trying to comfort her baby girl from the trauma of being born into this great big world! :)

I used some Paper Studio paper I had on hand and some Color Core'dinations cardstock.  I also used a new toy...the Creative Memories Border Maker System for the scalloped edging.  I love border punches and Creative Memories has come up with a foolproof method for getting that border PERFECT!

Here is a look at the border system:

Very cool tool!

I also cut the word "Tiny" out with my Cameo and that image came from the Silhouette Store.  The journaling tags were done with a couple of Spellbinder dies.  I used some white cotton thread and used a Bic Marker to make the thread look like baker's twine.  I tied the twine through a Close to My Heart button and wrapped some around the large photo and was done!  All done in under 3 hours! LOL!  OK...this one was pretty quickly done but I am NOT a fast scrapper! 

Hope you all have time for some crafting today!