Oh my goodness! I am officially behind. I worked on Project Life yesterday and thought I was just 1 week behind but when I looked at the dates I am 2 weeks behind! Yikes. And with my daughter about to give birth ANY day I just know I am going to get even further behind. Time to just slap some photos in that album and get caught up!
Anyway, here is Week 36....I used Fancy Pants papers and a few flair buttons and pretty much made all my journaling and filler cards. Well, I didn't "pretty much"....I did!
I began the week in NYC and went to see Kinky Boots on Broadway. (Bucket list item check off, by the way!). It was the most fabulous show I have ever seen! The show won the Tony for Best Musical for 2013 and the actor who starred won best actor in a musical. He was awesome and it was such a fun show! I was able to snag that photo off the WWW and was happy that I found such a great picture to always remind me of that fun day!
My "week" card shown below was done with an arrow image from the Silhouette Online store that I cut out with my Cameo...the font I used was called "Broadway" which I thought was just perfect and a bit different from the usual block style fonts I seem to gravitate to!
I love how big and bold it looked!
The clapboard below was also an image from the Silhouette Online store. I also added a little arrow that I inked a bit from Pink Paislee.
Here's the right side:
I used templates from Jessica Sprague and from the Lily Pad.
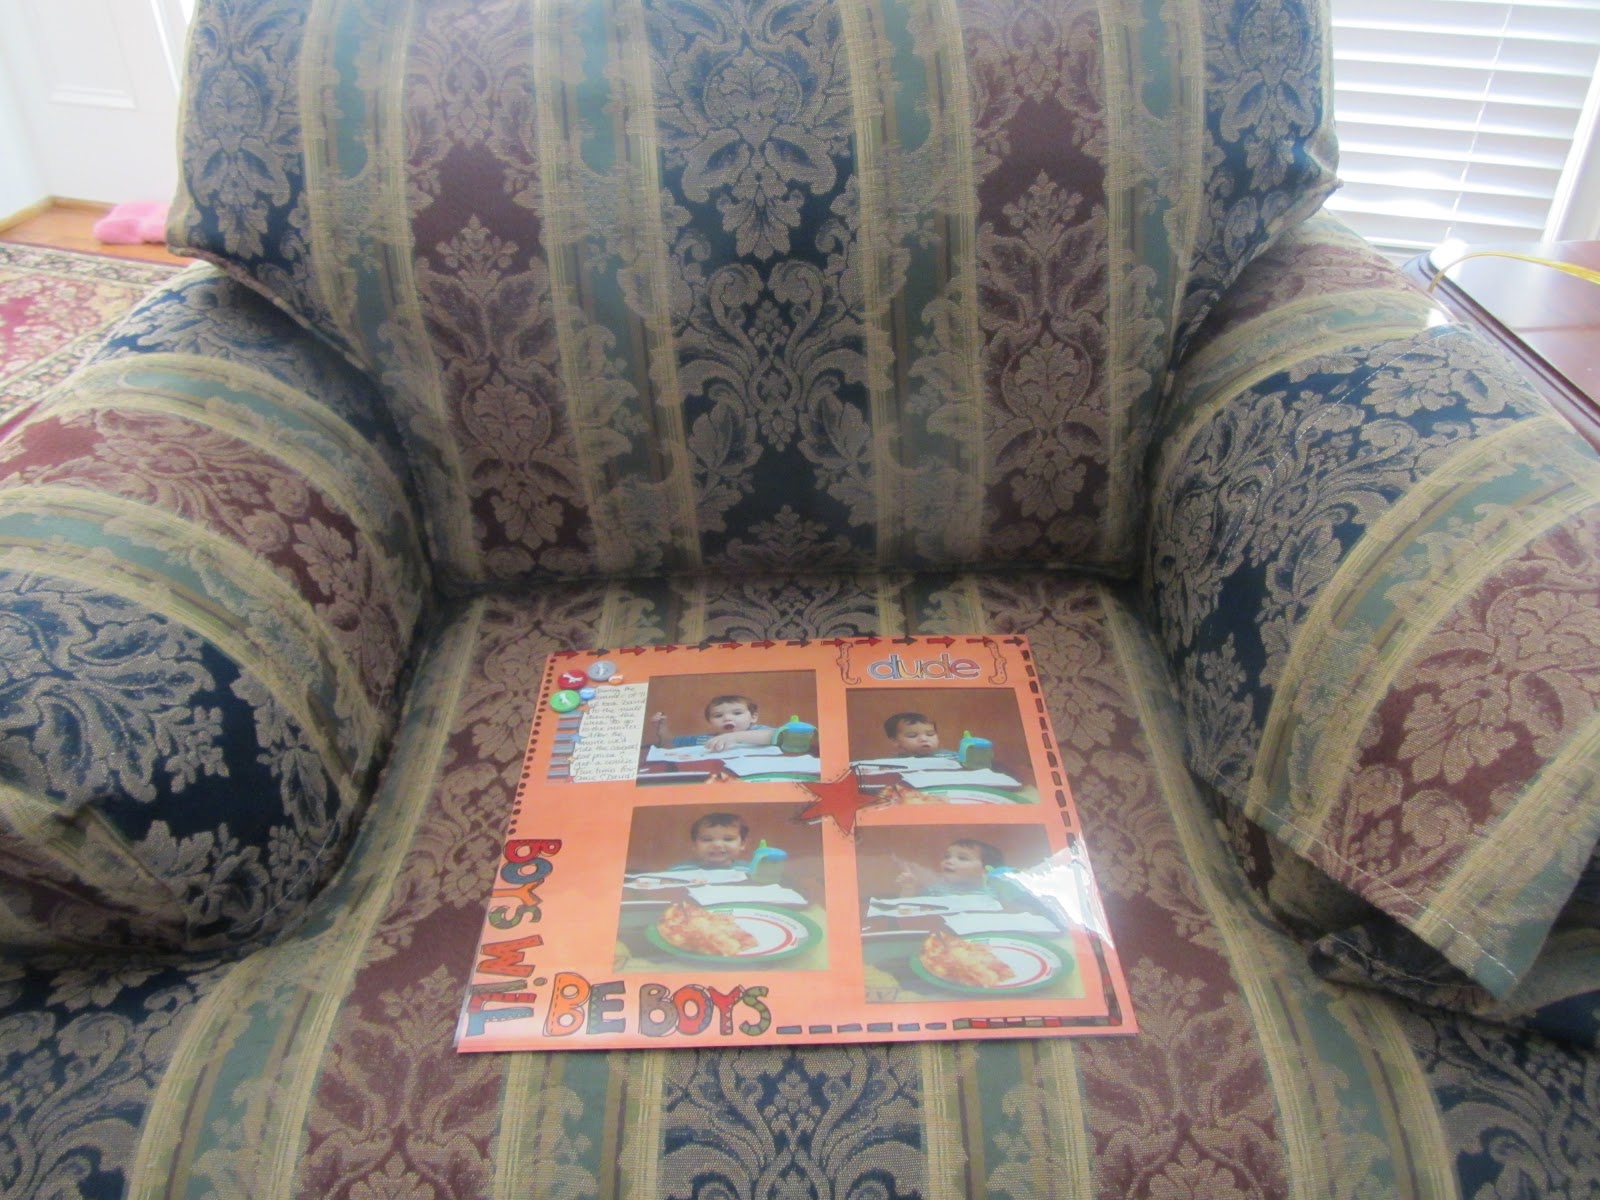
My grandkids started back to "school" last week (preschool for David and Mother's Morning Out for Taylor). I think they look so cute with their bags!
David started playing on a little soccer league and just had the best time running, running, running!
And lastly, the card below was also cut with an image from the Silhouette store...and is by Lori Whitlock, I believe.
I love how well it cut with my Cameo. What a great machine...couldn't be happier with it.
And that's it for today my little chickadees....need to get some photos ordered so I can get on with week 37 and 38! That baby will be here before I know it!!!
Happy Crafting!