Showing posts with label Gift Card Holder. Show all posts

Saturday, January 17, 2015

It's Your Day!

This card was inspired by a card made by Kathy Racoosin with the December, 2014 card kit from Simon Says Stamp.
Here is the kit with the items it came with:

Oh, how I loved this kit.  It came with two really fabulous embossing powders....my favorite is the Ranger Liquid Platinum.  What a great embossing powder this is! And my friends know that I LOVE to fire (heheheheh) up that heat gun and EMBOSS! My nickname with some of my friends is "Crispy Chick" because I have been know to crisp (read: burn) some things up in the past with said heat gun! :)
I figured this kit was a great deal...the embossing powders retail for $4.99 a piece and the Distress Embossing Ink retails for $2.99.  that's nearly $13 right there....but with the stamp set and the papers and sequins I only paid $19.99.  Such a great value, I think!
The bad news is that this kit is no longer in stock and kits beginning in January saw a price increase.  I think they are still a great value, though and I am one happy customer!  And my grandkids like the lollipops they always include! 
LOL!
Anyway, the Liquid Platinum embossing powder is very fine and goes on beautifully...and has just the right amount of sheen to it.
Here is my card:
I used my Silhouette to cut the 1 1/2-ish inch circle in the navy cardstock after I'd embossed it with those messy and stitched circles.  None of the assorted punch circles I had were the right size or went in deep enough into my paper...I didn't want the circle right on the edge. 
Here is a closer-up look:


I made this for my son (I always talk about how difficult man-ish cards are for me but I thought this fit the bill!).  His birthday is in the next few days.

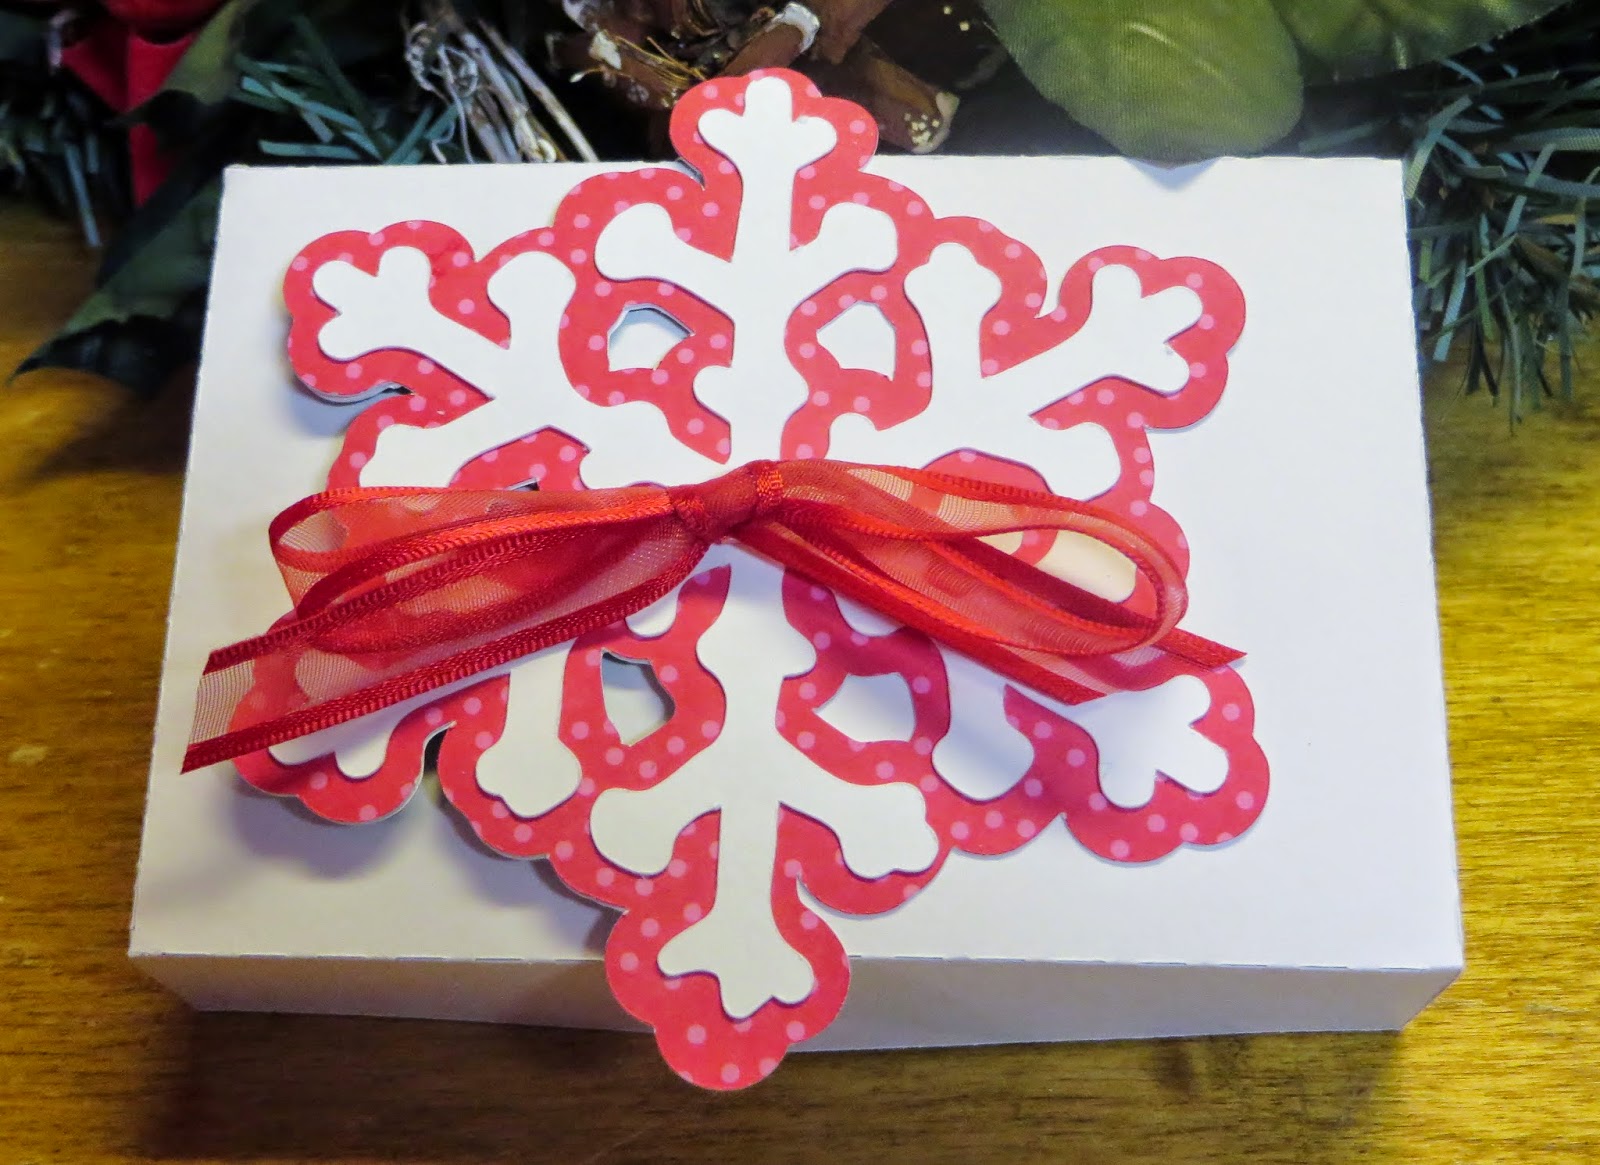
I also made another gift box with some papers I had on hand.  Same box as in yesterday's post but instead of cutting out some flower petals which would have been decidedly NON-Man-ish I opted for some other embellishments I had on hand.


I just love these little gift card boxes.   Here it is opened with a gift card...or two.

And that's it for today...I do hope you all are finding a little time for some creativity of your own!

Happy Crafting!

Friday, January 16, 2015

Gift Card Box

I found this very cute gift card box file in the Silhouette Online Store by Jamie Lane Designs.  It cut very easily and was fun to put together.  What is different about this little guy is that it has a little "pop up" that holds the gift card.

I have a friend who had a baby about a hundred years ago and I was really late getting a gift to her so today was the day....

I made the little card box with some Die Cuts With a View papers called Baby Boy Nursery. 

After I took the photo and was heading out the door I realized I hadn't taken a photo showing how the pop up mechanism works so I stopped quickly and took another photo:

And no...I didn't give the new mother a Lowe's gift card....it was just one I had to show how the card sits.

I love it...love the way these boxes cut and I thought the flower on top was so pretty!

Happy Crafting!!

Tuesday, December 23, 2014

Gift Card Boxes

I have further simplified my Christmas giving life by not running around and buying STUFF that people don't want or need and giving Gift Cards to my kids and their spouses.  I do get a few things for them to unwrap but the bulk of their gifts are in the form of Gift Cards.  I love a Gift Card (I don't know why I'm capitalizing them...but oh well!) so we do love giving what we love receiving, right?  Anyway, I wanted to present them in a cute way and have done all sorts of gift card holders in the past but came across some cute little box designs in the Silhouette Online Store designed by Jamie Cripps.  I thought they were so cute and promptly bought several files.  I had fun cutting them out and assembling them...using papers I've had on hand from previous years.  Mambi, Recollections and probably some DCWV in there, too.
The first one is just a cute little snowflake and the box is cut out of printed paper (Christmasy) but I used the white side for the outside of the box.
 The second one is this cute little holly box.
 The 3third on is with a Christmas tree:
...I already tied this one with some baker's twine.

And the last one is of a cute little Santa Claus look:
Here you can see how the boxes open:
There is actually a little box within a box...so cute!  And so easy!

Then I made a few tags which I tied on to each box.  I used an EK success punch and some Hero Arts Stamps for the "To:" and "From" and added some little Jolee's stickers to them.  Done! Easy! Fast! Cute!!

Today I go back for my first post op visit.  I am amazed with how quickly this old gal is recovering...barely a limp!!!  Bandages come off and I get to see that bad girl! :)

Happy Crafting and hopefully some de-stressing!

Wednesday, January 25, 2012

Gift Card Enclosure

A quick post here....I made this little gift card enclosure to go with the baby girl card I made yesterday. I used the Card Keeper stamp set from Art Imaginations.  I made a few of these at Christmas and you can see one example HERE.  They are quite easy and fast to whip up unless you forget to cover your ink pad and accidentally put your paper in it in which case they take twice as long to make!


I also used Tiny Tags and Tiny Tags 2 with the coordinating die from Paper Trey Ink.  Those tag sets are great and like the stamp set I used for the gift card enclosure something well worth the price because they are versatile and can be used over and over again! 

Here you can see the little tags which were stamped with some Stampin' Up ink.


  The It's a Girl stamp is from an old set I got on Clearance at Walmart a long time ago...Rhona Ferrer from Autumn Leaves. The stamps are so old I had a hard time removing them from the plastic!  But they are oldies but goodies, know what I mean?

Hope you all have a wonderful day and get some time in fro some creating!

Happy Crafting!