Showing posts with label DCWV. Show all posts

Friday, January 16, 2015

Gift Card Box

I found this very cute gift card box file in the Silhouette Online Store by Jamie Lane Designs.  It cut very easily and was fun to put together.  What is different about this little guy is that it has a little "pop up" that holds the gift card.

I have a friend who had a baby about a hundred years ago and I was really late getting a gift to her so today was the day....

I made the little card box with some Die Cuts With a View papers called Baby Boy Nursery. 

After I took the photo and was heading out the door I realized I hadn't taken a photo showing how the pop up mechanism works so I stopped quickly and took another photo:

And no...I didn't give the new mother a Lowe's gift card....it was just one I had to show how the card sits.

I love it...love the way these boxes cut and I thought the flower on top was so pretty!

Happy Crafting!!

Thursday, November 27, 2014

Happy Thanksgiving!

To all my American friends I wish you a wonderful Thanksgiving! So much to be grateful for!

I love Thanksgiving...it was always a big holiday in my household growing up.  My mother, a fantastic cook, would get up really early to get the "bird" in the oven. I would awaken to the wonderful smells of a stuffed turkey roasting in the oven. We would watch the Macy's Day parade in the morning....eat in the afternoon and watch football. Such good memories.

And even though time has passed since I was a little girl it's fun creating memories with my children and their children.  So, today I will be heading to my daughter's for fun with family...especially the grandkids!

Here is a simple card I made with DCWV papers and a fabulous cut file from the Silhouette store.  It cut beautifully out of glitter paper and I just backed it with a printed paper.

Easy and I like the way it turned out. No additional embellishments needed, right?


I haven't cut much glitter paper on my Silhouette so I wasn't sure how it would do.  Sometimes I will cut glitter papers face down and flip my image but on this one I tried it face up and with a new mat to help me out...well, it cut wonderfully, as you can see!

Enjoy your meals...and if you aren't in the US I bet you have things to be thankful for today, too!

Happy Crafting and Keep Creating!
PS. I'm entering this in the Anything Goes Challenge at Simon Says Stamp HERE.

Monday, November 24, 2014

Thanksgiving Box Card

These little box cards have become quite popular....my friend, Christine, has made several adorable ones with cut files from the Silhouette Store. I was searching for Thanksgiving cards in the Silhouette Store and this little Lori Whitlock file popped up.  I just thought is was really cute and decided to make it for my son and his new bride (whom I may not see on Thanksgiving. *sniff!)  My daughter in law likes all things crafty so she will like this, I'm sure.  My son probably won't 'get it'! LOL!!!

Here it is:
I used paper from DCWV...love the colors and prints!
Gobble, gobble...isn't he cute?

And here is the sentiment stamped with a Close to My Heart stamp.
And another look at my little turkey...

All pieces cut out beautifully on my Silhouette Cameo.  I had no paper tears or booboos...even with the little teensy tiny beak!

It was very easy to assemble and it folds up for easy mailing.  I did make a custom envelope to go with it with some coordinating paper.  Stuck a little Washi Tape on it and had a cute "packet" to send my card in.

I hope you have a Happy Thanksgiving, my friends!

Happy Crafting!

P.S. I am entering this in the Simon Says Thanks/Thanksgiving challenge which you can find HERE.

Saturday, August 16, 2014

You're So Cool-Take Two!

Oh my....a second post for today!  I don't usually post twice in one day!  If you are here to see Project Life...scroll on down!

I posted a card the other day with the Ice Cream Dream stamp set from Simon Says Stamp.  It's such a cute set...filled with all kinds of frozen novelties.  I love frozen novelties...my favorite?  The Outshine Pineapple Bars.  80 calories of goodness.  Chunks of pineapple.  Yum.  I eat them. All. The. Time.  Like.Two.A.Day....  HAHA!
Here's a card I made which I colored in with Copics....cut out and mounted on some foam tape.  I love the "you're so cool" sentiment...love that hand drawn look.  Anyway, I cut the white mat and the burlap mat with a Spellbinder die.  The burlap is the paper back burlap from DCWV which I picked up on sale (yay!) at Joann.  It cuts so well....burlap side up or burlap side down.  And I thought it gave a fun look to my card.  Something different, you know?

The background paper is BoBunny Lemonade Stand papers...so cute!
Here is another view!
And I added some Wink of Stella Glitter to the cone which apparently isn't showing up in my photo!  But maybe that's why the cone colors look sort of streaky...they don't look that way in real life.  At least not to my eye.

:)

Happy Saturday and Happy Creating!

Tuesday, October 15, 2013

Project Life: Week 39

I had a few minutes yesterday to finish up Week 39 of my Project Life.  I'm doing well....getting caught  up! LOL! 

Here is the left side:
The week card and the journaling card as well as the enamel dots are all from Doodlebug...I love Doodlebug...such cute stuff for kid pages.  Here's a closer shot of the "week" card:

I used Memory Box dies for "week", the brackets and the "39".  I put a little glossy accent on the little bluebird and some tiny googly eyes on the owl.  I love the googly eyes and I think the little kiddos will like them, too!
The "grandparent" stamp on the bottom right photo of the kids and me is a Unity Stamp.
Here is the right side:
I used a journaling stamp from Unity Stamps and papers from a DCWV stack from my stash.  The burlap and felt stickers were left over from a project from another week and are from Little Yellow Bicycle, I think.
I also did an insert page this week with a 5x7 photo of my grandson, David.   The front side is just simply the photo placed in a 5x7 Becky Higgins page insert.  Isn't he the cutest little boy?
 The back side I used a Becky Higgins 4x6 journaling card and added a little paper and some enamel dots and did a little good bit of journaling!
And that, my friends, means that Week 39 is FINISHED!!!  Woohooo.....which means I can get on to WEEK 40 and the birth of WADE!

It will be a few days, though...I'm back at my daughter's to help out for a few more days so am away from my crafty stuff.  And while I'm here I don't do crafting.  I play Batman and Babies and Dollhouse and Cars and read Curious George and New York Baby for the 116th times.  Life is grand!

Happy Crafting to you, though!

Monday, July 8, 2013

Cutie Patootie Bag

My friend, Lynn, of Cattail Designs mentioned that SVGCuts is having a little promotional thing going on right now.  Download a free cut file.  Make it.  Submit a picture of your creation through their website and then get a gift card for $6.99 for use in the SVGCuts store.

The bag is really cute and cut out well on my Cameo.  I think it would be better without white core cardstock but I used some DCWV papers and it is what it is.  I just wanted to get this prototype cut to see if it cut easily.  We are having a wedding next year and this might be cute to hold bridesmaid's gifts or things along those lines.  :) 

It did cut out well and was easy to assemble.

I read where someone did one and added a Coach logo.  How cute!


and a side view:

Fun, fun, fun!!!

Happy Crafting!

Saturday, January 19, 2013

Happy Birthday, Little Boy!

My little boy will be 26 years old on Monday.  I remember the day he was born...that night we had a big snowstorm in Atlanta which dumped over 7 inches of snow and the city was at a standstill.  Many of the nurses attending to me had to take double shifts as their replacements couldn't get to work.  They were all still great, though.  And I was glad I was in a nice warm place with a cuddly newborn!

So for my little boy I made this money holder card for him. What do you give a 26 year old? Why gift cards and/or money, of course!

Here is the all Silhouette card with a couple of cuts from the Silhouette store made with DCWV papers and some Kraft cardstock:


I added a  little Papertrey Ink ribbon and that was it.

Happy Crafting!


Tuesday, November 27, 2012

A Thankful Heart is a Happy Heart

We had our big Thanksgiving meal as a family on Sunday.  As I mentioned before when your kids start having families of their own you just have to adapt to their schedules. I don't mind that at all as long as we can all be together at some point.
I made the meal but my son hosted the dinner in his new house.  I think he was quite proud of that...had done a wonderful job getting his house in order and it looked great.
We worked on our "Thankful Tree"....if you don't know what I'm talking about you can see my original post HERE.
Here is the result...a tree full of thankful leaves:
I don't think the participants minded the "job" at all! I didn't see any rolled eyes! LOL!
I made a companion page for my scrapbook with a couple of group photos we took.

The papers are from the same DCWV stack as the tree above so they coordinate nicely.


The Thanksgiving corner in the top right and the sentiment "A thankful heart is a happy heart" were cut with the Cameo and were designs in the Silhouette Store.  I think the "thankful heart" sentiment is one of the greatest phrases or sentences ever and I wholeheartedly (is that a pun? ;)) agree with it.  Even in difficult times...if we can find things to be thankful for or grateful for we can find some happiness.  It's when we dwell on the negative that our hearts fill up with sadness and anger.  Not good.
Don't worry, Dr. Phil...I'm not vying for your job....

Happy Heart and Happy Crafting!

Thursday, November 15, 2012

Thankful Tree

This is totally NOT MY IDEA!  But wow....I love being inspired by the things I see around the web, don't you?  I saw where Darlene of Darlene Designs did a gorgeous one on canvas HERE and then I saw the one featured on the Silhouette blog HERE.  I thought it was a great idea....basically I will have my family members take the leaves and indicate what they are thankful or grateful for and then I'll ink the edges of the leaves and adhere them to the tree and use this as a scrapbook page.  And maybe this will be the start of a new tradition....my family is very blessed and we certainly have a LOT to be grateful for!
I used DCWV papers which cut beautifully on my Cameo.  The tree, leaf pattern and banner all came from the Silhouette store.  It was all very simple and quick to make.
 Here are the cute little leaves....
 Here is my pile of leaves...makes you just want to jump right in, right?  I just did a Fill Page and that made the hole replicate process fast and easy!
 The banner is also from the Silhouette store as I said and I just inked it and popped it up on some foam tape in the middle.  The font is Aharoni.
As my kids have gotten older we have had to adapt or change family traditions.  They both seem to like tradition though....and my daughter is having fun starting her own traditions with her children.  I'm hoping they don't roll their eyes at this one...and simply embrace it.  I think as the grandchildren grow they might be interested to see what we have all been grateful for....

Happy Crafting!

Wednesday, October 24, 2012

More Silhouette Layouts

As I mentioned before I went to a crop this past weekend and at the last minute decided to take my laptop and Silhouette.  I wasn't sure I wanted to fool with it but I certainly glad I did.  I practically burned it up I used it so much!
Here are two simple layouts I did with Silhouette images.  The first is a train frame I found in the Silhouette store:
 I popped it up with some foam tape to give a little more dimension.  And I made a journal block out of the coal car.  :)  I considered doing some stitching or dressing it up some but I decided to leave it the way it was.  But now I think I'll go back and add a little twine looped out of the smokestack so it will look like smoke. Good idea, huh?
 Secondly I found some leaf patterns in the Silhouette store and cut them out in some various sizes.

I embossed some of them and inked them and just scattered them on the page at the top...some were popped up with foam tape.  Nothing extraordinary here but it does look better and cute IRL (in real life)! :)

Papers were from DCWV.

And that's it for today....
Happy Crafting!


Tuesday, October 23, 2012

Fall Festival

My daughter, her husband and their little kiddos live in a great family oriented community.  They have lots of family events each year and one they have annually is the Fall Festival.  The kids love it...this year there were jump houses, games, food, animals to pet and see, classic cars and more.
I took my camera and got a few shots although those children move so quickly I seem to never get a good one anymore! HAHA!
I used DCWV papers and my Silhouette to cut the title:


I printed the pumpkin from a free digital stamp but can't recall where I got it right now.  
I colored it in with Copics and then used Spellbinder dies to cut the flag pole and rectangle to use for journaling.

Off to see the little ones today...
Hope you all have a wonderful day with some time for some crafting!


Monday, October 1, 2012

It's All About the Silhouette, Baby!

I struggled with my decision to buy a Silhouette Cameo.  I mean...I had the competitor's machine and lots and lots of cartridges....in fact, I have 2 of the competitor's machines sitting in my craft room downstairs.  I still use them on occasion and am not ready to give them up but...I am totally sold on the Cameo.  I love all the designs and things that the little green machine does but the Cameo cuts are just better.  OK, I said it.  Maybe it's user error...I see some really great projects out there with the green machine.  But I often ended up with bad cuts.  I wasted a lot of paper getting it to do right.   I think the competitor's engineers need to work on their green machine to bring it up to snuff.  With the Silhouette machines WYSIWYG....what you see is what you get.  Love that.

 I really bought the Silhouette so that I could cut titles more easily with True Type Fonts that I have "collected".  I just didn't realize I'd used it for so much more.  My friend, Kim, the Basement Stamper, was also struggling with the decision to get a Silhouette because she does mostly cards and thought the Silhouette would be mostly for scrapbooking type projects.  I'm betting she finds that there are tons of card related things she can do with her Cameo!  Plus she is doing Project Life and there are a bazillion little card cuts in the Silhouette store.  She's going to love it.

So here's an all Silhouette card done with some Die Cuts with a View Autumn Leaves papers. The sentiment is Paper Smooches.  The background....cut on Kraft paper....is a Hero Arts design/cut from the Silhouette Store.  The little bird and branch are from Echo Park...also in the Silhouette store.  And the label is one cut and resized that I also got in the Silhouette store.  Like I said...it's all Silhouette.


Here is the information on the specific cuts:
Hero Arts Fun Stripe Background: Design id #32661
Echo Park Bird on Branch: Design id #27060
Label by Echo Park: Design id #24933  I only used one layer of the label.

I hope you all have a great crafting day....it's rainy here today...perfect weather for crafting!

Saturday, August 4, 2012

And the Winner IS....

....well, the Olympics won last night.  No paper crafting in my tv-less room.  I sat by the tv last night and watched Missy Franklin, Katie Ledecky, Michael Phelps and many others compete in their events!  So much fun and so interesting to me!


But today after watching Team USA's Serena Williams totally annihilate Maria Sharapova for the gold medal I decided to do a little crafting.


Here's a card I made with the Stamps of Life Thanks2You set.  I stamped it on some purple cardstock and embossed it with white Zing embossing powder.  I love the look of white embossing powder against dark colors.
I cut it out with a Spellbinders die and then cut 2 additional layers with Spellbinder dies.  I added a little white cotton thread which I tied into a bow.  The sentiment which is from the Thanks2You set was also heat embossed and then punched out with a Stampin' Up punch.  All other papers came from the Lavender Stack by DCWV and were inked with Concord Grape Distress Ink.
Some of the layers were placed on foam tape to lift them up a bit.


I love this set .... so many possibilities with it and Stephanie Barnard does a great job in giving you lots of stamps with the sets she creates.  And the stamp wonderfully!


So what did I do hour after hour while I was watching tv?


I made a scarf with Paton Pirouette fibers/yarn.  I don't know if you call it a yarn or not.  It's more like a crocheted fiber that you can use to knit.
This one is purple and gray and has some shimmer to it.  It just is all ruffly and pretty.  I love it!

One skein makes one scarf and they work up so quickly!  Way cool!  My friend Cyndi made one for me with a black and white fiber that I just love and I thought that I might try my hand at it, as well.  It was a lot of fun!


I know the Olympics will win again tonight!  More swimming...track and field, beach volleyball.  It's going to be a great night!


Back to the Serena/Maria match.  Serena won 6-0, 6-1.  That is a huge beating.  I don't know of anyone who could have played better against Serena...especially when she is in the ZONE!  I mentioned that to my friend and she mentioned the only opponent she could think of might be Roger Federer! LOL!  Way to go, Serena!


A funny thing happened at the gold medal ceremony.  It was very, very windy.  The Stars Spangled Banner was playing and the flag as it was being waved was flapping around. Right about the time it got to "that our flag was still there.  Oh say does that star spangled banner yet wave..."....well, our flag just flew right off the thing it was hoisted on and disappeared.  LOL!


Here is a video I found on youtube which isn't so great because it's a video of someone's tv but the whole thing is still kind of funny!


Happy Crafting and GO TEAM USA!!!

Thursday, July 19, 2012

Cricut Challenge 32: And How the Years Pass!

I came across this layout I did back in 2008 before my grandkids came into our lives.  This photo was actually when they were just "twinkles in their parents' eyes".
It's hard to remember when it was just us...how much David and Taylor have both enriched our lives. And one day maybe my son (on the far left) will also give me a few more grandchildren!
This is the photo I used for our annual Christmas card...it has a filter over it To remove lines from the grandmother to be's face so it looks a little fuzzy but it really was such a pretty photo of all of us.
And all I can say is....boy, am I short! 

DCWV papers were used in this layout.  My Cricut was used to cut the title "Blessings" with the Jasmine cartridge.

Happy Crafting!

Saturday, May 26, 2012

Sympathy Cards

Sympathy cards are probably not the number 1 card that any paper crafter desires to make but, unfortunately, sometimes you need a few.  I needed to make a couple so worked on those last night.  I used the DCWV Mariposa papers (I have the mat stack which converts nicely to horizontal cards), some gold embossing powders and Hero Arts stamps.
Here is the first...a regular A2 sized card:
And a closeup of the embossing:
Then I made a 5x7 card....this paper was just too pretty to cut down:
I embossed the "With Sympathy" sentiment directly on the printed paper and then die cut and stamped some butterflies.
A closeup of the butterflies:
I did play with my new Distress Markers a bit and totally messed my little image up at the end!  LOL!  So it's back to the drawing board with those but I know I'll have fun with them today!

Happy Crafting!

Tuesday, April 17, 2012

Thanks So Much

My friend, whose daughter is graduating from high school this year, "commissioned" me to make a set of thank you notes for her.
This is what I came up with:
I didn't want too much dimension as they will be mailed...I was happy with the result and hope they will be, too.  I used DCWV Coral Couture papers, ribbon from Paper Trey Ink, the small tag was cut out and stamped with PTI's Tiny Tags.  I cut Jessie's initials with my Silhouette slightly off setting them for a mat behind them to give a little dimension without the bulk.

And that is it for today!

Happy Crafting!

Friday, March 23, 2012

Uncle Jeremy

Here is a layout I did as a companion page to THIS layout I did the other day of newborn Taylor with her other grandparents. 

(Little bit of a glare there...oh well...such it is!)

This is Taylor being held by her Uncle Jeremy who also happens to be my 25 year old baby boy.  EEEK!  It wasn't so long ago I was holding him like this!
I used Coral Couture papers from DCWV, the same EK success butterfly punch I used on the other layout (so glad I got that punch...I've already used it several times!  It is the coolest because it punches 3 layers of butterflies for stacking.  Love it!  I also used a Gelly roll pen for a little glitzy accenting and that was about it.

I also used my Silhouette Cameo and the true type font Segoe Script to weld and cut out "Uncle".  Here is a close up....I'm always amazed how smoothly the Cameo cuts:


The capital "u" is less than an inch in height.  ....what a great cut!

And that's it for today!

Happy Crafting!

Sunday, March 18, 2012

Layout in an Hour!

I don't know why I'm obsessed with how long it takes me to complete a layout.  I keep telling myself I love every single second (for the most part) of creating a layout or card and if it takes me hours (read: DAYS) well, than so be it!  That is mostly true except that I wish I could love the process a little more quickly! LOL!!!  Sometimes I wish I could create something decent in under an hour....


Well, this layout was really done in under an hour.  I used DCWV Coral Couture Stack (and the coordinating cardstock) so that took some time away trying to match papers up.  I do LOVE DCWV stacks... I had an idea in mind...I had 4 pictures to use but decided on these three.  These are photos of Taylor just after she was born with her other grandparents, my son in law's parents, Jim and Andrea.   So, I just sort of cut and snipped and attached and adhered and was DONE!  The only "special" I put on were the cute little dimensional butterflies made with the EK Success punch that does the layers. 
You can see the butterflies a little more closely here:

I used a little Gelly Roll glitter pen work on the butterflies which is there, trust me, but difficult to see in the photo.

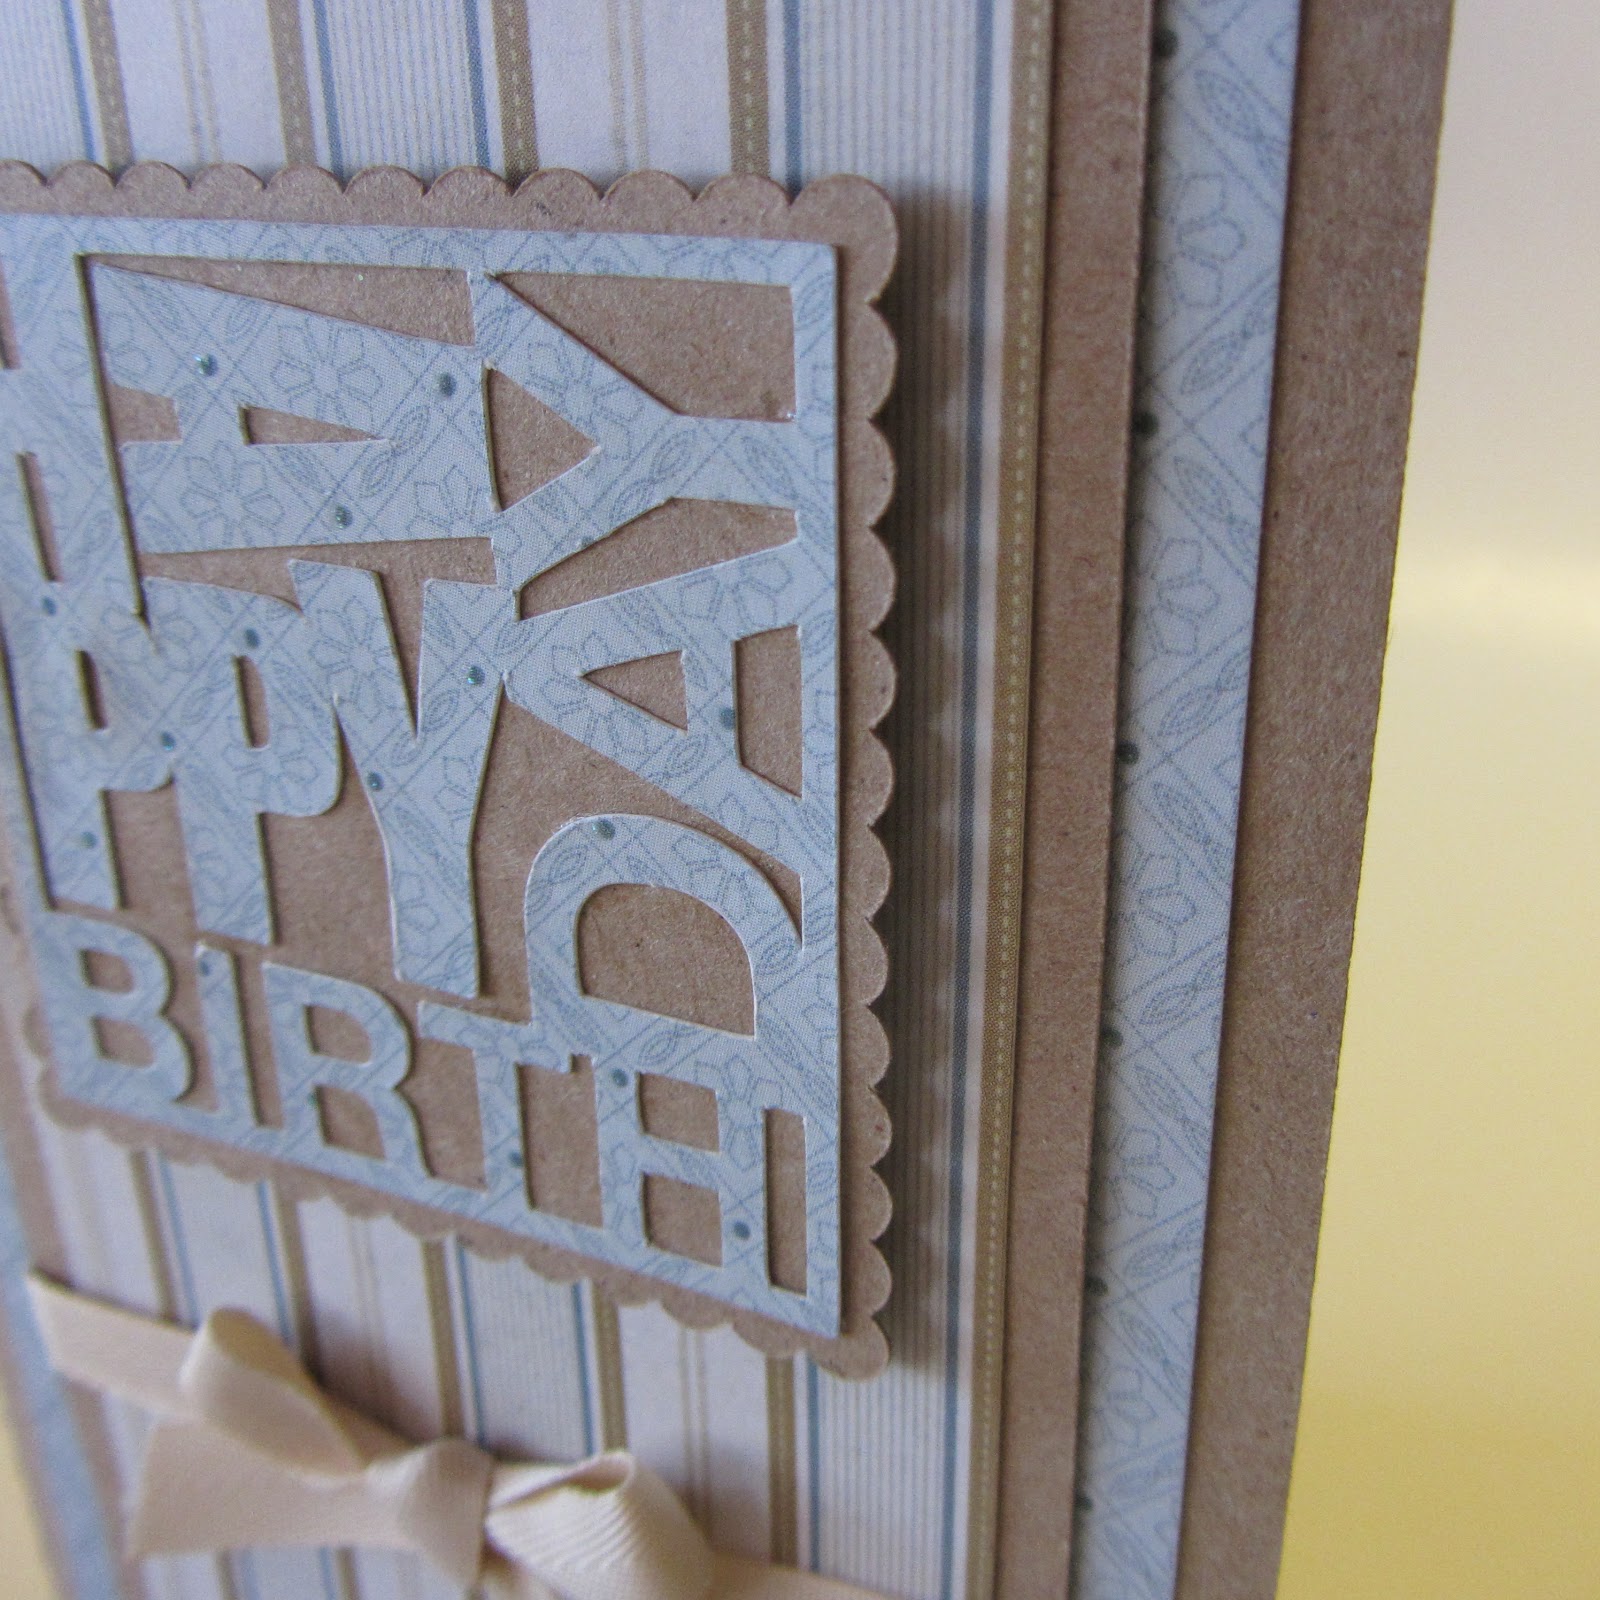
I used my Silhouette Cameo to cut out the title using a free font called Segoe Script I got HERE.  This is a great script font, I think, and was so easily welded and cut on my Cameo.  Look at the detail....even the little insides to the e's and a's cut well.
I cut it in green and then also did a shadow in the coral color. 

We went to a St. Patrick's Day celebration at a local vineyard yesterday (who could imagine grapes would grow in Georgia?!).  We drank Guiness stout, ate Guiness beef stew and listened to a few Irish jigs.  Fun time!
Here is Taylor enjoying herself...ok, I admit this picture I chose this mainly to show those eyelashes (untouched photo...I promise!)!
Here is another photo of her (very seriously checking me out!...probably thinking "move out of the way, Omie so I can see the musicians and dancing!"). 

 And here is my little guy with his new big boy hair cut surveying his vineyard and kingdom...
And yes...we all wore green!

Happy Crafting!