Tuesday, March 5, 2013

Birthday Wishes

I needed a birthday card to get out in today's mail for someone whose birthday is coming soon....and who will be 40!  People dread turning 40 but it didn't bother me....I've always had more trouble with the "5's"....like 35...45....I would say 55, too....but I stopped having birthdays several years back so haven't quite gotten to 55 yet. ;)

I decided to use up more of the January Simon Says Card kit.  I did use the banner die from SSS...I do love that folded die and it's proportioned just perfectly for the perfect fold.  You can see it HERE. At $12.99 for both the stamps AND die I think it's a great value!

Here's my card:

I hope the she likes it.  I told her 40 is now the new 20!

Happy Crafting!


Monday, March 4, 2013

Thinking of You (Again) :)

I wanted to make a few more cards with the January Simon Says Card Kit....so many things in that kit with a fabulous stamp set.
This is what I came up with and it worked up really quickly:
The chevron stamp is from Simon Says Stamp and was inked with Hero Arts Neon inks.  The SSS kit also came with some really cute fabric "buttons" and I inked one with the same Neon inks.  A little embossing on a white Kraft sticker, some crochet thread and a few little baubly thingies finished this off!
There is a shadow on my sticker above but here you can see it a bit better:
That stamp inked and embossed so nicely!
That's it for today, little crafting chickadees.  It's beautiful here....I need to get outside!

Happy Crafting!

Sunday, March 3, 2013

Project Life: Week 9

Yesterday I posted the process I go through to plan for my weekly Project Life layouts.  I really think the hardest part for me is choosing my photos and determining where I am going to put them on my layouts.  Once I get that done the actual page making is pretty quick and simple (Read: Less than 3 hours...).  I am a fiddler and a tweaker....at least half the time I spend scrapbooking is spent fiddling and tweaking.  If I could just learn to leave things alone I'd get things done much more quickly.  But I love to fiddle and tweak.  It's just my nature.

Woohoo....I finished Week 9...according to my calculations I am approximately 17.3% through with the year! HAHA!

Here is the left side...and once again I used Basic Grey Fact and Fiction papers and embellishments.  I had picked up these things a while ago at Joann's 50% off....great deal and I love it all!


 Here is my "Week 9" card...why I added butterflies I don't know except that I like butterflies.  "Week 9" was cut with a font installed on my computer with the Silhouette Cameo.  The butterflies were created with a Martha Stewart punch (Go, Martha!).  I added a couple of staples and some pen stitching as well as a bit of twine and that was it.
The "Today" card was cut with my Cameo, as well, from a design purchased in the Silhouette Online store.  I used one of the Becky Higgins grid cards that I purchased from Amazon (they are 4x6) but I just easily ran it through my Cameo to get the 3x4 size.
And next is another little card cut with the Cameo from an Ali Edwards design that I purchased from Designer Digitals HERE.  I simply imported the .png file into the Silhouette Studio software and "traced" it to get the cut lines.  So simple and works so well!  Look how skinny that little cut is! :)  And again I used a Becky Higgins grid card (or half of one) to make the background of the journaling block.
Next...is the right side of the 2 page layout:

On the top right is a journaling card made with various embellishments from the Basic Grey line.  

I made the little 3x4 journaling/filler card below with some other embellishments including this cute little hanger, a piece of flair and a chipboard accent!
 This card was cut with the Cameo from a design in the Silhouette Online store (so many wonderful files in the store that work perfectly for Project Life). I added a little fabric flower to the card and just think it's so darned cute!
Again I cut the frame for my beach sunset picture from an Ali Edwards 4x6 frame set and then used Lauren Script to cut out the word "serene" which I welded in the Silhouette Studio software.

Another great week!  Life is good!

Happy Crafting!

Saturday, March 2, 2013

My Project Life Process

DISCLAIMER!  If you are not doing Project Life you might just want to skip this post!

I started doing Project Life not knowing the heck how I'd get it going....I looked at lots and lots of blogs out there and found all kinds of tips. Being organized with this process is very important to me because if it's not....then, for me, it would become overwhelming and then I'd simply give up on it! So I picked up tips here and there and relied on some of my friends to tell me how they "work it".  A big thanks to Donna Gibson, a friend of mine, who is on Becky Higgins' Creative Team.  Her blog can be found HERE....she is doing hers digitally and I just drool each week over how wonderful her pages look!  So neat and clean!  I don't know that you can get that same effect with paper....but I do love the whole paper thing so am sticking with that for now.  She keeps dangling the digital carrot in front of me for NEXT year and who knows...maybe I'll bite! :)
So...this is how I organize my photos for developing.  I don't have a good quality photo printer so I make a trip to Costco or CVS weekly to pick up a few cents worth of photos.  Maybe my husband will see this and take the hint! ;)  (Hi, Dave!)
First of all, I decide which photos to include.  The best tip I read online was to set up an individual folder for Project Life which is exactly what I did:
 
 You can see it highlighted in the above screen shot and is titled 000_Project Life_2013.  I put the zeroes at the beginning of the folder name so that it would be at the top when I go to my Pictures.  That way I don't have to hunt for it.  (Note to self: clean up your pictures folder, Susan....back up those babies and move them!)
Once I open the Project Life folder I have individual folders with weeks labeled so I can easily drop in the pictures for the particular week I'm working on.  You can see photos peeking out in "Week 9".
I have moved the previous weeks folders into "Weeks Done".
Donna mentioned on her blog about a fabulous set of photo templates for 4x6 photos at Lily Pad Designs which can be purchased HERE.  They are just fabulous to work with because they include a white grid overlay that can be used as well as a white frame.  Kinda nice and simple to use.  Templates permit you to use more photos on your layouts by resizing them smaller.  Cool.
Here are my templates:
I made jpgs of all the psd files so I could see what they look like....and I also have a few templates I made myself. 
OK, so then I go to my pictures and determine exactly which photos (as well as how they will be sized) to use and get them ready for upload.


I also keep my planning page handy and pretty much determine where everything will go:
Some weeks have more notes....some less but this planning sheet has become invaluable for me.  And sometimes when I actually get to putting the photos in the page inserts I do switch things around...but not often!

And then I upload those to my photo printing place which this week was CVS.  I've picked up my photos for this week and they are in this envelope....but I'm not showing them to you yet!
And now I'm all ready to SCRAP!  But first I think I'll take a nap!

Happy Crafting!

Friday, March 1, 2013

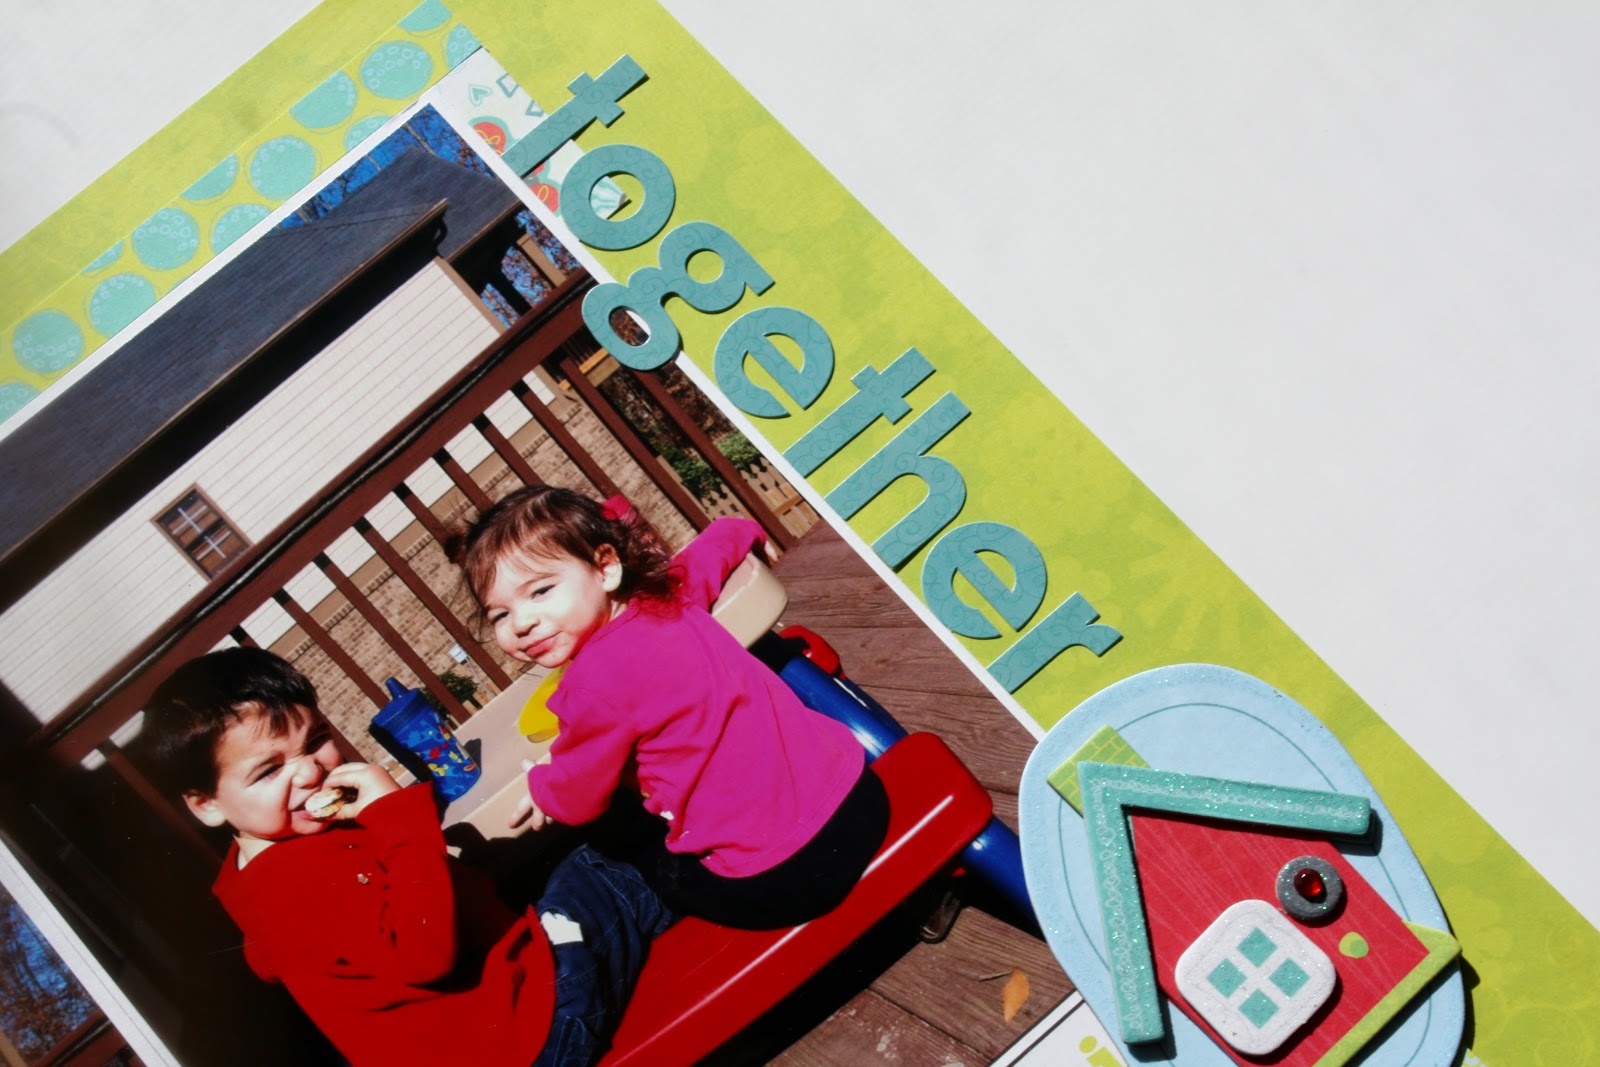
...Together

This is the second page of my Fun Together 2 page layout....the first page was posted yesterday and was titled Fun. And let me tell you...it sure was FUN putting these pages together with the very cute Bo Bunny Back to Basics line of papers and embellishments.
I love these photos of my grandkids.  They do squabble at times....she likes to take his toy and run off with it...he likes to knock over things she's doing but mostly they do quite well and the little guy is quite protective of his sister.  I wonder how baby #3 will fit into this equation?! :)
Here is the page:
 Aren't the colors just sooo fun?  And so happy?  I had the photo where the children are facing printed as a 5x7.  I do like to use enlargements in my layouts.  I just like to fill my scrapbooking pages with my photos and don't like them looking lost on a layout.  And when you have such cute subjects....a 4x6 just doesn't always do!
 I loved these layered chipboard accents.
And isn't this bird so cute?
And here are the two pages side by side:
(Ok, if you look closely you would think that the background papers are not the same size....and that is because I photographed them each on white poster board and then when I pulled the two photos  into Photoshop Elements I didn't crop them quite right.  I'm sure that none of you probably even noticed this but now you will! LOL!...anyway, they are truly 12x12 layouts with no white or black background.)

Fun Together....that's what they have!  (Most of the time, anyway!)

Happy Crafting!

Thursday, February 28, 2013

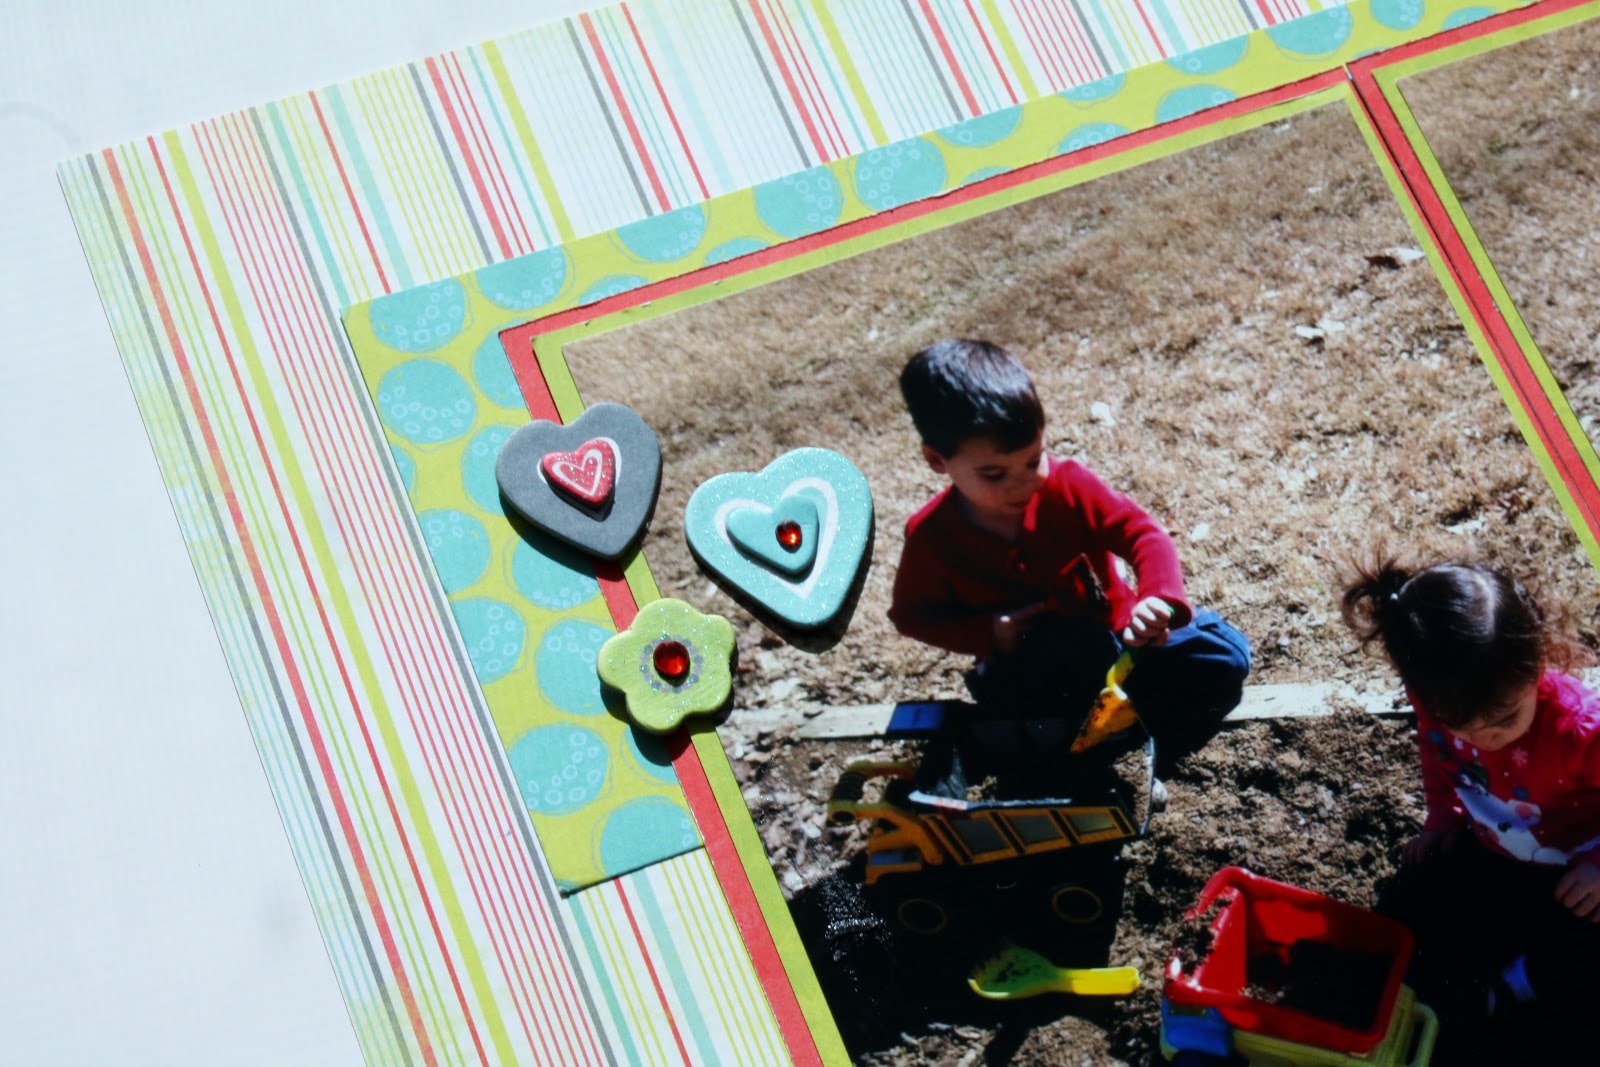
Fun...

I've decided to take a break from Project Life and do some traditional scrapbooking that will go in my grandangel's albums.
The temperatures in the Atlanta area have been pretty low this winter but we had a day recently where it was warm enough to be outside. My daughter let the kids play outside and even picnic on the deck.
I did a two page layout but will post the second page to this tomorrow...gotta stretch out my posts a bit! :)
I used Bo Bunny Back to Basics papers and embellishments.

Such happy and fun papers.  Love them!
OK, so I was working away and accidentally laid down a photo with adhesive on it onto another photo.  When I tired to pry it up it TORE my picture!  What to do???
Of course I could have paid another $.19 but being the very frugal person I am...well, I decided to just go with it....I also was in an immediate gratification mood and wanted to be finished with this layout!  So I just placed a few cute little embellishments over the HOLE....Voila!  Instant Fix!
I can live with that!
I loved the embellishments that came with these papers....there were chipboard layered pieces and paper flower with dimension.....all was too cute in my opinion!
And this line of papers also had some perfectly sized journaling boxes.  Wonderful!


I have the companion side I'll share tomorrow...and thankfully it came through with out any "creative" embellishing!

Happy Crafting!
Wednesday, February 27, 2013

Project Life: Week 8 Insert Page

I had so many photos I wanted to include in my Project Life last week that I did another insert page.  I ordered the Becky Higgins Design G Photo Pocket Pages which are a unique 10x12 inches.
I only did one journaling block....the rest are pictures!  Here is the front side:

I used the same We R Memory Keepers papers as I did for the regular pages so there would be some continuity.  I also used a fabulous Simon Says Stamp exclusive die for the "you" and a stamp sentiment that went with it.  Those children are always the best part of my day...well, the two of them and my morning coffee!
And here is the reverse side:

I love the insert pages....it just adds a little bit of fun and surprise to the album.

Happy Crafting!