Sunday, February 3, 2013

Simply Valentines

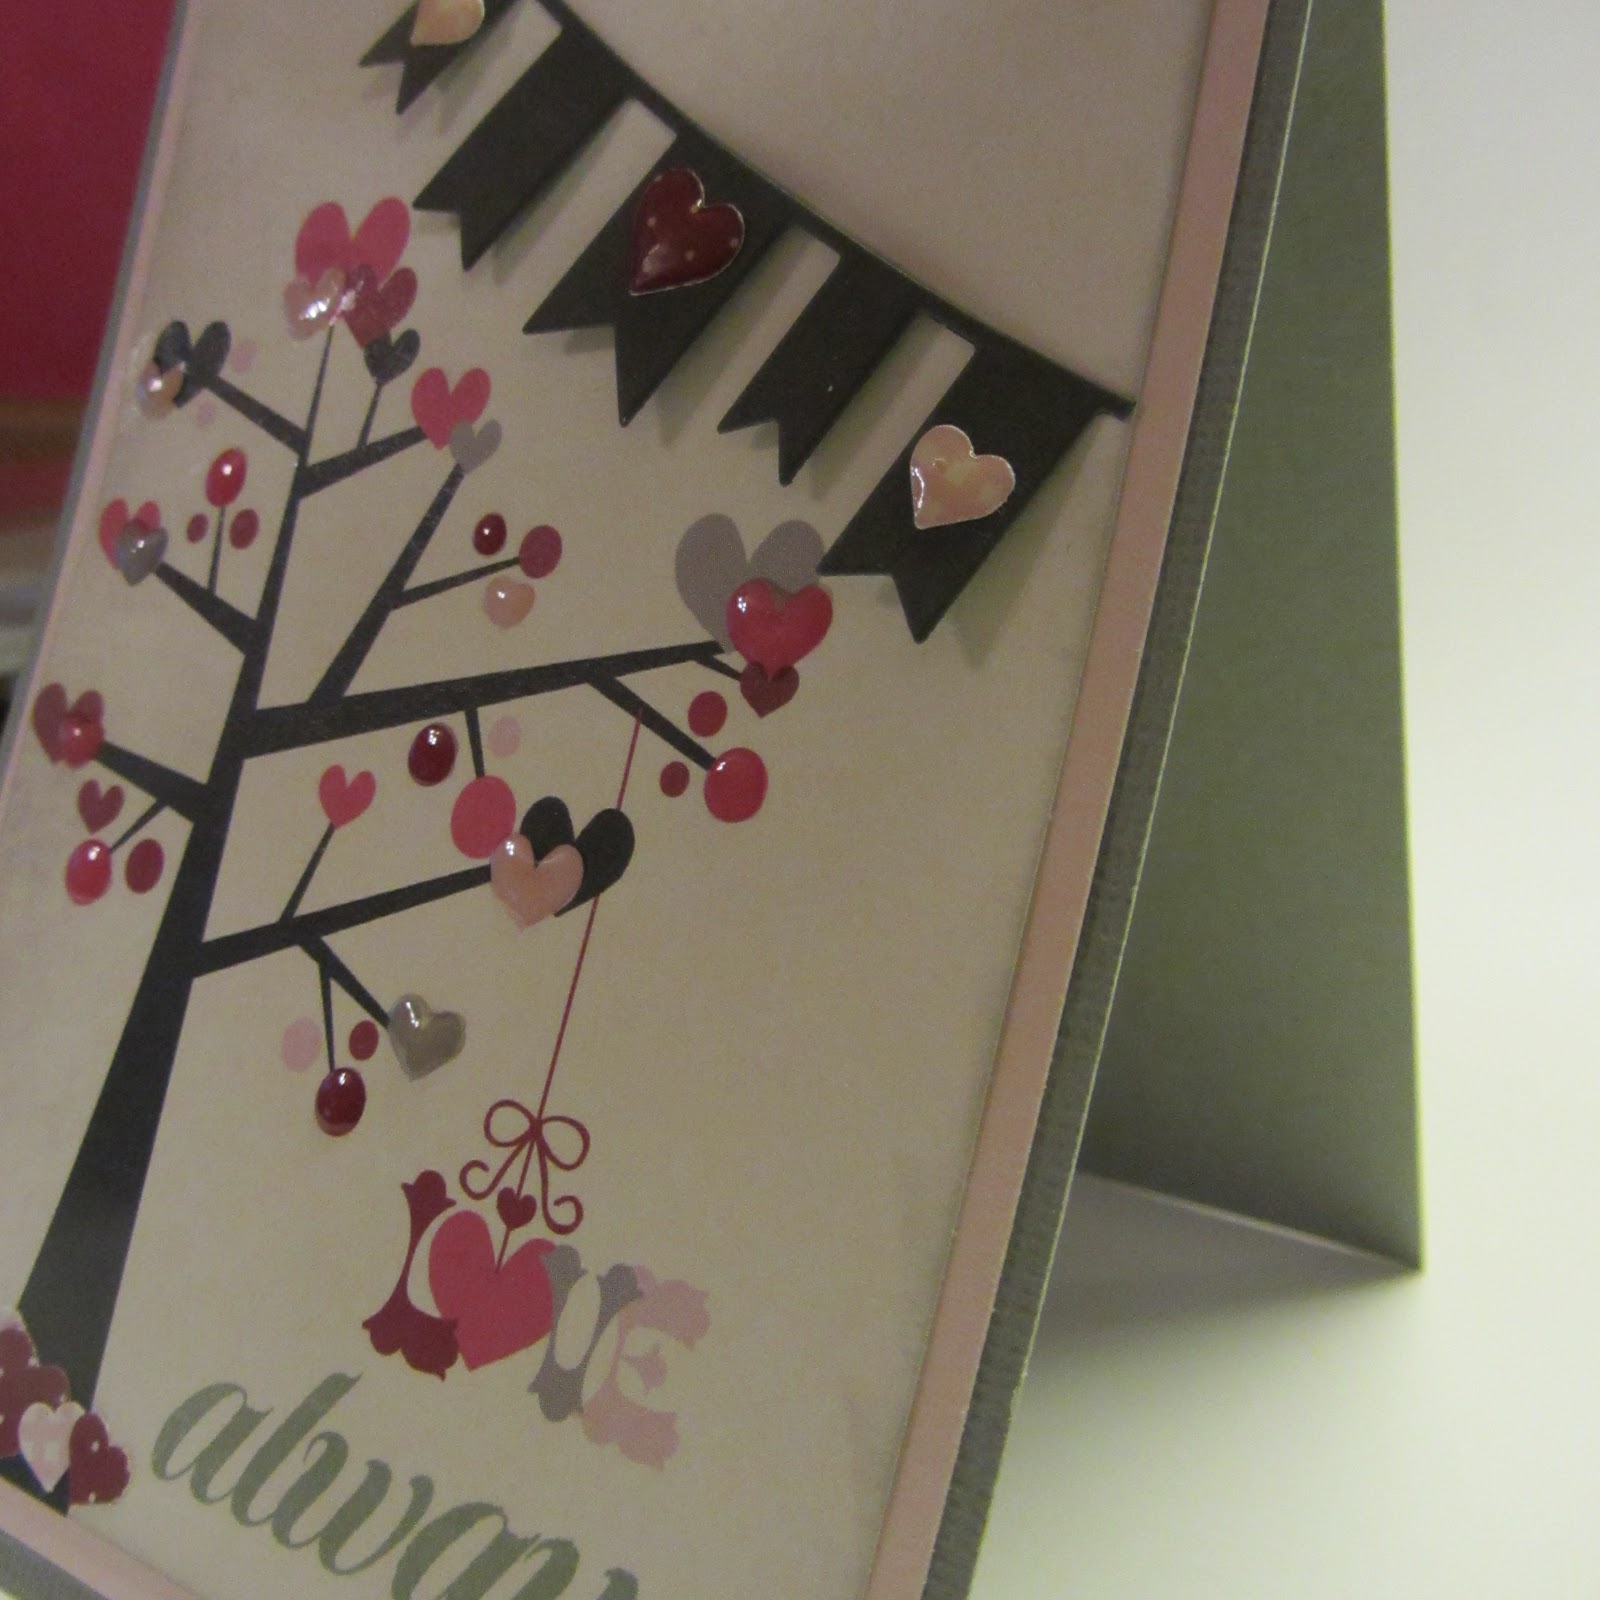
Here is a simple Valentine's Day card for you!
White on white which I always love with a hint of color.  I used the Cuttlebug hearts embossing folder and then a tiny heart stamp from the Hearts2DieFor stamp set from the Stamps of Life.  I embossed the little stamp with some white embossing powder and then I used Glossy Accents over the top.  The sentiment is from Hero Arts.

I keep meaning to tell you my tip about Glossy Accents which I just happened upon by accident.  My tip would always clog up and I would use a straight pin or needle to unplug it.  Well, one time I accidentally left the straight pin in it.  And it wasn't clogged.  And since there is some gooey Glossy Accents in the top when I unscrew the cap the straight pin usually stays with the top.  I have used over a half a bottle of Glossy Accents and it still is flowing freely and I've never had to unplug it!  So keep a straight pin in your bottle.  It works!

Most inventions were probably by accident.  I wonder if I could patent this! LOL!

Anyway, here is my card:


Wednesday, January 30, 2013

A Hanging Heart

Here is a quick Clean and Simple card made with the Stamps of Life Hearts2DieFor set which you can see HERE.

I embossed the red cardstock with the Cuttlebug Hearts embossing folder.  You can't see the embossing in this picture but TRUST ME...it's there! :)  I embossed the heart with some Versamark and white embossing powder and "hung" the heart with some heavy crochet cotton.
CASAQ!  That means Clean and Simple AND QUICK!

I've entered this in the following challenges:
Simon Says Stamp: Anything Goes  
Mark's Finest Papers: Simple Salutations


It is rainy here in Georgia today (hmmmm....reminds me of a song...) and we are looking at some pretty heavy thunderstorms throughout the day.  I think it sounds like a great day to craft!  Well....after a little housework...

blech....

Happy Crafting!


Tuesday, January 29, 2013

Project Life: Week 4

....or as we Project Lifers say..."PL".  I'm such a part of a club, you know...  So, I finished Week 4 last night.  I really have been trying to do my pages on Sundays BUT I was busy this past Sunday afternoon/evening and just never got the mojo going. I got down to business last night.  I had used my worksheet that I posted a few days ago....you can see it here if you are using Design A of the Becky Higgins Project Life template or page insert. It save me a bit of time because I knew what photo was to go where and where I needed journaling blocks.
This week I failed in my quest to use things I already had as I bought this really cute journaling sheet from My Mind's Eye called Collectable.  It just worked perfectly for this week I thought.  It was a big week for us...my son turned 26 on Monday so I wanted to journal my memory of the day and night he was born.  We had a huge snowstorm in Atlanta (ok, for you northeners....less than 4 inches doesn't look like much but for Atlanta it is a city stopper)....and in the hospital I was in with him we had over 7 inches!  It was just so beautiful and so magical and I really didn't worry much about the chaos outside the hospital created by the storm because we were warm and safe inside.
Here are my layouts and a few closeups:
I am still doing a lot of cutting with my Silhouette Cameo....like here...this journaling box and the #4 which I created with my own little brain:
And this cute little stick figure tennis player which I bought in the Silhouette Online Store:
I also used a little stamp set from Hero Arts for this little journaling box:
And check out this tiny camera cut out with a Memory Box die:
There is another one on one of the layouts which is a slightly different camera....can you find it? ;)
And that's Project Life for Week 4.  Week 5 is beginning with some excitement for me....I'll post it next week! :)

Happy Crafting!

Sunday, January 27, 2013

A Totally Cased (Well, Not Totally...) Card

A quick card here today...a quick post here today...you can do that when you CASE something.
And I CASED a card from one of my favorite bloggers, Creations With Christine, all the way! Well, actually it isn't totally copied because I made mine A2 sized and I used a Hero Arts stamp and a different banner set (mine came from Simon Says Stamp).
But otherwise they are pretty close!  I love CASING cute! :)


 And that is it for today, my friends!

Happy Crafting and may you find a great little project to CASE!


\


Saturday, January 26, 2013

Valentine Wishes

Here is a little Valentine Card made with a "LOVE" stamp cut from the Silhouette store.  It cut so well on this printed paper called "Love Note" by Fancy Pants....love this little paper pad!
This card worked up very quickly....I used some Papertrey Ink ribbon for a little tie at the bottom.  Very simple and really very fast.  Including the cutting....less than 10 minutes, I'd say.  (Read: more like 20.)
Don't you just love those love stamps? 
Also I wanted to share my insert page for my Project Life album.  Last week we celebrated my son's birthday and I had a few pages I wanted to use so I inserted an 8 1/2 by 11-ish We R Memory Keepers page protector.  It has slots for a large photo across the top which I just mounted to some printed paper and then two 4x6's.
Here it is with some white paper behind so you can see it.  Not a great photo but you get the idea.
And here is the reverse side:
And how it looks without the white paper behind it inserted in Week 3:
And here is a little closeup of the journaling box.  I used some Recollection puffy dimensional stickers to dress it up a bit:
And that's it for today!  Off to play some tennis!

And hopefully some....

HAPPY CRAFTING!

later....

Friday, January 25, 2013

Project Life Worksheet

There are many project life planners and worksheets out there....quite a few on Pinterest, in fact, but none met my needs.  I wanted a two week spread on one little ol' 8 1/2 by 11 inch paper so I decided to make my own.  Mine looks like this:
....and as I said prints out on one 8 1/2 by 11 inch sheet of standard ol' paper.  A whole week on one sheet...uh, yeah, that's what I wanted! If you want to dowload it click on the image above or HERE....it will not have the gray background (that's just so you can see it here) because who wants to use all that ink??? :)

Happy Crafting!  


Monday, January 21, 2013

Project Life: Week 3

I was able to get quite a few photos last week which left me with a different quandary than when I don't have many...which photos to use and which ones to omit?!  My daughter doesn't use a regular camera much...she's of the cell phone camera generation but at least now she is sharing those photos with me via Dropbox and I can get the full resolution files. So at least I'm getting better prints now!

I had fun getting my Project Life pages done.  I'm not totally finished, though....still have an insert I am putting in this week with some extra pictures.  But I'm glad I got the 2 12x12 layouts completed.

And here they are:

Left side:

 I used Basic Grey Fact and Fiction papers and embellishments for these spreads.  The "Week 3" box in the top left was one I designed myself in Silhouette.  It didn't take much time at all took forever because I forgot the whole compound path versus a grouped shape and the whole welding thing.  OK, if you don't speak Silhouettese that's ok....but really it should have been easy to do and now I will remember for the next time...well, that may not be true but I did write it down so as long as I remember where I put that little snippet I'll be good to go!  I do like the way it turned out.  I used a new to me Simon Says Stamp die for the banner.  Too cute!  Added a few hearts that I punched out with a Martha Stewart Punch and used a little glossy accents and some foam tape to give it a little more oomph.
I cut a couple of other things with my Cameo, too....the Everyday Life word art which was from the Silhouette Store and "remember this" which is from Ali Edwards....brought the design in to the Silhouette software, traced it and resized it the way I wanted it.

And here is the right side:

It's difficult to see here but "smile laugh and giggle" and the arrow are cut out with my Cameo, too.  The little badge is from the Basic Grey Fact and Fiction line.
The little journaling box was made with an EK Success border punch and the cutest little wooden banner from Studio Calico which I stamped on.
On the bottom left of the right layout (follow that?) there is a transparency that shows from the page before (last week's).  Not sure if I'm going to leave it that way or back it but for now you can see cute Tay-Tay through the transparency and when you are in Week 2 you get a teensy glimpse of week 3.  Not sure, though....not sure....but it is cute the way Taylor's eyes peek through the word "Genuine"!
See?
Pretty simple stuff and if I had remember how to weld, blah, blah, blah with my Silhouette it probably wouldn't have taken me 5 hours! LOL!  (Slight exaggeration!)

Fun, fun, fun!

Week 3 down....49 to go!

I'm entering this in the Basic Grey Challenges: Challenge 85 New Beginnings/Something New.
I used all kinds of new to me things....the banner die, the Basic Grey cutie embellishments, cut files from the Silhouette Store, etc.

Happy Crafting!