Wednesday, February 29, 2012

Layout with Sew Easy

I did this two page layout and I finally used my Sew Easy which I bought about a year ago and have NEVER used!  I don't know why I hadn't used it...I love to hand stitch...I love the look of stitching on my pages but I just never had pulled out that kit to use!
Here are the layouts starting with the left side:
And the right side:
And of course, the heart borders are the items stitched.  It was simple...just takes a little while to complete.  I used 3 strands of embroidery floss...the thicker look just didn't appeal to me for this.
I used Echo Park Little Girl papers which I JUST LOVE!!!  I picked this kit up at Archiver's when they had a sale on kits recently and am so glad I did!

The story behind these layouts were that we were trying to get photos of NBG and AG (New Baby Girl and Adorable Grandson) but none of the photos really were great.  I have great respect for photographers who can get good poses with 19 month olds and newborns!

And that's it for today!

Happy Crafting!

Tuesday, February 28, 2012

Cute as a Bug

I completed this layout at my crop over the weekend.  I love this little picture of Taylor in her red gingham dress and hat and  sitting in her Bumbo Seat! And of course, who doesn't love a photo of a sleeping baby?!  I used supplies from Echo Park's Little Girl Collection which was just perfect for these photos, I thought.
"Cute as a Bug" was cut out with my Silhouette Cameo (it was a design in the Silhouette store)...I added a couple of wiggle eyes to the butterfly.  I tied a little baker's twine from the Twinery around embellishment and did a little journaling and that was about it!

Happy Crafting!

Monday, February 27, 2012

Omie and Tay

My daughter took this picture of Taylor and me when she was just a couple of weeks old.  And even though we know this is not a TRUE smile my daughter snapped the shutter at just the right moment to get this cutie pie look.
And that's me...her Omie!

I did this in a very Clean and Simple way and love the way it turned out.  I used Color Core'dinations cardstock that was a very pale green on one side and a darker green on the non textured side (this picture does not do it justice, I swear!)  After running a piece of it through my Cuttlebug with 2 different Cuttlebug embossing folders I sanded it to bring the darker green out and give a bit more dimension and texture.  I added a bit of ribbon where the two embossed edges met up.  The ribbon slide was done with a Spellbinder die and the date was done with some very old rub-ons from Memory Makers.

I love using enlargements in my layouts...especially when the subject (the baby....not me!) is so darned cute!  A 4x6 just wouldn't have worked, you know?

Here are a couple of closeups:

I am entering this in the  Challenge at The Cuttlebug Spot "Spring is in the Air".  (Thanks to Melissa at Created by Sunshine Honeybee for the heads up on this challenge.) I also used my new favorite Hero Arts stamp which I've used in card making and shared here on my blog in the past couple of weeks.  I used Ranger embossing powders and Versamark ink as well as a Versamarker pen. 

Happy Crafting!

Sunday, February 26, 2012

Back Home And Tired!

I'm back home from my four day crop and although I'm glad to be back home I already miss my peeps.  We have such a good time together...laughing, telling stories, teasing each other...it's just always great fun.
But I am TIRED!!! 
I got 18 layouts done which is not too bad for me.  My friend Cyndi got over 70 pages done...she was very disappointed that she didn't get more done.  I am amazed at how quickly she can get them done! And they are cute!  But I am very slow and fiddle with everything for hours on end.  As I've said before, though...I'm a process person and do enjoy whether it takes me 20 minutes for 3 hours!
Here is a layout of a favorite photo of David when he was 6 months and is a companion page to the layout I posted a few days ago.That's me on the left and David's mommy on the right.  I just love that he was tolerating the "kiss" and that he had his little hand on me.  He loves him mommy and his Omie...that is for sure! :)
 I cut the scalloped mat with my Cameo, as well as the title and the little heart in the right corner of the photo.  The papers were all from a Close to My Heart paper pack I had.  I used a few heart brads to finish it off.

Happy Crafting!

Saturday, February 25, 2012

Time is Just Flying!


Wow...over a week since my last post!  I've just been so busy it's crazy.  Good crazy, though...no real complaints but I just didn't have time to get any paper crafting done.  I did make a couple of crocheted hats for my hair stylist's twins so was busy at the beginning of the week working on those!  And they turned out mighty cute if I say so myself.
I'm at a 4 day crop with some of me best girly-friends.  Cyndi, Christine, Lisa, Nicole, Jan, Deb, Stacey, Carol, Regina and Rose to name a few....we are having lots of fun and I am actually getting a page or two done even though we were evacuated yesterday because of a TORNADO WARNING!  But the warning was lifted and we all got back to doing what we came here to do!
I just finished this two page layout of David's first day of Mother's Morning Out.   Here is the left side of David and his mother coming into the building...he was ok at this point although a little unsure. 
And this is the right page....when he was picked up.  As soon as he saw his Mommy he just cried his little heart out.  He was just heartbroken he was left.  And of course, for about 5 or 6 times after he was one UNhappy little school boy.  Fast forward a month or so and now he loves it and eagerly goes each time. Whew!
 I used My Mind's Eye Fine and Dandy papers and chipboard accents as well as some ribbon I had and my Tim Holtz Tiny Attacher.  I cut the "UN" and brackets with the Silhouette Cameo and some random True Top Font which I can't recall right now. 

So what does the crop room look like?
That's one of my Besties Christine in the Dr. Seuss crown hat!

and here is my work area: 
Impressive, huh?  ;)

Happy Crafting!  I go home tomorrow and it will take me days to unpack!!!

Thursday, February 16, 2012

The Jury is Out!

Anyone who knows me or follows me here in the blogging world knows I am a self professed GADGET QUEEN!  I love getting my hands on the latest...and sometimes the greatest!

A few weeks back I ordered the new imagicut from The Craft Channel which is a ribbon cutting tool.  The imagicut is manufactured by Imaginisce which makes many cool crafting tools including my beloved i-rock!
It looks like this:
It is probably about 4-5 inches long...very light weight although once you put 4 AA batteries in then it is, of course, heavier!  What this little gadget does is cut AND SEAL your ribbon.  It does it by heating up an element inside...so that when it heats up it sort of cuts through your ribbon and seals it so it will not fray.

You simply lay your ribbon across the Imagicut using the guidelines on the inside:
Then you close it...press down for a few seconds and you get this:

A cut and sealed piece of ribbon.  You can also get a chevron but by folding it but I haven't practiced that yet.

Now the reason the jury is out on this new tool is that I think I would most likely just reach for my scissors to cut my ribbon rather than waiting for this little gadget to heat up and cut.  Especially for scrapbook pages which I place behind page protectors.  I mean...I really can't see the need to seal those pieces of ribbon, you know?

I might use it for ribbon on cards or projects where the ribbon is not so protected...like on a mini album or altered artwork. 

Really, though...a bottle of Fray Check and a good pair of scissors would do just as well, I think! 

Indispensible?  Nah....don't think so.  I will take it to my 4 day crop next week and see how much I really use it there and then maybe the jury will be ready for a vote!

Happy Crafting!

Wednesday, February 15, 2012

Distracted Again!

I'm supposed to be planning, organizing and preparing for a crop I'm going to next week.  Four days of cropping fun.  Last time I went to this crop I got the award for having the most stuff.  And that is because it doesn't matter how much I preplan...I panic pack.  That means I start throwing stuff in my car, boxes, bags, etc. if I still have room thinking I might need it!  This time my goal is to take what I need and to NOT get the award for the most stuff.

BTW, one of my very BFFs says her goal is to have 200 pages preplanned.  CYNDI!!!  Oh my...I'll be lucky to have  25 preplanned...and lucky to get 25 2 page layouts done in 4 days.  I confess...I am a very slow scrapper! :)

But...as I was going through some pictures I came across this 8x10 photo of AG (Adorable Grandson) who is actually named David.  He was 6 months here...so round and chubby and cute with that little swirl of hair on his forehead!  It's difficult to believe that it's already been nearly 2 years since this photo was taken.

It just screamed out to me to be scrapped.  Right then and there...no packing and organizing allowed until this photo was scrapped.  So that's what I did and I am so glad I did.  I have this on my kitchen table right now and every time I walk past it I smile.  That little guy really does fill up my heart....

I used Close to My Heart Papers...a few buttons from CTMH and PTI and some red grosgrain ribbon I had on hand.  The scalloped mat was cut on my Silhouette Cameo and the word "CUTE" was also cut using Arial Bold on the Cameo.

A simple layout with the focus on this great photo (which I took, of course!).  I love using enlargements in my scrapbooking...especially when the photo is as cute as this.

And that's it for today...back to packing and planning...although I may reorganize my scrapping table first....LOL!

Happy Crafting!

Tuesday, February 14, 2012

When You Outgrow Your Systems...

I think crafter's love to organize and reorganize.  We love cute little containers, bags, boxes, etc...and we spend huge amounts of time making everything look cute and perfect.  The problem is if you are like me, you keep purchasing more stuff...so the cute little perfect system you have may still be cute but it certainly isn't perfect!

Take my punches, for example.  I used to keep them in a drawer in an Iris cart.  Well, that was about 10 years ago when I only had about half a dozen punches.  Then I went to a couple of boxes...then bigger boxes...etc. 

A while back I bought an over the door shoe organizer...and that lasted me for quite a while.  Until Martha Stewart, Fiskars and EK Success started making those wonderful border punches!  So, I've done it again...bought more to hold more.  LOL!!! 

I was at Tuesday Morning the other day and found these bright and cheerful over the door shoe organizers (it is difficult to find them with clear pockets anymore...now they are all fancy linen and different prints.  That was not going to work because I need to see what I have, right?).  So they are on one of my doors in my craft area and will hold quite a few punches. 

See?

You'll notice there are no Martha Stewart punches here...well, they are in an organizer on another door!  This system will last me at least 4 more punches (notice the top row on the right?).  I hope I've bought some time!

Happy Crafting!

Monday, February 13, 2012

Eras in Paper Crafting...

Do you go through "eras" or "periods" in your paper crafting?  I do....sort of like Monet and his "Blue Period".  I went through my "mat everything on black" period.  My "embossing with a light box" period.  My "make a border on everything" period.  My "gotta have a circle" period.  Know what I mean?  I apparently am in my heat embossing period again...although maybe I never totally left it. 

I did a few more cards with the multiple colors of embossing powder that I've shown the last couple of days.  I really like this technique...really pretty and fairly easily done. 

The first was done with my new tulip stamp which I also showed on Saturday.  I love this stamp and think I will use it frequently.  I like that...use something again and again! LOL!
I used a Paper Trey Ink die to cut the top of the card and mat.  I liked the way that ended up!  Need to remember to do it again!

I used a Versamarker on some of the stems and leaves and bases of the flowers as well as a few words in the sentiment and then sprinkled Bridal Veil embossing powder which has a glittery sheen to it.

Maybe you can see that here:
And then again...maybe you can't!  But I do think it shows up in the base of the big flower or at least I can see it on my screen.  A little bling and a tied piece of tulle finished it off.

And here is the second card I made with another stamp I purchased.  I Used a little tulle tucked under the stamped image and a little cotton trim below it.  I also embossed a mat with a Cuttlebug embossing folder.

And that's it for today!  My little hurricanes (David and Taylor) will be here shortly!

Are you in a "period"? 

Happy Crafting!

Sunday, February 12, 2012

Embossing Part II

I mentioned in yesterday's post that I did the recent Beautiful Blooms class at Archiver's.  I really do enjoy Archiver's classes...they are well organized...all the paper is generally cut...and generally I learn a few new things or a have few "Aha!...I would never have thought of that!" moments! This class was a good example of the "Aha moments"!

Here are the other two cards we made.
The first one was done with by stamping a floral background with Versamark onto watercolor paper.  We embossed with an opaque white embossing powder (Ranger Seafoam White).  We made a few puddles of Distress Stain on a piece of paper and used little paintbrushes to fill in the flowers and leaves.  Some did precise and neat painting...I went for more of the grunge/distress look (primarily because I couldn't see the images very well and secondly because I was lazy!....cardmaking on the lazy...my style!).  After it was dry we were told to lightly tap the Versamark pad onto the watercolor paper and then we sprinkled Holographic powder on it, heat embossed it and it gave it a little extra shine.  I probably went a little heavier on my card than was called for but I liked the way it looked all sparkly when it was done.
Here's a closeup:
We added some trim and also embossed a circle with a sentiment and then made a scalloped mat for it.  We also added some tulle to the front behind the circle....just sort of tucked it in and adhered it, added some bling (a girl's gotta have bling!) and we were done.
The last card we made I also really liked.

....and I bought this butterfly stamp as well.  To make the printed background we stamped paper with Versamark again (lots of embossing in this class!) and then used the opaque embossing powder to emboss the background flower image.  After it had cooled we rubbed Scattered Straw Distress stain over the image and the embossed areas resisted the color.  Very cool look, I thought.  We also took some white cotton trim and dyed it with the same distress stain.  Also cool looking, I thought.
We stamped the buttefly image onto white paper with Versamark and then sprinkled a couple of different colors of embossing powders on the image to, again, give the same variation in color look like we did with one of the cards I posted yesterday.  I love this...I always loved stamping with those multicolored ink pads that gave almost a gradient look but just never do that anymore.  But this I loved!  We added a couple of flowers and used some crackle paint on to to dress them up a bit...added our required bling and we were done.
Closeup:


Great cards, Archivers...and this class did what it was supposed to do...it made me run into the store and grab up the supplies! ;)

Happy Crafting!

Saturday, February 11, 2012

Embossing My Way Through a Class!

I went to Archiver's yesterday and took the class being offered now called "Beautiful Blooms" and is a class designed to teach different embossing techniques using Hero Arts stamps.  I loved the cards and found myself buying many of the supplies so I can make similar cards.
The first card we made was this one:
We stamped the background with Champagne Versamark and sprinkled clear embossing powder on it as well as Holographic powder.  Zapped it with a heat gun and it left and nice shiny and glisten-y background.  We stamped the Truly Grateful sentiment (oh, yes, I had to purchase this fabulous set of sentiments) with Versamark and then used Ranger embossing powder ( Lettuce) on it.  We added a little trim and a few jewels after using a border punch for the blue mat and that was it.  Simple but elegant, I think...
Here's a closeup:
Simple but pretty, I think.
The second card we made turned out to be my favorite.  I LOVE tulips and I just loved this stamp with what looks like a text background to it.  Here it is:

Of course I had to have this tulip stamp too...even though I swear I am not buying any more wood block mounted stamps!!!  I just found myself loving this image so much that I bought it.  I think it will make lovely sympathy cards as well as thank you, thinking of you...etc.
We stamped the flowers with Versamark and then we used three different embossing powders to achieve the results. I loved the variations in the colors.  So pretty, don't you think?  We stamped the sentiment and then put powders over it as well to give a variation.  After we had heat embossed we went back with a Versamark pen and highlighted some of the stems and leaves as well as the base of the flowers and sprinkled Holographic powder over this and heat embossed once again.  Soooo pretty!
We did use a Corner Chomper on the top corners of the card and mat and then we used a little tulle ribbon for a tie at that top, added a little bling and that was it.
Here's a little closeup of the tulip image:

These are relatively fast cards to make but they have a lovely look to them, I think.

Happy Crafting!

Wednesday, February 8, 2012

Valentine Gift Containers

I made these Valentine Gift Boxes last year for David and his soon to be born little sister, Taylor.  I purchased the plastic red heart shaped boxes at Archiver's and just dressed them up with some pretty papers, trims, bling and cuts from the Cricut.  And I love that they can be recycled year after year! Yay for that!

Here's Taylor's...and this will be her first Valentine's Day:

 And a closer-up:
And one for my little man, David:
And a little close up:
They were a lot of fun to do....I don't know if David was all that impressed but his mother and I were! :)

Happy Crafting!

Tuesday, February 7, 2012

Dust Cover for Cami the Cameo

I used to work with a Dietitian named Cami.  Cami was short for Camille. 
My dust cover is not for Cami the Dietitian.  It is for my new friend, Cami the Cameo.  I don't really call her that.  I really don't name my toys but maybe I should.  She definitely deserves some respect for all she can do.
Anyway, I decided to treat her well and make her a little dust cover to keep her nice and clean. I had this scrap of fabric which is a double sided quilted fabric leftover from when I made a dust cover for my Expression some time ago.  I literally made this dust cover in 35 minutes which included the time it took me to put thread on my bobbin!

And here she is:


It isn't perfect.  I've talked about my issues with the Beast (my sewing machine) before but we got along pretty well today.  I found a pattern HERE and modified it a bit because I didn't quite have as much fabric as was called for so my cover may be a bit  more fitted than the original pattern would have made.  But I think it will do just fine and I am happy with it!

Clothes for Cami!

Happy Crafting!

Monday, February 6, 2012

Birthday Card

Papertrey Ink is celebrating it's 5th Anniversary!  I was introduced to the PTI products about a year ago and became a huge fan.  We all have our favorite lines or manufacturers, don't we?  Well, Papertrey Ink happens to be one of mine.  I love the papers, ribbons, stamps and dies....I just think the quality is wonderful!
I made this little card using Stitches and Swirls and Fillable Frames #5 stamps sets, Aqua Mist paper, Aqua Mist and Pure Poppy inks and buttons, and Pure Poppy ribbon as well as some white cardstock I had on hand.  I used a Stampin' Up punch for the frame for the sentiment. 

I rarely make my own background paper with stamps so it was fun doing something a bit different.

That's it for today.  Happy Anniversary, Papertrey Ink!

And Happy Crafting to all of you!


Sunday, February 5, 2012

The Remodel and a Card (SSS144 Challenge)

I am NOT into remodeling.  Our house stays the same year after year after year.  I see things I like and think how nice it would be to remodel our bedroom, our living room, our kitchen...but it just doesn't happen.  I find stuff like that overwhelming.  But...I sure would like for my husband to surprise me with new kitchen counter tops for my sliding down the hill and approaching 60th  birthday this year (still a few years away but getting closer and closer each time I blink!).  Probably not going to happen...but one can dream!  Of course, if it comes down to new counter tops and a trip to Spain...well, Adios, Amiga! :)

So, what did I remodel?  Why, my new Silhouette, of course.  The Silhouette is sleek and beautiful on it's own but a girl likes a little extra bling, doesn't she?
Here's what the Silhouette Cameo looks like with no extra ooomph...

Here's what she looks like all pretty and dressed up:

How did I do that so easily?  Looks like a lot of cutting, doesn't it?  HAHA...yes, there is a bit of cutting but I let the Silhouette do it!
I removed the plastic cover from the control panel....it's just a thin sheet of plastic:
I had already found this design in the library of the Silhouette software (one of 51 designs that came with the software) and I thought it was an iPod...but then I realized it was a control panel cut! Woohoo...
See?  Here is a screen shot of the Designer Studio software that I am using:
...and the little control panel thingy is highlighted with the purple circle above.
Well, cool...I just flipped it horizontally (it looked symmetrical but I didn't want to take a chance) and used some glitter paper I had on hand.  I decided to try cutting it upside down with the print side down, that is,  to see how it would cut that way.  I know with my Cricut that sometimes glitter papers don't always cut well because of the variations in thicknesses. 
Here it is cut but still print side down:
It cut perfectly...all I did then was peel it off the mat, punch a couple of small holes with my Cropadile for the on/off lights and stick it in the panel...and add the plastic cover back on.  Cute, huh?  I can dress her up for the seasons.  Right now I'm done with winter so decided to use something bright and cheerful!


Easy Peasy.

Now onto my card.  I saw this sketch on The Sweet Stop
Here's my take on it:


I found a free svg file at SVG Cuts Blog of a bumblebee and decided to tackle the job of importing svg files into the Silhouette and trying to cut them.  Well, I brought them in and tried to cut and nothing happpened!  Nada...nichts...nothing.  Hmmmm....thankfully for Google and Youtube I learned that you had to trace the file so that Ms. Silhouette knows where to cut.  Aha!  That made sense.  So, I did that and got my little bumblebee cut!

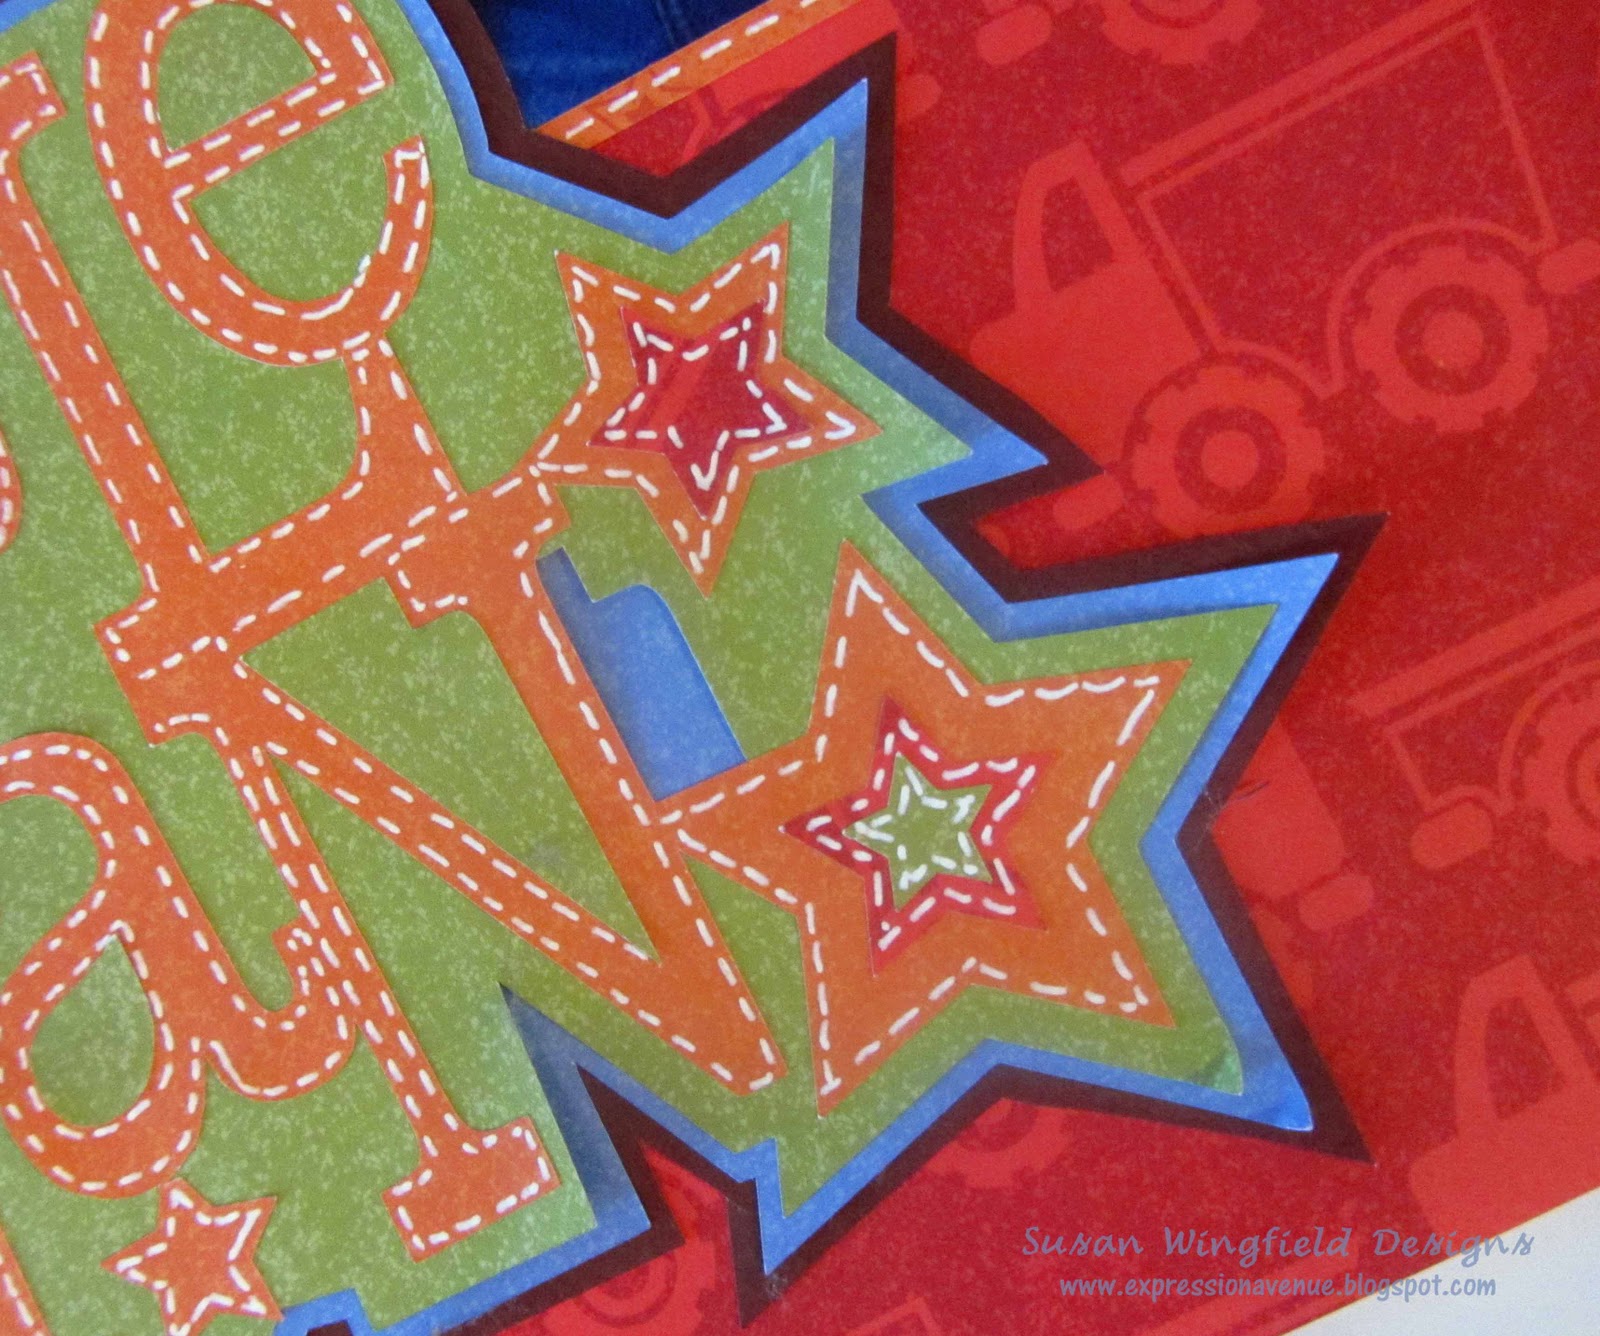
I used paper scraps I had to do the bee and October Afternoon Sidewalks printed papers for the mats and the trim.  I also used a little flower button that I did with the Button Studio from Epiphany Crafts.  The little sentiment which I just love is from the Happy Everything stamp set by Unity Stamps.  I cut the little frame with another image that came with Silhouette Studio software.  I just resized it to 1.75 inches so it was teensy and cute.

And that, my friends, is the end to a very long post...

Happy Crafting!

Saturday, February 4, 2012

Cutting Fonts on the Silhouette

Are you a Font-a-holic?  I confess....I am.  I collect them like some people collect Beanie Babies. (Oh yeah, my son and I did that too...many years ago!)

That was another reason I decided to invest in the Silhouette...the ability to cut True Type fonts from you computer.  It is so easy...when you install the Silhouette Studio software on your computer it hunts down your entire font collection so that when you open up the software they are all there!  Sort of like your word processing program.

So, I decided to play around with a few fonts to see how they'd cut.
The first photo is just a little Lettering Delights font that I got for free.  You can see how small the letter are and they cut beautifully.  Even the center to the little e's cut through.
Those letters are at most 1/2 an inch wide and about 3/4 of an inch tall at their tallest.  Cute huh?  And so easy to do!

Then I decided to do one of the Creating Keepsakes fonts I had in my collection and weld the letters together.  Again, very easy on the Silhouette and done with a simple point and click for the most part.

"David" is done with an old favorite of mine Arial Black.  I mean...everyone has Arial Black on her computer and look how nice those letters cut?  Woohooo!

I found some great cursive fonts for welding today at this site which was talked about on a Silhouette Yahoogroup I've just joined.  It's called Clever Someday and you can see some great options for cursive fonts for welding HERE.  She also has some good info on various cutters and software programs available.

Well, I'm off to google and youtube some tips on importing SVG shapes and using them in the Silhouette.

Happy Crafting!

Friday, February 3, 2012

I Forgot to Eat Dinner!

I was having so much fun playing with my Silhouette last night that I FORGOT TO EAT DINNER!  Now I don't skip meals often...I like my food but seriously I was so wrapped up in playing with my toys I didn't realize it was late and I hadn't eaten.  But don't worry...I cleaned up and ate!
Here is the card I made from the Print and Cut images I shared on yesterday's post:
I used and old Paper Studio stack of paper I had laying around, some Bazzil and Paper Trey Ink Cardstocks, an old button I found and my Martha Steward fringe scissors for the "grass".  I cut the little leaves out with a free image from the Silhouette Online store.  They cut well through the heavy cardstock and even cut a slit out in the center of the leaf.  Too cute!
Here's a closeup:
I wish I had cut one more layer of the flower petals but oh well...I'll do that next time!

Then I just couldn't wait to try some scrapbooking.  I had this picture of the wild man...his first official school portrait (well, that's not true...he did get "school photos" when he was in daycare for about 5 minutes until his mom decided she needed to be home with him and quit work. :)).  I love this picture because it just captures a look on his face that we see often.  I think at this age I like the natural expressions anyway...it just shows a little bit of his personality.  And that kid has personality.  In this picture I think he is probably thinking:  "I will sit here but there is no way in HECK you are going to get even the teensiest smile out of me.  I would much rather be running, jumping and playing on the playground.  I am way too cool for this photo taking thing!"
I used papers from Boys and Their Toys (another Paper Studio stack from Hobby Lobby) and I cut both the banner and the "Little Man" word art out with the Silhouette.  I was so excited about doing this that I sort of rushed through it...in retrospect I wish I'd done a little more embellishing but really, I can live with it.  I did a healthy dose of pen stitching but really this is a simple layout for my little man.  I love big elements that overlap on my pages and love the size I did of the Little Man word art.  I had some random stickers around I used for on the banner.  Made a little journaling block that I slipped under the picture and I said DONE!
Again, this cut very nicely...no rips, no tears...came off the mat easily.  I was happy...
Here's a closeup:
And that's it for today....can't wait to get back down in my craft room and see what other things I can do with my new baby....

Happy Crafting!

Thursday, February 2, 2012

Print and Cut Feature with the Silhouette

When the Cricut Imagine was first rumored I was oh-so-interested.  When it came out...not so much.  Just didn't love the images I saw Provocraft do on HSN during the debut, thought it was too big for my scrapping area, and just wasn't interested in having to invest in proprietary inks.  But my friend, Cyndi, has one and loves it so I know they are good machines...just not something I ever decided to purchase.
Along came the Silhouette with a Print and Cut feature.  I really wasn't all that interested in that feature, you know?  I just thought it would be way tooo much trouble.  Wrong! It is so simple!!!
I know I just hit the tip of the iceberg here as they say...I know there is so much more I can do with this but for now I just purchased this Print and Cut image from the Silhouette store...sized it the way I wanted it, printed it on my home (not so great) printer and had an 8 1/2 by 11 sheet printed with the images on it.  I then thought...oh my...how do I align it so that I get it to cut where I want it to cut?  Well, the Silhouette is so smart it scans your paper for these little registration marks and knows where you image is! It's just so darned smart!
So all I did was hook my computer up to the Silhouette and press cut...and voila (!) a printed AND cut image.
See?

Is that not the coolest?  And so easy peasy!

Well, I'm off to take photos of ABG today...she turns 8 months today!!!

Happy Crafting!

Wednesday, February 1, 2012

I Think I'm Sold!

The Silhouette Cameo I purchased from Amazon the other day arrived today.
See?
Well, of course, you can't tell from the herkin' (Donna's word) big box that doesn't have much writing on it...but since it said Amazon I knew what it was.

I carried the HBB (herkin' big box) inside my house and slit the packing tape with my trusty scissors and opened the lid.  And what did I see?
Well, that wasn't exactly what I was expecting...I pulled the packing paper out and was left with this:
Hmmmmm....another unidentified box!
So out it came and I slit it open as well and this is what I saw:
Aha! That is beginning to look like a Cameo.
I lifted the box out and had to take pictures of it as well...I know this is so exciting for you!
 So, I once again opened a box and FINALLY...there she was! See?
I spent a couple of hours reading the very short start up guide and installing the software.  A helpful video tutorial also came.  I started playing around with it and did a few practice cuts.  Amazing....it was so easy and the simple cuts of the images that came with the Silhouette (51 included) did beautifully.  The first time around I didn't have my blade down deep enough and so it didn't make contact with the paper and guess what?  It didn't cut!  HAHA! But I got the blade inserted properly and did the following practice cuts.
Look at that flourish...it's so thin and small and cut absolutely beautifully and the first time!
I put the quarter there so you could get an idea of size.
I also cut a border as you can see here:
Very simple and smooth cut.  No rips, no tears....it looks like it went through a Big Shot or Cuttlebug!  I also did the little tag on the bottom left but I pulled a little aggressively when I took it off the mat and tore it.  I don't think it was the Cameo's fault...more like Susan error. :)
When you install the software all of your True Type Fonts are imported in and you can cut any of those.  I will try those out shortly. 
This was really incredibly easy to use...I know I have a lot to learn about the software and the different options but so far so good!

The Silhouette came with a $10 gift card to the Silhouette store so now I'm going shopping for more images! :)

Happy Crafting!